

Emergency Water Purification Methods: A Survival Guide

Updated: Sep 5
The most reliable emergency water purification methods
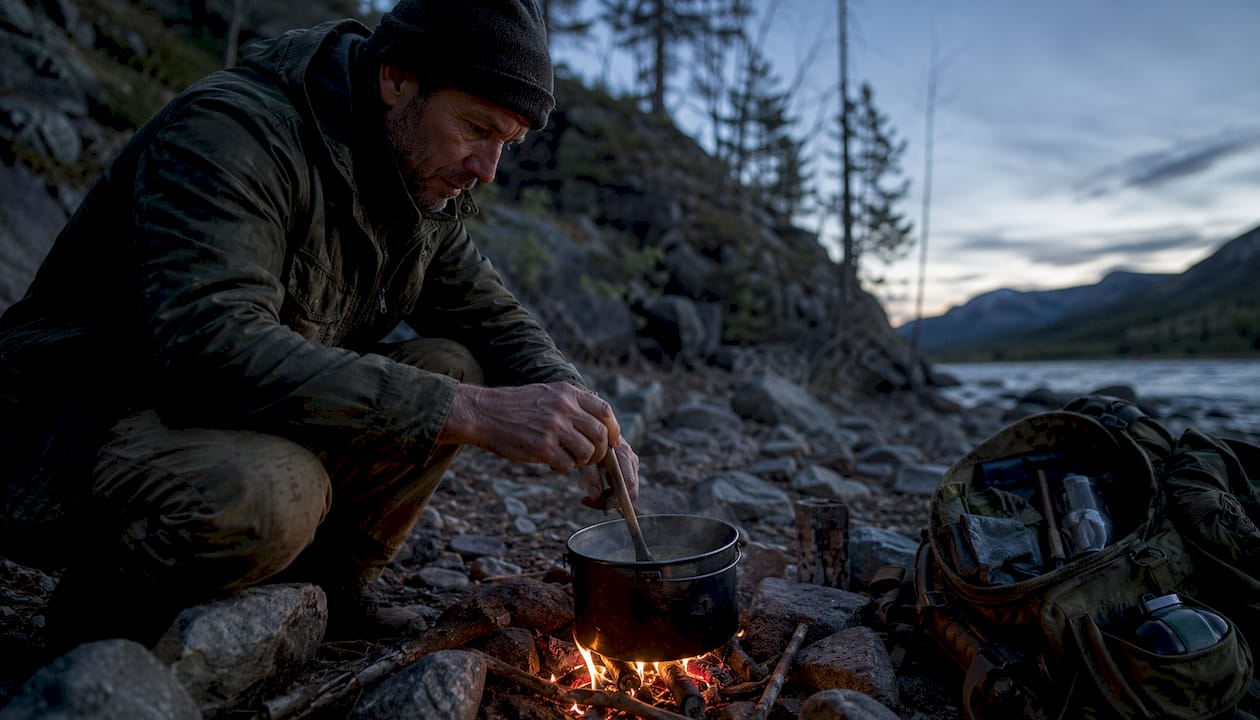
When the tap goes dry or the water source becomes suspect, three methods cover most situations: boiling, chemical disinfection with unscented household bleach, and mechanical filtration. Each one targets biological pathogens, including bacteria, viruses, and protozoa, though none of them removes dissolved chemicals like heavy metals or pesticides. Choosing the right technique depends on what you have available, the quality of your water source, and whether you can build a fire.
A few principles apply across all methods. Cloudy or sediment-heavy water reduces the effectiveness of both chemical and UV treatments, so removing particles first is never optional. After purification, how you store water matters as much as how you treat it.
Boiling: Best when you have fuel and time; kills all biological pathogens reliably
Bleach disinfection: Practical when fire is unavailable; requires clear water for full effectiveness
Mechanical filtration: Removes bacteria and protozoa; combine with chemical treatment for virus coverage
UV light devices: Fast and effective in clear water; useless in turbid conditions
Solar disinfection (SODIS): Last-resort option requiring clear bottles and strong sunlight for at least 6 hours
Pro Tip: Pick the method you can actually execute with what you have on hand. A perfect technique you can’t perform beats nothing, but a simple repeatable method beats a complicated one every time.
How to boil water safely in an emergency
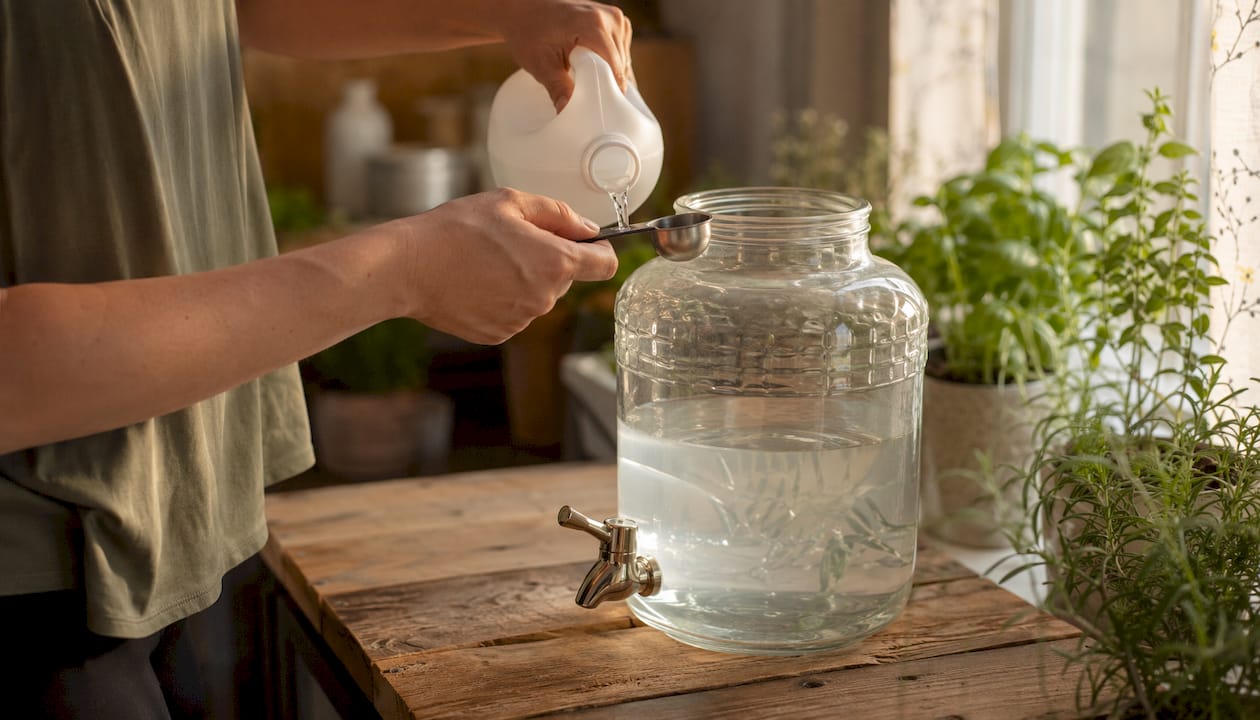
Boiling is the gold standard. According to CDC guidance, bringing water to a rolling boil for 1 minute kills bacteria, viruses, and protozoa. At elevations above 6,500 feet, extend that to 3 minutes because water boils at a lower temperature and pathogens survive longer.
Boiling does not remove chemical contaminants. If your source is near an industrial site, a flooded area with fuel spills, or a well with known contamination, boiling makes the water microbiologically safe but leaves the chemistry unchanged. For most wilderness and disaster scenarios, though, biological threats are the primary concern.
Filter cloudy water through a clean cloth, paper towel, or coffee filter before boiling
Bring water to a full rolling boil, not just steaming or simmering
At sea level: boil sufficiently; at high altitudes, boil longer to ensure pathogen kill.
Let water cool naturally in the pot before transferring
Store in clean, covered containers immediately
To fix the flat taste, add a pinch of salt per quart, or pour the water between two clean containers several times
How to disinfect water with household bleach
When fire isn’t an option, unscented household bleach is your next best tool. The EPA recommends using bleach with 5–9% sodium hypochlorite. For clear water, add 8 drops per gallon. For cloudy, colored, or very cold water, double that to 16 drops per gallon.
Bleach has real limits. It does not kill Cryptosporidium, a tough protozoan parasite that resists chlorine at normal doses. If your source is surface water with potential animal or human waste contamination, boiling or a specialized filter is the safer call. Also, bleach degrades over time. Use a bottle stored at room temperature for less than one year, and never use scented bleach or bleach with added cleaners.
Filter cloudy water through cloth or a coffee filter before adding bleach
Use a clean dropper to measure drops accurately
Add 8 drops per gallon (clear water) or 16 drops per gallon (cloudy, cold, or colored water)
Stir well and let stand for at least 30 minutes
After 30 minutes, the water should smell faintly of chlorine
Pro Tip: If you don’t detect a chlorine odor after 30 minutes, repeat the dose and wait another 15 minutes before drinking. No smell means the bleach didn’t work.
Filtering and sediment removal before disinfection
Turbid water blocks chemical disinfectants and UV light from reaching pathogens. Settling and filtering before treatment is a required step, not a nice-to-have. Let water sit undisturbed for 12–24 hours so heavier particles sink, then carefully pour the clearer water off the top.
Portable mechanical filters vary widely in what they remove. Microfilters with pore sizes around 0.1–0.2 microns remove bacteria and parasites like Giardia and Cryptosporidium but do not reliably remove viruses. Ultrafilters with pore sizes around 0.01–0.02 microns can remove viruses, bacteria, and parasites, though they cost more and push water through more slowly. For high-risk water sources, pair a microfilter with a chemical disinfectant to cover viruses.
Let water settle for 12–24 hours, then pour off the clear top layer
Pre-filter through a clean cloth, bandana, or coffee filter to remove visible debris
Use sand and gravel layers in an improvised filter to reduce sediment further
Add granular activated charcoal to an improvised filter to improve taste and reduce some chemicals
Follow any filtration step with chemical disinfection or boiling to address remaining pathogens
Check filter pore size: 0.3 microns or smaller for bacteria, 1 micron or smaller for parasites
For a deeper look at outdoor water filtration options, Thrillofit covers the full range of field-tested techniques.
Limitations, precautions, and safe storage after purification
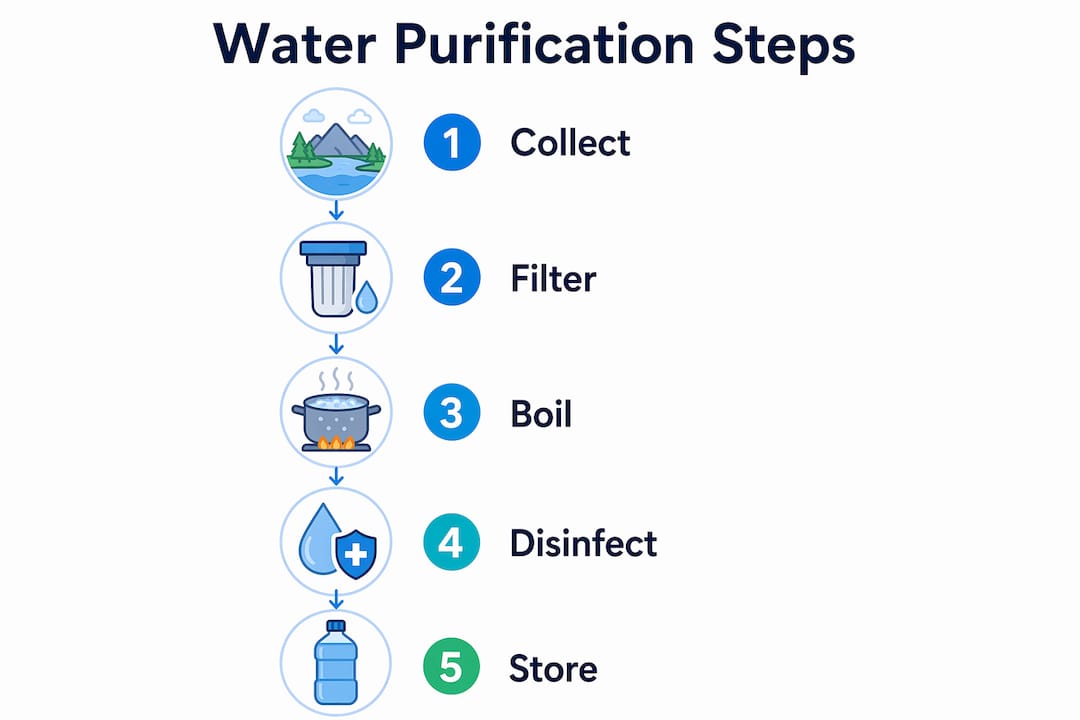
No single method handles every threat. Boiling and bleach disinfection kill biological pathogens but leave dissolved chemicals, heavy metals, and salts completely untouched. If you suspect fuel, pesticide, or industrial contamination, treat the source as unusable and find an alternative. Rainwater collected in clean containers and commercially bottled water are the safest starting points when available.
Recontamination after purification is a real and common problem. Pouring treated water into a dirty container or touching the inside of a lid with unwashed hands can undo everything. Use containers with tight-fitting covers, and never dip hands or cups directly into your stored supply.
Solar disinfection (SODIS) works as a supplemental option when nothing else is available. Fill clear plastic bottles with pre-filtered water, lay them on their side in direct sunlight for at least 6 hours, or 2 full days under overcast skies. It won’t work in cloudy water, and it’s slow, but it requires zero supplies beyond a clear bottle.
Pro Tip: Store purified water in food-grade containers with lids you can seal completely. Label them with the purification date. Treat storage as part of the purification process, not an afterthought.
Boiling and bleach do not remove chemical contaminants; avoid chemically suspect sources
Bleach does not kill Cryptosporidium; use boiling or a certified filter for parasite-heavy sources
Store treated water in clean, covered containers away from heat and direct sunlight
SODIS requires clear water, clear bottles, and strong sun for a minimum of 6 hours
UV light devices work only in clear water; pre-filter before use
Check your emergency gear kit to confirm you have a reliable purification option before you need it
Step-by-step emergency water purification process
Use this sequence every time you treat water from an unknown or compromised source.
Assess the source visually. Avoid water with floating debris, a dark color, or a strong chemical or fuel odor. Flowing water is generally safer than stagnant water.
Let it settle. Pour water into a clean container and let it sit for 12–24 hours. Sediment drops to the bottom; carefully pour the clearer top layer into a second container.
Pre-filter. Run the water through a clean cloth, paper towel, or coffee filter to remove remaining particles. If you have a portable mechanical filter, use it here.
Disinfect. Boil for 1 minute (3 minutes above 6,500 feet), or add 8 drops of unscented bleach per gallon of clear water (16 drops if cloudy). For UV devices, follow the unit’s instructions on pre-filtered, clear water.
Wait and check. After bleach treatment, wait 30 minutes and confirm a faint chlorine smell. If absent, re-dose and wait another 15 minutes.
Cool and store. Let boiled water cool naturally. Transfer to clean, covered containers. Never touch the inside of the container or lid with bare hands.
Pro Tip: Practice this process at home or on a camping trip before you actually need it. The first time you use a filter or measure bleach drops should not be during a crisis.
For building a broader emergency supply cache that includes water treatment supplies, Thrillofit’s survival planning resources walk through exactly what to stock and where to store it.
Key Takeaways
Boiling remains the single most reliable emergency water purification method, but combining it with pre-filtration and proper storage covers the full range of biological threats you’re likely to face.
Point | Details |
Boiling duration matters | Boil for 1 minute at sea level; extend to 3 minutes above 6,500 feet elevation. |
Bleach dosage by clarity | Use 8 drops per gallon for clear water, 16 drops for cloudy, cold, or colored water. |
Pre-filter before disinfecting | Settling and filtering for 12–24 hours removes turbidity that blocks chemical and UV treatments. |
Microfilters miss viruses | Filters with 0.1–0.2 micron pores remove bacteria and parasites but not viruses; pair with chemical disinfection. |
Storage prevents recontamination | Store treated water in clean, sealed containers to avoid reintroducing pathogens after purification. |
Recommended
Comments