

Solve Heel Slip and Hotspots: 6 Hiking Boot Lacing Techniques

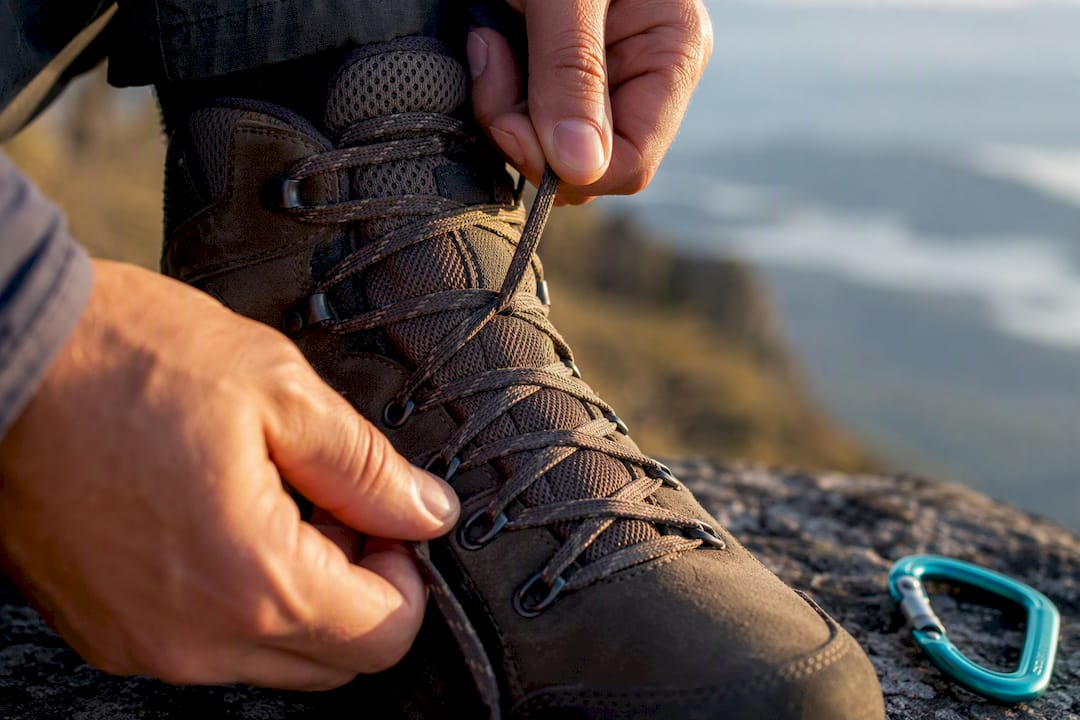
Start with a standard criss-cross lace. If that leaves you with heel slip, top-of-foot pain, black toenails, or a squeezed forefoot, switch to a targeted fix: heel lock (surgeon’s knot) for slip, window lacing for dorsal pressure, skip-first-eyelet for toe relief, or ladder lacing for wide feet. If pain persists after trying these, the problem is the boot, not the laces.
TL;DR:
Testing a single lacing method, like heel lock or window lacing, on a short trail before an overnight trip helps identify the effective solution for specific foot problems.
Using boots with appropriate length laces, suitable material, and extra eyelets or speed hooks enhances the effectiveness of lacing fixes and prevents failures.
Adjusting lacing gradually, with attention to tension around the ankle and forefoot, minimizes circulation issues and enhances overall comfort on hikes.
Pairing proper lacing with moisture-managing socks and quick-access blister treatment supplies prevents hotspots and blister formation during activity.
Table of Contents
Six lacing methods every hiker should know
Every hiking boot lacing guide worth reading starts the same way: pick your fix based on your symptom, not your mood. Lacing is a diagnostic tool. There’s no single best method, only the right technique for the specific problem in front of you.
Here’s the quick reference before you get into the how-to steps:
Criss-cross baseline — the default crossing pattern everyone starts with; even weight distribution, no special skills required.
Surgeon’s knot / heel lock (runner’s loop) — locks the heel in place, the top pick for heel slip and steep downhills.
Window/box lacing — skips an eyelet pair entirely to float pressure off a sore spot on top of the foot.
Toe-relief (skip-first-eyelet) — starts lacing one eyelet higher to free up room in the toe box.
Ladder/parallel/straight-bar lacing — replaces the crossing pattern with straight bars, spreading pressure across a wide forefoot.
Lock-lacing variants (high/low/looped) — turns any section of lace into a mini pulley system that holds tension without slipping.
A technical footwear fitter’s advice on boot lacing usually narrows down to three favorites: surgeon’s knot, window lacing, and toe-relief. Most heel-slip and forefoot complaints get solved by one of those three alone.
How to actually tie each technique
Getting the mechanics right matters more than knowing the names. Here’s how to execute each one on the trail, not just in theory.
Criss-cross baseline. Cross laces over each eyelet pair from bottom to top, pulling snug (not crushing) at each crossing. This is your control setting. Everything else below is a variation you add on top of it.
Surgeon’s knot / heel lock. Lace normally to the ankle eyelets. At the last two eyelets on each side, thread the lace down through the opposite side’s loop (instead of straight across) to form a small loop on each side. Cross the laces through both loops and pull straight up, not sideways. This locks your heel into the back of the boot. A variant worth trying on a seven-eyelet boot skips the sixth eyelet entirely; a small 2010 follow-up study on the skip-sixth heel lock found it reduced peak pressure across the top of the foot compared to the standard seven-eyelet lock, while still holding the heel firm.
Window/box lacing. Instead of crossing at the eyelet pair that sits over your sore spot, run the lace straight up on both sides, skipping that crossing entirely. This creates a small “window” with zero pressure directly over that point. Most hikers skip just one eyelet pair. Skipping two turns your boot loose through the midfoot, so don’t overdo it.
Toe-relief lacing. Start your lace at the second eyelet instead of the first, leaving the toe box eyelet empty on both sides. Tie the rest normally. This gives your toes extra vertical room on steep descents, which is exactly when they slam into the front of the boot.
Ladder/parallel lacing. Instead of crossing over, run each section straight across, then straight up the side, alternating sides in a zigzag that never crosses the top of the foot. This spreads pressure evenly across a wide forefoot instead of concentrating it at crossing points. You can pair a ladder base through the forefoot with a heel-lock finish at the ankle, getting wide-foot relief and heel stability in the same boot.
Lock-lacing variants. Thread the lace through itself at a single eyelet before continuing upward, forming a small loop that acts like a pulley. This lets you crank one section tighter without loosening the section below it. High lock secures the ankle collar. Low lock secures the arch. Looped lock does both at once, but it eats up more lace length than the other variants.
Pro Tip: Never tie off with a granny knot. It slips loose on descents and, worse, it can tighten unevenly and cut off circulation at the ankle. Use a double overhand or a bow tied on top of a surgeon’s knot instead.
The most common mistake is cranking every section as tight as the top of the boot. Tension should build gradually, tightest near the ankle collar, looser through the forefoot. If your toes go numb or tingly within the first mile, you’ve overtightened, not undertightened.
Which lacing fix matches your foot problem?
Match the symptom to the technique before you assume you need new boots. Roughly 4 in 5 common hiking foot complaints trace back to lacing, not sizing, according to expert-advice guidance from outdoor retailers, which is why testing a lacing fix first, before buying new boots, saves both money and blisters.
Heel slip: Surgeon’s knot / heel lock first, ladder-plus-heel-lock hybrid second. If your heel still lifts a quarter inch or more after locking, the boot is likely too big.
Toe bruising or black toenails: Toe-relief lacing first, combined with a slightly looser overall tie on descents. Persistent bruising after several attempts usually means the boot’s too short or too narrow in the toe box.
Top-of-foot (dorsal) pressure: Window/box lacing over the sore eyelet pair. Pair it with a thinner sock if swelling builds during the day.
Midfoot numbness: Loosen the crossing directly over the numb spot; window lacing works here too. Numbness that returns immediately after reloosening points to a volume mismatch, not a lacing problem.
Wide forefoot: Ladder/parallel lacing through the forefoot section.
Ankle instability: High lock lacing at the collar, combined with heel lock below it.
Sock choice complements every fix here. A wool or synthetic sock that manages moisture reduces the friction that lacing changes alone can’t fully solve.
Getting the laces themselves right
Technique only works if the lace itself is long enough and grippy enough to hold it. Undersized laces are the silent reason a lot of heel-lock and lock-lacing attempts fail before they even start.
Length by eyelet count: a 6 to 7 eyelet-pair boot typically needs 63 to 72 inch laces; go longer if you plan to add heel-lock or lock-lacing variants, since both techniques consume extra lace length at each loop.
Material matters: round synthetic cord holds knots loosely and can slip on steep descents; flat polyester grips better and resists loosening; waxed cotton grips best of all but wears out faster.
Speed hooks or a seventh eyelet near the ankle make heel-lock variants far easier to execute quickly, worth checking for before you buy new laces.
Pre-hike check: inspect for fraying near the eyelets, confirm both laces are equal length, and retie once at the trailhead after your boots have flexed for a few minutes.
Stopping blisters before they start
Lacing changes only go so far. Pair every technique above with the basics: wool or synthetic socks, a thin liner sock if you’re prone to hotspots, and a friction lubricant like Body Glide on known trouble spots before you start walking.
Check your feet at the first sign of a hot, tingling spot. Waiting until it burns means you’re already forming a blister.
Carry moleskin, Leukotape, and a spare pair of socks in your pack; a small blister kit weighs almost nothing and fixes most hotspots in under five minutes.
Retie or shift your lacing zone (loosen a window, tighten a heel lock) the moment a hotspot appears, rather than pushing through and hoping it settles.
If a blister has already formed and it’s affecting your gait, stop, treat it, and reassess your lacing before continuing rather than limping through it.
Pro Tip: Keep a small tin of moleskin and tape in an outer pocket, not buried in your pack. The two minutes it takes to dig it out of the bottom of your bag is usually the two minutes a hotspot needs to turn into a blister.
Why trust this lacing guide, and how to test it yourself
This hiking guide builds around step-by-step instruction, using an approach similar to that in a map-reading guide for beginner hikers. Test any new lacing method the same careful way:
Change one variable at a time. Don’t switch to heel lock and window lacing on the same day.
Test on a short 1 to 2 mile loop before committing to it on an overnight trip.
Check for numbness or tingling within the first mile. That’s your circulation warning sign.
Write down what worked. Foot shape varies enough that your fix won’t match your hiking partner’s.
Where to go deeper on lacing technique
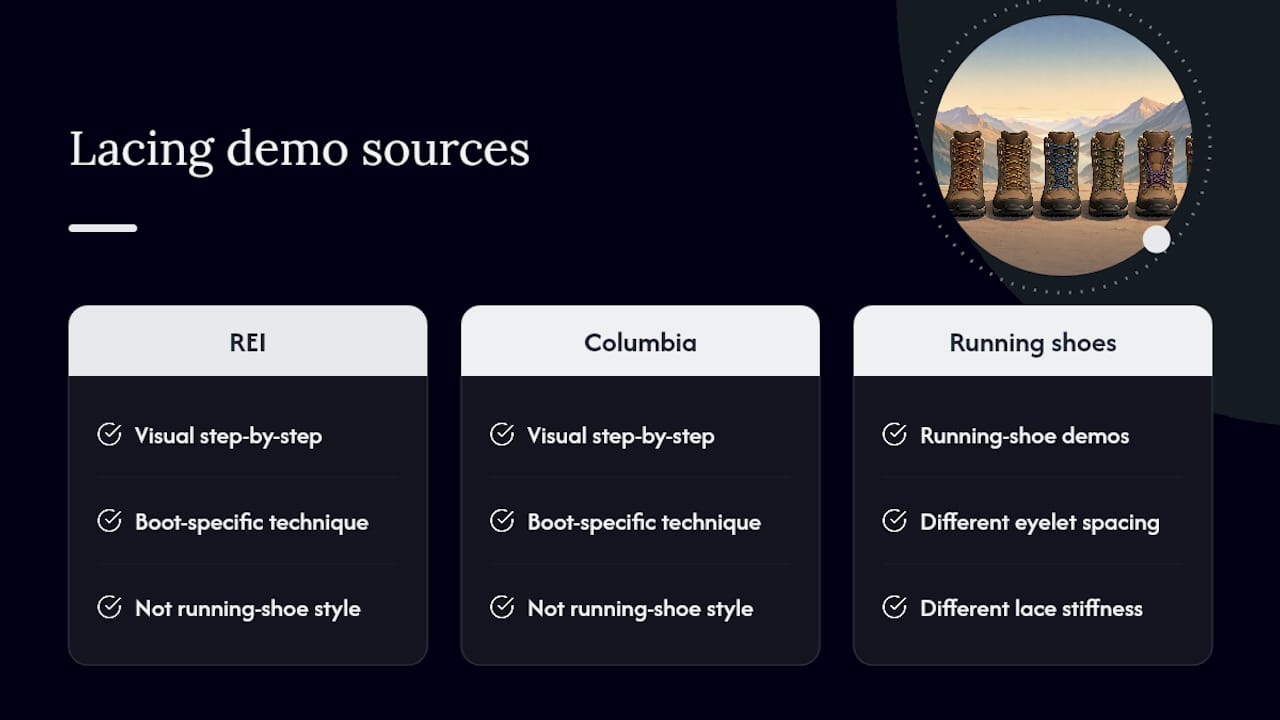
For visual step-by-step demonstrations, REI’s expert-advice lacing guide and Columbia’s lacing walkthrough both show boot-specific technique, which differs from running-shoe lacing demos in eyelet spacing and lace stiffness.
What the conventional lacing advice gets backwards
Most gear articles treat lacing techniques like a menu you pick from once and forget. That’s backwards. The better mental model is troubleshooting: something hurts, you test a fix, you check if it worked, and you move on. Heel lock isn’t “the good one” and criss-cross isn’t “the basic one.” They’re tools for different jobs, and most hikers only need two or three in regular rotation.
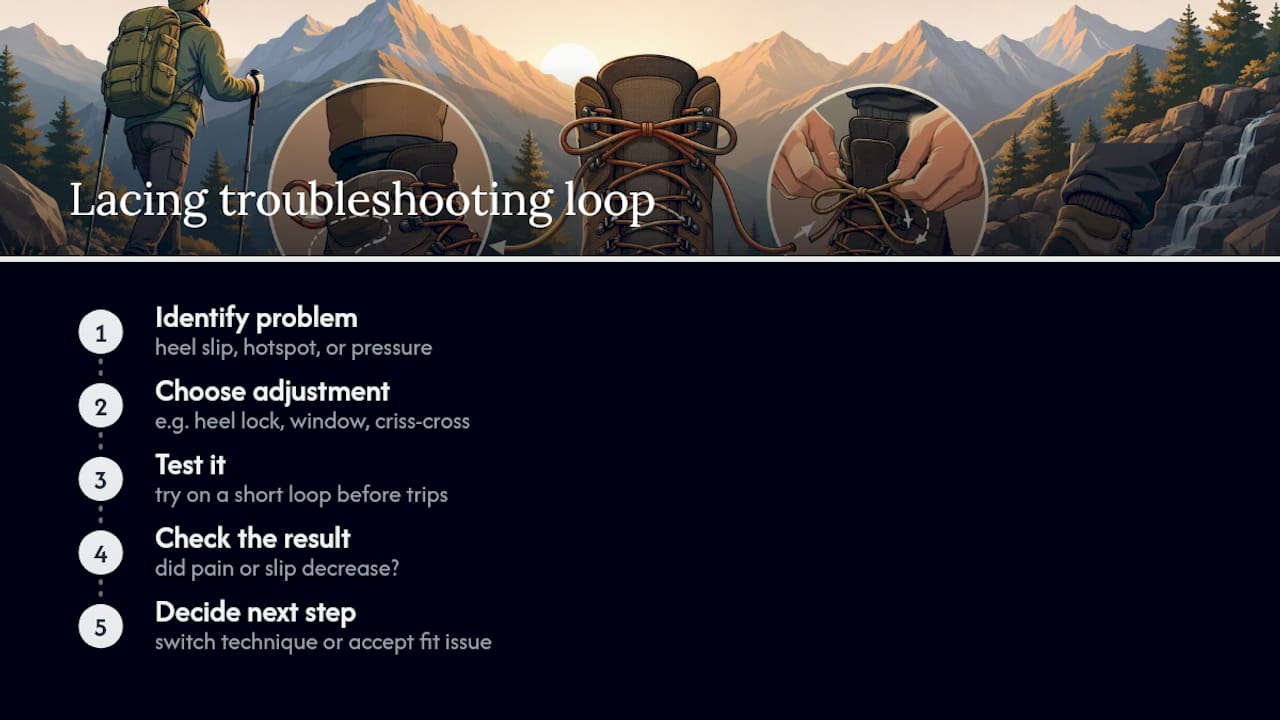
What’s overrated is the idea that one perfect lacing method exists for everyone. It doesn’t. Foot shape, sock thickness, boot volume, and trail grade all shift what works on a given day. What’s underused is the discipline to actually test on a short loop before an overnight trip, and to admit when a technique isn’t the answer. If you’ve tried heel lock, window lacing, and a wider tie pattern and you’re still getting hotspots in the same spot, that’s not a lacing failure. That’s a fit problem, and no amount of clever lace work fixes a boot that’s fundamentally wrong for your foot.
Prioritize this: learn heel lock and window lacing first. They solve the two most common complaints, heel slip and top-of-foot pressure, and once you’ve got those two down, the rest of this guide is just refinement.
— S
Sources
Recommended
Comments