

How Gear Selection Shapes Safety and Success Outdoors

Gear selection is the single biggest variable you control before a trip starts. Choose right, and you have margin for error when weather turns or a route takes longer than planned. Choose wrong, and a manageable situation becomes a crisis. The Pacific Crest Trail Association puts it plainly: there is no perfect piece of gear, and experienced hikers balance equipment choices with fitness, skill, and honest risk tolerance. The Ten Essentials framework, used by the National Park Service and land managers across the U.S., organizes that thinking into functional systems rather than brand-specific items. This article, published by Thrillofit, applies that systems approach to real trip conditions so you can match choices to your specific route, environment, and skill level.
Key Takeaways
Gear selection determines your safety margin, physical performance, and ability to handle the unexpected — pick for the worst plausible conditions your route can throw at you.
Point | Details |
Match gear to the route | Start from terrain, climate, and remoteness — not a generic checklist or shopping list. |
Think in capabilities | The Ten Essentials framework covers what you can do, not what brand you carry. |
Spend on what fails dangerously | Prioritize shelter, sleep system, and footwear; save on single-use convenience items. |
Test before remote trips | Never test new gear in extreme environments; trial everything at home or on short local hikes first. |
Scale redundancy to remoteness | Remote multi-day trips need backup navigation, water treatment, fire methods, and a PLB or satellite messenger. |
Table of Contents
Why does gear selection matter for safety and performance?
The role of gear selection goes well beyond comfort. It determines whether you can stay warm when a storm rolls in, whether you can navigate after your phone dies, and whether your group keeps moving or grinds to a halt.
A few concrete consequences of poor choices:
Safety margin: Missing a waterproof shell or a backup navigation tool removes your buffer when conditions change. Redundancy in fire-starting, navigation, and water treatment is what separates a manageable emergency from a serious one.
Physical performance: Pack weight and hip-belt fit directly affect fatigue. A poorly fitted pack shifts load to your shoulders, accelerating exhaustion. Footwear that doesn’t match the terrain increases injury risk.
Morale and decision-making: Wet, cold, or blistered hikers make worse decisions. Gear that works without fuss keeps attention on the route, not on suffering.
Logistics and environmental rules: Some U.S. parks require bear-resistant food containers (BRFCs). Certain wilderness permits restrict campfire use. Gear choices that ignore those rules create legal and ecological problems before you even set foot on trail.
How should you change your gear choices by terrain and climate?
Start from the route, not a shopping list. Look at exposure, water availability, escape routes, and the realistic weather range for your dates. Backcountry gear selection done well is trip-first, always.
Alpine and high-elevation: Insulation is non-negotiable. Prioritize a breathable waterproof shell, synthetic or treated-down mid-layers, and footwear rated for crampon use if there’s any snow travel. Temperature swings of 40°F in a single day are common above treeline.
Desert and arid terrain: Flip the priority. Sun protection, a larger water carry capacity, and lightweight cooling layers matter more than insulation weight. Electronics and GPS units need dust protection; a map and compass become your primary navigation tools when sand clogs touchscreens.
Wet and cold environments (coastal, temperate rainforest): NPS Alaska guidance specifically recommends sturdy waterproof boots, rain jacket and pants, and shelters with fully taped seams. Down insulation loses its warmth when wet, so synthetic fill or treated down is the safer call here. Seam integrity on your tent’s bathtub floor matters more in these conditions than anywhere else.
Bush, brush, and river travel: Ankle-supporting footwear and gaiters protect against both terrain and snakebite risk. Tent footprints take more abrasion from rocky or root-covered ground. Keep your repair kit accessible, not buried at the bottom of your pack.
Pro Tip: Pair any GPS device or phone app with a waterproofed paper map and compass. Electronics fail from dead batteries, water damage, and signal loss. The map never needs charging.
What are the core gear categories and what should you prioritize?
Every category involves trade-offs. The goal isn’t the lightest or most expensive option; it’s the right one for your conditions.
Clothing system: Build in layers: moisture-wicking base, insulating mid-layer, and a waterproof/breathable shell. Avoid cotton in any layer. Cotton holds moisture against your skin and accelerates hypothermia. Pick for the worst plausible conditions on your route, not the average forecast.
Shelter: Match shelter type to your environment and group size. Hammocks work beautifully in forested areas with suitable trees but fail in alpine or desert settings. Tents with a full rain fly and a bathtub floor are the most versatile. Shelter and sleep system selection depends heavily on environment; a three-season tent in a winter alpine setting is a liability.
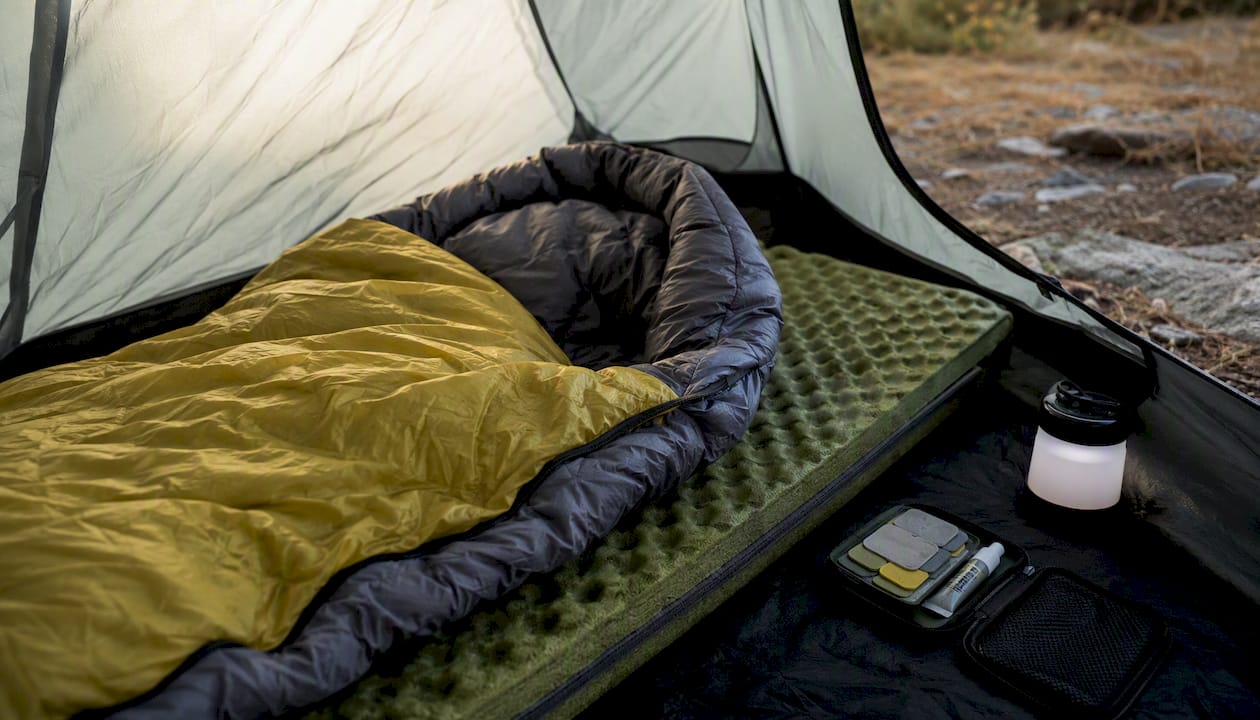
Sleep system: Your sleeping bag’s temperature rating is only half the story. Sleeping pad R-value determines how much heat you lose to the ground, and it matters as much as the bag itself. A 20°F bag on a pad with an R-value of 1.0 will leave you cold in conditions where a 40°F bag on an R-4 pad would keep you comfortable.
Footwear: Match outsole grip and ankle support to your terrain. Break in boots on short local hikes before any remote trip. River crossings require footwear you can actually wade in safely, not trail runners you’re afraid to soak.
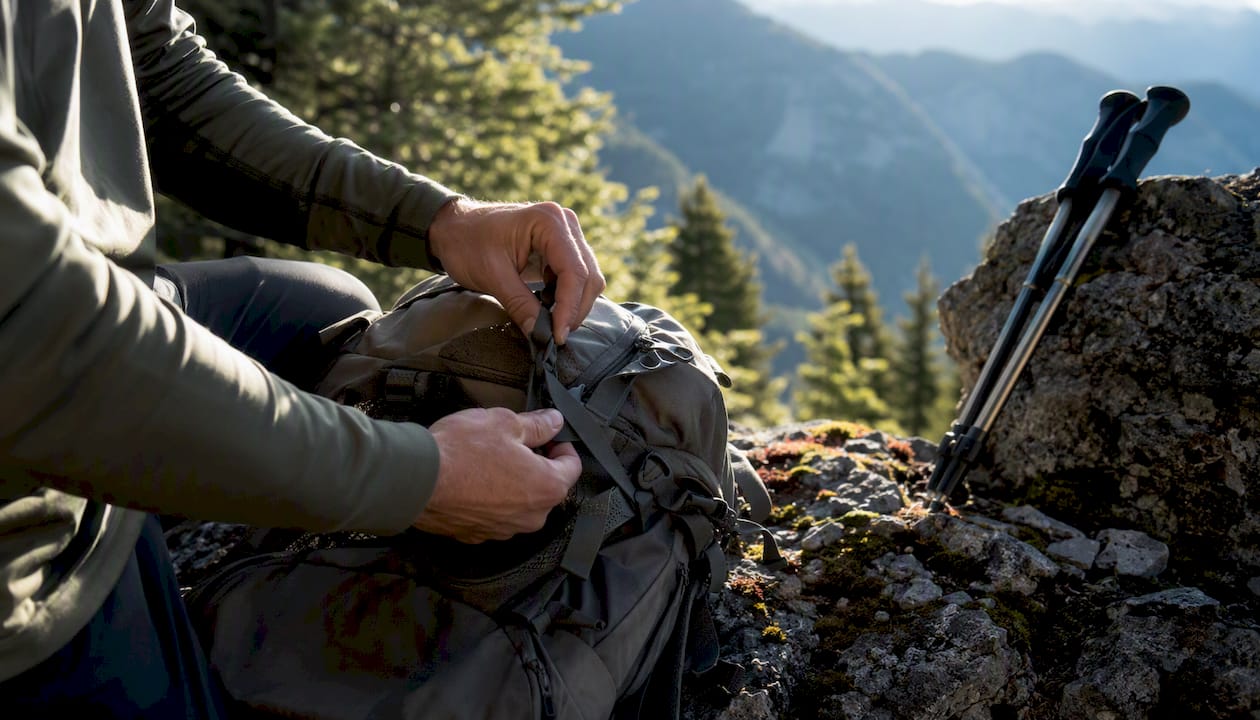
Pack: Capacity should match trip length. For most three-season overnight trips, a moderate capacity pack covers a solo kit. Hip-belt fit is the most important purchase criterion; a pack that doesn’t transfer load to your hips will wreck your back regardless of its features.
Water treatment: Filter, chemical treatment (iodine or chlorine dioxide tablets), and UV purifiers each have strengths. Filters clog in turbid water; chemical treatment is slow in cold water; UV devices need batteries. Carry a primary method and a backup.
Navigation and electronics: Primary and redundant systems, always. Keep battery banks charged and devices in waterproof cases or dry bags.
Emergency kit: Follow the Ten Essentials systems approach: navigation, sun protection, extra clothing, illumination, first aid, fire, repair tools, nutrition, hydration, and emergency shelter. Build redundancy into fire-starting, navigation, and water treatment specifically.
How do you balance weight, durability, and cost?
Use a four-step framework before you buy anything:
Assess trip risk and remoteness. A car-camping weekend near a trailhead needs far less redundancy than a seven-day route in a roadless wilderness area.
Identify mission-critical categories. Shelter, sleep system, and footwear are where failure has the most serious consequences.
Decide acceptable weight trade-offs. Ultralight materials are appropriate when you won’t subject gear to heavy abrasion. For high-mileage or rough terrain, prioritize denier count and seam construction over grams saved.
Allocate budget to categories that fail safe. Spend more on shelter, sleep, and footwear. Choose mid-range for packs. Save on single-use convenience items.
A reliable starter kit for three-season backpacking typically costs a few hundred dollars for shelter, sleep system, and footwear combined. Experienced hikers may spend significantly more on ultralight upgrades for those same categories, achieving meaningful weight savings. Starting with trip risk and remoteness to allocate budget is the most practical approach: more remote or high-risk trips justify spending more on shelter, sleep, and reliable communication.
Multi-use gear reduces both weight and cost. A trekking pole that doubles as a tent pole, or a pot that serves as a bowl, earns its place. Survival-oriented guidance consistently flags overpacking single-purpose items as the most common and correctable mistake.
How do you test, break in, and maintain gear before a remote trip?
The field rule is simple: never test new gear in extreme environments. Test everything at home or on short local trips first.
Pitch your tent in the backyard. Run water over the rain fly to check seam integrity.
Fire up your stove and check O-rings before you’re at elevation.
Run your water filter through a full cycle and check flow rate.
Wear new boots on two or three local hikes to identify hotspots before they become blisters on day one of a remote trip.
Maintenance checklist to run before every major trip:
Refresh DWR coating on shells and rain gear (heat-activate with a dryer on low)
Inspect tent seams and re-seal any that show cracking
Replace filter cartridges per manufacturer intervals
Check tent stakes, guylines, and zipper pulls
Inspect sleeping pad for slow leaks
Replace gear when you see visible seam failure, insulation clumping, recurring leaks that field repairs can’t fix, or pad deflation that no patch holds. For beginners breaking in footwear, two to three local hikes in new boots before a backcountry trip is the minimum.
Pro Tip: Carry a field repair kit: needle and thread, duct tape, 20 feet of paracord, spare buckles, and stove repair parts. These weigh almost nothing and have saved trips that would otherwise have ended early.
What emergency kit minimums do you need by remoteness level?
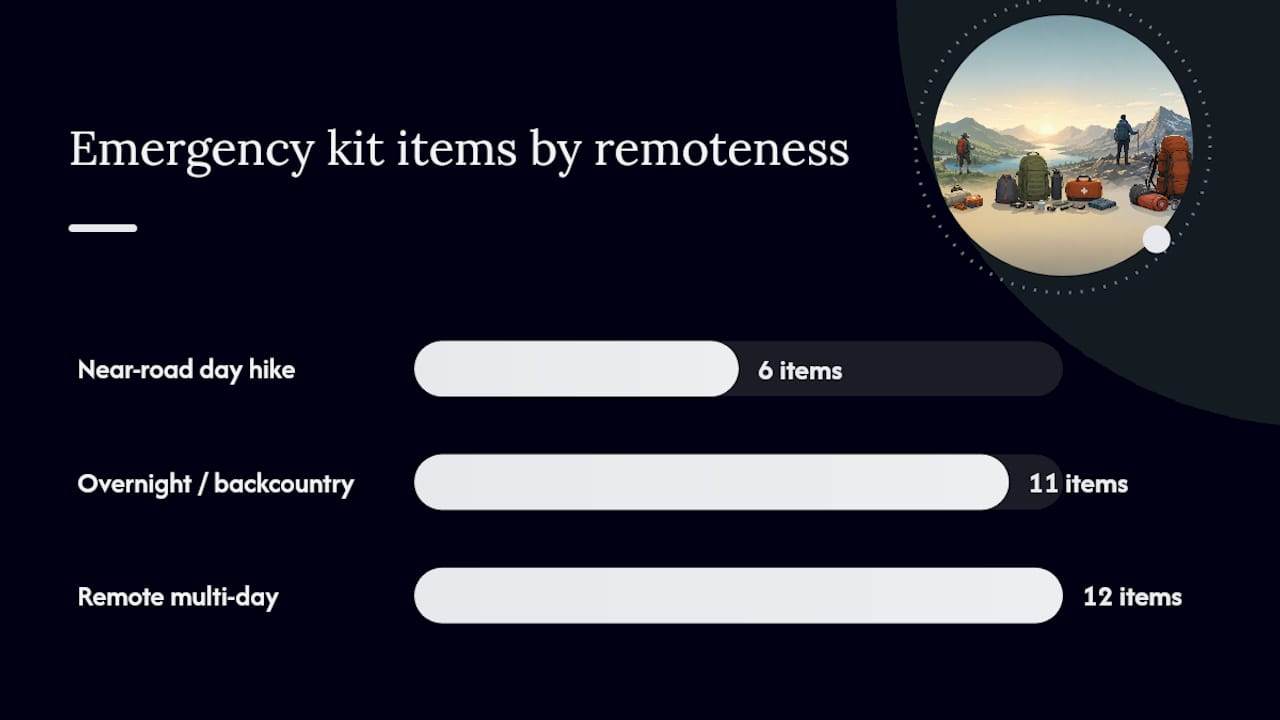
Scale your redundancy to how far you are from help.
Remoteness tier | Navigation | Water | Fire | Shelter | Signaling |
Near-road day hike | Phone + downloaded map | Filter or tablets | Lighter | Emergency bivy | Whistle |
Overnight / backcountry | Map + compass + phone | Filter + chemical backup | Lighter + matches | Tent + emergency bivy | Whistle + headlamp |
Remote multi-day | Map + compass + GPS | Filter + chemical + UV | Two fire methods | Tent + bivy + tarp | PLB or satellite messenger |
A personal locator beacon (PLB) requires no subscription and sends a one-way distress signal to rescue services. A satellite messenger (like a Garmin inReach) costs more and requires a subscription but allows two-way communication. For trips beyond rapid rescue access, the two-way capability is worth the added cost.
Bear-resistant food containers are required in many U.S. wilderness areas, including parts of Yosemite, the Adirondacks, and most NPS Alaska backcountry. Check destination-specific rules before you pack. For behavioral guidance in bear country, Thrillofit’s guide on encountering bears in the wild covers the practical steps.
Your camping first aid kit is also a non-negotiable minimum at every tier. Scale its contents to group size and remoteness.
How should you organize your pack for quick access?
Pack order matters as much as what you pack.
Top of pack: Shell jacket, headlamp, first aid kit, snacks. These are the items you grab without stopping or unpacking.
Middle: Food, water filter, stove and fuel. Frequent-use items that don’t need to be instant-access.
Bottom: Sleeping bag and pad. Heaviest soft items go low and close to your back to keep the center of gravity near your hips.
Waterproof critical items with internal dry bags rather than relying solely on a pack rain cover. A rain cover blows off in wind; a dry bag inside the pack stays dry regardless. Electronics, sleeping bag, and spare clothing get their own dry bags.
Pro Tip: In a group, split shared gear (tent body vs. poles and stakes, stove vs. fuel) across two packs. If one pack is lost or damaged, you still have partial function rather than total loss.
For water-based or river travel, Thrillofit’s wilderness swimming gear guide covers waterproofing and footwear considerations specific to those conditions.
A field perspective on getting gear selection right
The Andrews Kurka principle of being “precisely prepared” is the most useful reframe I’ve encountered: the goal isn’t to carry everything, it’s to carry exactly what your specific route and conditions demand. Overpacking is its own risk. A 60-pound pack on a 15-mile alpine day slows you down, increases injury risk, and burns energy you need for the actual challenge.
What I’ve seen trip up otherwise experienced outdoorspeople is the assumption that more gear equals more safety. It doesn’t. A well-chosen 30-pound kit with redundancy in the right categories outperforms a 55-pound kit stuffed with single-purpose items every time. The fitness and conditioning side of the equation matters too. Gear compensates for conditions; it doesn’t compensate for being unprepared physically. Resources on injury prevention for active outdoorspeople are worth reading alongside any gear guide.
Test your kit before you need it. That’s the one rule that never has an exception.
Sources
Always check destination-specific land manager rules (NPS, USFS, BLM) for permit requirements, fire restrictions, and required gear before any trip.
Recommended
Comments