

When Is It Safe to Cross a River While Hiking?

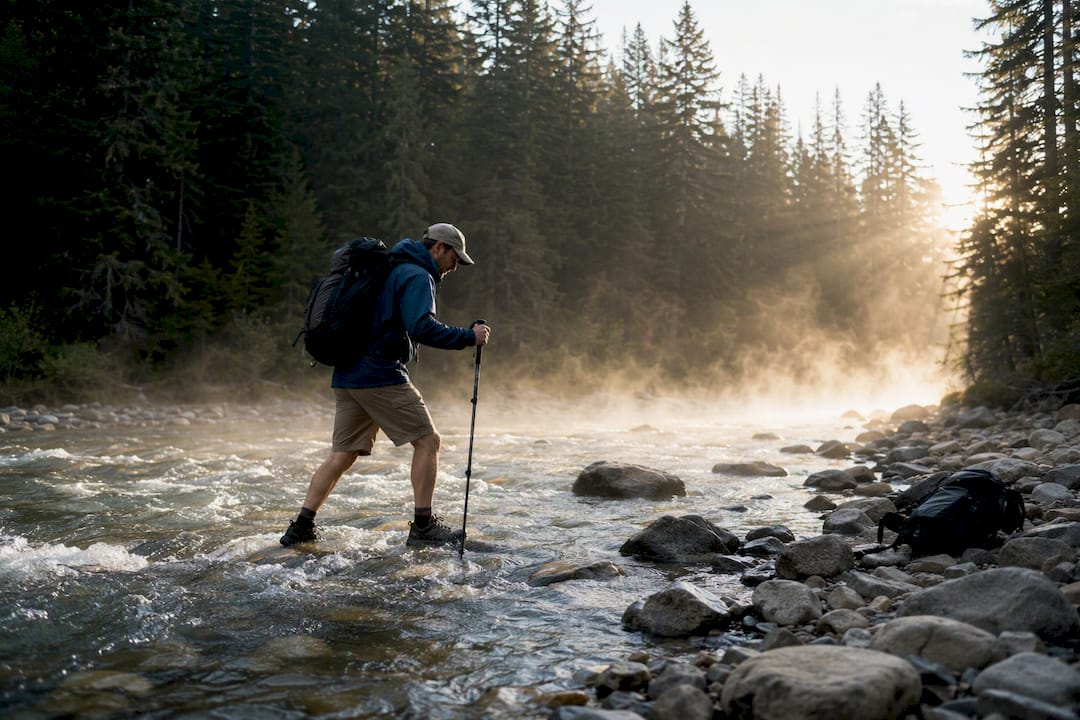
If you’re hiking solo, do not cross moving water deeper than your knees. In a capable group, mid-thigh is the hard maximum, and when you’re unsure, turn back. That single rule prevents more backcountry deaths than any technique you’re about to learn below.
Before you even touch the water, run three checks from dry land. First, scan downstream: are there strainers, logjams, or a drop that would sweep you into trouble? Second, run a simple depth and speed test (details below) rather than guessing. Third, confirm you can see a safe exit point on the far bank before you commit to the near one.
Once you decide to cross:
Unbuckle your hip belt and sternum strap so your pack won’t anchor you underwater.
Keep your boots on. Bare feet on river rock is how ankles break.
Grab a trekking pole, or a sturdy branch, for a third point of contact.
Key Takeaways
Safe river crossings depend on strict depth limits, quick shore-side tests, and a standing willingness to turn back rather than push a marginal ford.
Point | Details |
Know the depth limit | Stop at knee-deep solo or mid-thigh in a group; anything deeper means find another way. |
Test before you step | Run the stick test for speed and the rock “ka-thump” test for hidden depth from dry land. |
Unbuckle before entering | Loosen hip and sternum straps so a submerged pack can’t pin you against the current. |
Time glacial rivers early | Cross snowmelt-fed rivers in the early morning, before daytime melt raises the flow. |
Abort on any red flag | Discolored water, a failed stick test, or a strainer downstream means turn back, no exceptions. |
Table of Contents
What Should You Pack Before Attempting a Safe River Crossing?
The gear decisions you make at the trailhead matter more than anything you’ll do standing in the current. Trekking poles top the list, not just for balance but because a pole doubles as your depth probe. Pack a pair of spare camp shoes or sandals so you’re not crossing barefoot if your boots need to stay dry for the rest of the day, and carry a couple of dry bags to protect your sleeping layers and electronics in case you go in deeper than planned. On any route with a known ford that’s historically sketchy, a compact personal flotation device earns its weight. The PCTA notes that a properly fitted PFD is one of the single biggest factors in reducing drowning risk during a water incident, and for remote trips, a satellite messenger closes the gap if something goes wrong far from cell coverage.
Preparation also means checking conditions before you leave the car. Look at the weather forecast for the watershed, not just your campsite, and pull up USGS gauge data if the river you’re crossing is monitored. Ranger stations and trail associations often post current ford conditions too, and it’s worth building extra time and food into your itinerary in case you need to wait out high water or backtrack to an alternate crossing.
Trekking poles for a stable third point of contact
Spare shoes or sandals, plus dry bags for insulating layers
PFD or throw rope on known high-risk fords
Satellite messenger for remote or unguided routes
At the water’s edge, loosen every strap that could turn your pack into a sea anchor, and stash dry socks and a warm top layer somewhere you can reach them one-handed after you’re across.
Pro Tip: Pack your dry bag with a full change of socks and a warm layer at the very top, not the bottom. If you go in, you’ll want to be dry and warm in under two minutes, not after digging through your whole pack.
When Is the Best Time of Day to Ford a River?
Timing changes everything on snowmelt and glacial-fed rivers. Levels are typically lowest in the early morning, before the sun has had hours to melt upstream snowfields and glaciers, and they climb through the afternoon as that meltwater works its way downstream. If your route crosses a glacial river, plan your hike so you hit that crossing before 9 or 10 a.m. whenever possible. Rain-driven rivers behave differently: runoff often peaks hours after a storm passes, so a river that looks manageable at breakfast can be dangerous by midafternoon.
Site selection matters just as much as timing.
Look for a straight, wide reach instead of a narrow chute. Wide sections spread the current out and slow it down.
Favor braided channels, islands, or sandbars that let you cross in shorter stages rather than one long push through deep water.
Check both banks for a realistic exit. A crossing is only as good as the point where you climb out.
Steer clear of standing waves, choke points where the whole river funnels through a gap, strainers (downed trees or brush pinned in the current), steep or undercut exit banks, and any water that’s turned brown or is carrying floating debris. That coloring usually means flood stage upstream, and it’s one of the clearest signs to walk away.
How Do You Test River Depth and Current Speed From Shore?
You can learn most of what you need to know without getting your boots wet. The stick test is the fastest: toss a floating stick into the current upstream of where you plan to cross, then walk alongside it on the bank. If the stick pulls ahead of your walking pace, the current is moving faster than a person can safely fight, and that crossing is probably off the table.
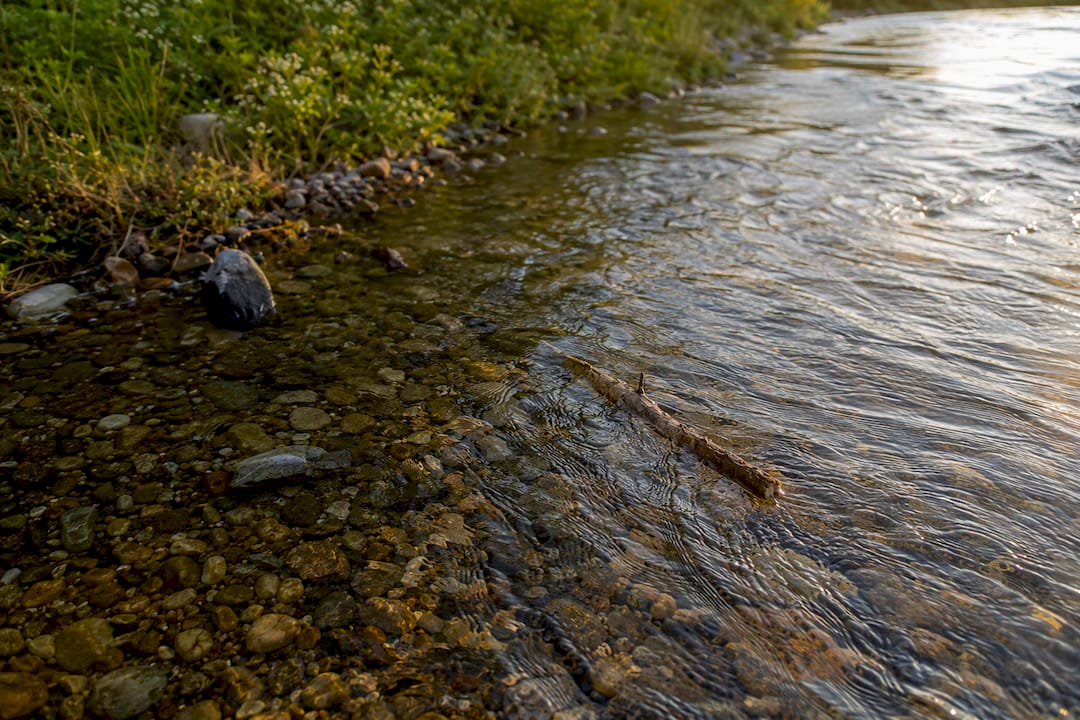
Depth takes a little more detective work. Probe ahead with your trekking pole as you scan the water, and toss a rock into a spot you can’t read visually. A hollow “ka-thump” sound usually means you’ve found a deeper hole, worth confirming with a direct pole probe before anyone steps near it. Water clarity tells its own story too: clear water over visible cobble is a good sign, while cloudy, silty, or debris-laden water often signals the river is running high or still rising.
Watch for these hazards while you’re testing:
Standing waves or humps in the surface, which mark submerged rocks and turbulence.
Strainers: logs, root wads, or brush that water can pass through but a person can’t.
Undercut banks where the current has eaten away the soil beneath an overhang.
Rolling or clacking sounds from rocks tumbling along the bottom, a sign the bed is unstable underfoot.
None of these tests take more than a few minutes, and skipping them is how experienced hikers end up in trouble. The National Park Service treats the knee-deep solo, mid-thigh group depth limit as the baseline threshold precisely because it’s checkable in real time with a pole, not a guess made from the bank.
What Is the Safest Way to Cross a River on Foot?
Technique separates a controlled crossing from a swim you didn’t plan for. The core principle, solo or in a group, is maintaining two to three points of contact with the riverbed at all times.
Solo crossings:
Face upstream at a slight angle, not straight across, so the current pushes into your body rather than knocking you sideways.
Take a wide, stable stance and move in small shuffle steps. Never cross one foot over the other.
Plant your pole upstream before each step and lean into it to lower your center of gravity.
Probe with the pole before you commit weight to a foot; if it doesn’t find solid footing, don’t step there.
Keep your boots laced and your pack straps unbuckled the moment the water gets pushy.
Think of the pole as your third leg. A tripod doesn’t tip over easily, and neither will you if you’re always anchored at three points while one limb moves.
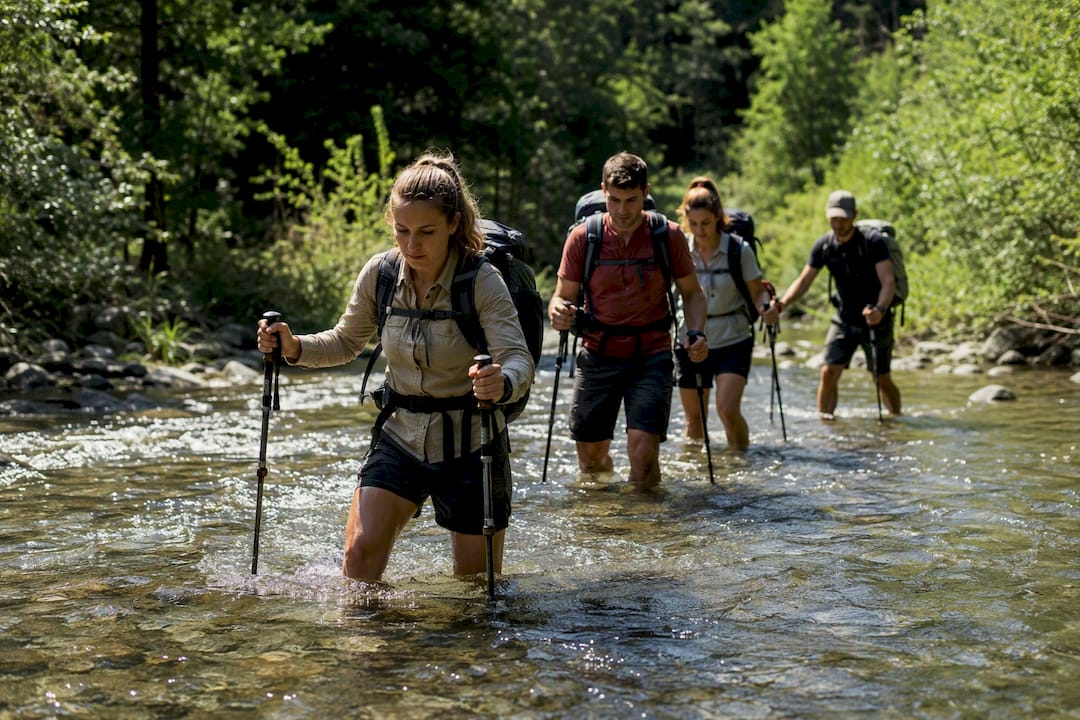
Group crossings work differently, and the Appalachian Trail Conservancy recommends mutual-support formations for exactly this reason. In a line or triangle formation, the strongest member takes the upstream position to break the current for everyone behind, and the weakest or smallest hiker goes in the middle where the group offers the most support. One person, usually the most experienced, calls each step out loud and waits for two people to confirm they have secure footing before anyone else moves. This kind of coordinated movement is the same logic behind group hiking’s built-in safety advantages: more eyes on the hazards, more hands to catch a stumble, and a shared decision when it’s time to stop.
Pro Tip: Practice the shuffle step and pole plant on a shallow, ankle-deep stream near home before you ever try it on a real crossing. Your body needs to learn the rhythm somewhere it doesn’t matter if you fall.
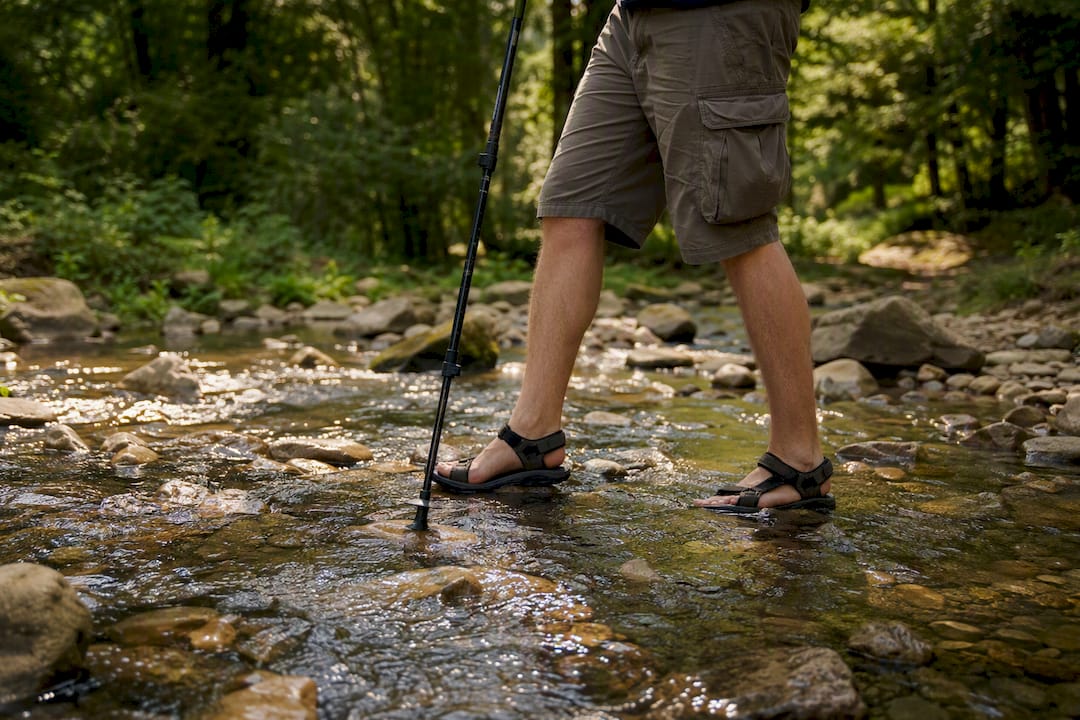
Whichever method you use, move deliberately. Rushing a crossing to “get it over with” is how solid technique falls apart halfway across.
What Should You Do If You Fall or Get Swept Away?
If the current takes you, stop fighting to stand up. Flip onto your back immediately, point your feet downstream, and use your legs to absorb impacts with rocks instead of your head or spine. Keep your face and airway clear of the water and use your feet and arms to steer, angling toward the nearest shore rather than trying to fight straight back to where you fell.
If your pack starts dragging you under or catches on something, ditch it. This is exactly why you unbuckled those straps back on the bank; a pack that’s still cinched tight can pin you against a rock or hold you underwater. Don’t try to stand up until you’re in genuinely shallow water and your feet find solid, stable ground. Standing too early in fast current is a common way ankles snap and bodies get pinned.
A pack you can shed in two seconds is worth more than any amount of gear inside it. The moment straps become a liability instead of a convenience, they need to come off, and that decision has to happen before you’re in the water, not while you’re fighting the current.
Once everyone is out and accounted for, check for signs of hypothermia: shivering that won’t stop, confusion, or slurred speech. Get wet clothing off, add dry layers immediately, and review self-rescue and rewarming steps if anyone’s core temperature is a concern. Report the incident to rangers if you’re in a managed wilderness area, especially if gear was lost in the crossing.
When Should You Turn Back Instead of Crossing?
Make the abort decision simple, not emotional. If the stick test says the current outpaces your walking speed, abort. If the water is discolored, carrying debris, or rising while you watch it, abort. If you fail any single test, that’s your answer; you don’t need two bad signs to walk away.
The good news is that turning back rarely means turning around entirely.
Scout upstream or downstream for a braided section, sandbar, or narrower ford with a gentler exit.
Wait it out. Snowmelt rivers often drop significantly within a few hours once the sun moves off the peaks, and rain-swollen rivers can settle within a day.
Look for a bridge, footbridge, or maintained trail alternate on the map before assuming the ford is your only option.
None of this works without a buffer in your itinerary. Pack an extra day of food, tell someone your float plan, and build in the flexibility to wait or reroute rather than pushing a crossing you’re not sure about.
How Can You Practice River Crossing Skills Before You Need Them?
Skills you’ve rehearsed beat skills you’re improvising for the first time mid-current. Run the stick test and pole-probing drills on a shallow creek near home so the motions are automatic before conditions get serious. Practice the mutual-support line or triangle formation with hiking partners in ankle to knee-deep water, calling out steps the way you would on a real crossing.
Rehearse the stick test on calm water until reading current speed becomes second nature.
Practice pole-probing and the shuffle step in shallow water before attempting a real ford.
Run a group mutual-support drill so everyone knows their position and the call-and-confirm rhythm.
Look into a swiftwater safety or awareness course through a local outdoor education provider or guide service for hands-on instruction beyond what any article can teach.
Thrillofit’s guides on wilderness self-rescue and beginner trail preparation pair well with these drills if you’re building out a fuller backcountry skill set.
What’s Overrated and What Actually Matters in River Crossings
Most river crossing advice focuses heavily on technique: foot placement, pole angle, formation shapes. All of that matters, but it’s not where people actually get hurt. They get hurt by deciding to cross a river they shouldn’t have crossed at all. The National Park Service makes this point directly, and it’s the one piece of conventional wisdom that deserves more weight than it usually gets: the willingness to turn back is the actual skill, not the shuffle step.
Where I think most guides fall short is treating the stick test and depth checks as optional extras rather than as the entire decision. They’re not supplementary information. They’re the whole judgment call, reduced to something you can run in ninety seconds from dry ground. If you take one thing from this guide, take the tests, not the techniques. A hiker who religiously runs the stick test and reads the ka-thump sound will avoid nearly every serious crossing accident, even with mediocre footwork. A hiker with perfect form who skips the tests is gambling.
— S
Sources
Recommended
Comments