

Step by Step Map Reading for Beginner Hikers

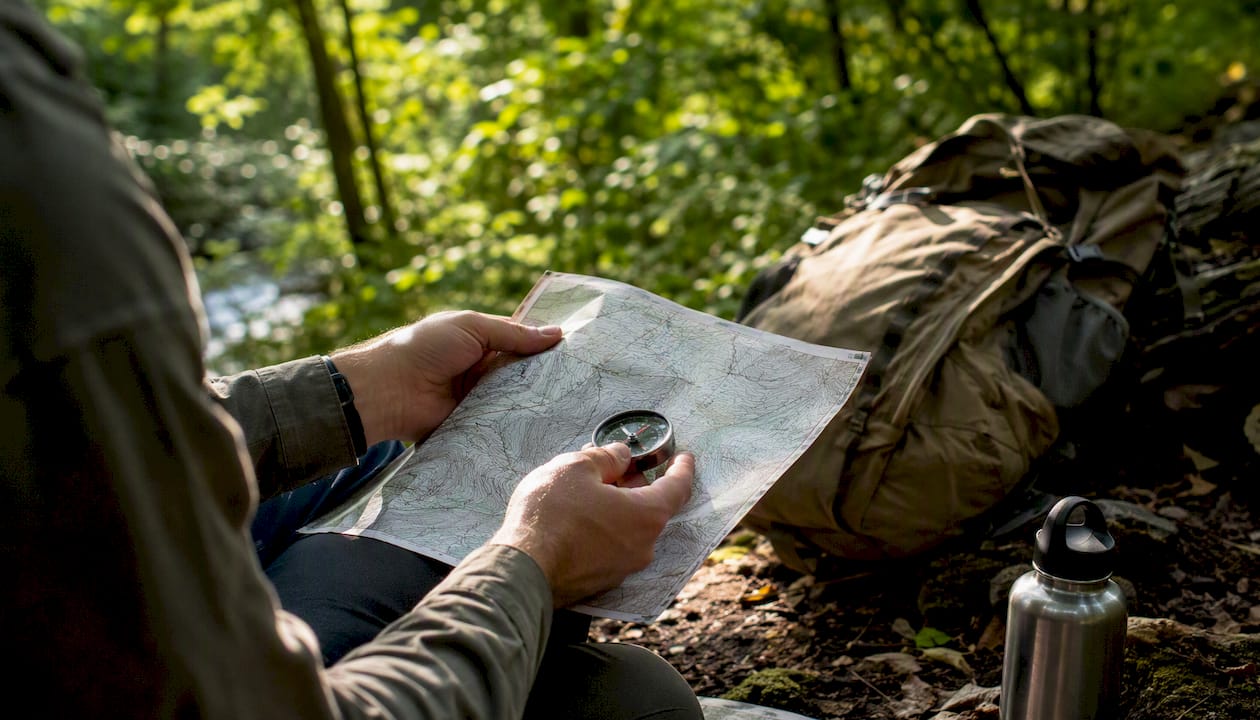
Reading a map correctly reduces navigation errors before they become emergencies. Here is the core field sequence you can apply immediately:
Choose the right map for your terrain (topographic for off-trail, trail map for marked routes).
Orient the map to north using a compass or visible landmarks.
Find your current location by matching terrain features around you to the map.
Identify your destination and note the terrain between you and it.
Plot your route, marking checkpoints and noting steep sections from contour lines.
Take a bearing from your current position to the next checkpoint.
Move and recheck your position every 10–15 minutes or after every major turn.
Confirm arrival at each checkpoint before moving to the next leg.
Pro Tip: Keep your thumb on your current location as you walk. This “thumbing” habit, recommended by practical navigation guides, prevents you from losing your place and cuts backtracking significantly.
Pro Tip: Always carry a paper topo map and compass as your primary tools. GPS batteries die; paper does not.
Table of Contents
Which map should you use for hiking?
Not every map belongs in a hiking pack. Road maps show highways and towns but nothing about elevation or trail conditions. Trail maps, like those sold at park visitor centers, mark established routes clearly but often omit the terrain detail you need when you step off the path.
Topographic maps are the standard for hikers because they show elevation, ridges, valleys, and water sources in a way no other map type does. For U.S. hikers, the two most reliable sources are:
USGS TopoView / The National Map at nationalmap.gov: free, downloadable 7.5-minute quads covering the entire country at 1:24,000 scale.
National Geographic Trails Illustrated maps: waterproof, printed at scales suited to trail use (typically 1:40,000 or 1:63,360), and updated more frequently than older USGS prints.
Official park maps: useful for orientation inside a specific park but rarely show enough detail for off-trail travel.
Check the print date on any paper map before a trip. Trails get rerouted, roads wash out, and new structures appear. A map more than five years old may mislead you on trail junctions. REI’s Expert Advice library is a solid reference for understanding why paper maps and compasses remain navigation essentials even when you carry a GPS unit.
How do contour lines describe the terrain?
Contour lines are the single most powerful feature on a topo map. Each line connects points of equal elevation, so the pattern of lines tells you exactly what the ground will feel like under your boots.
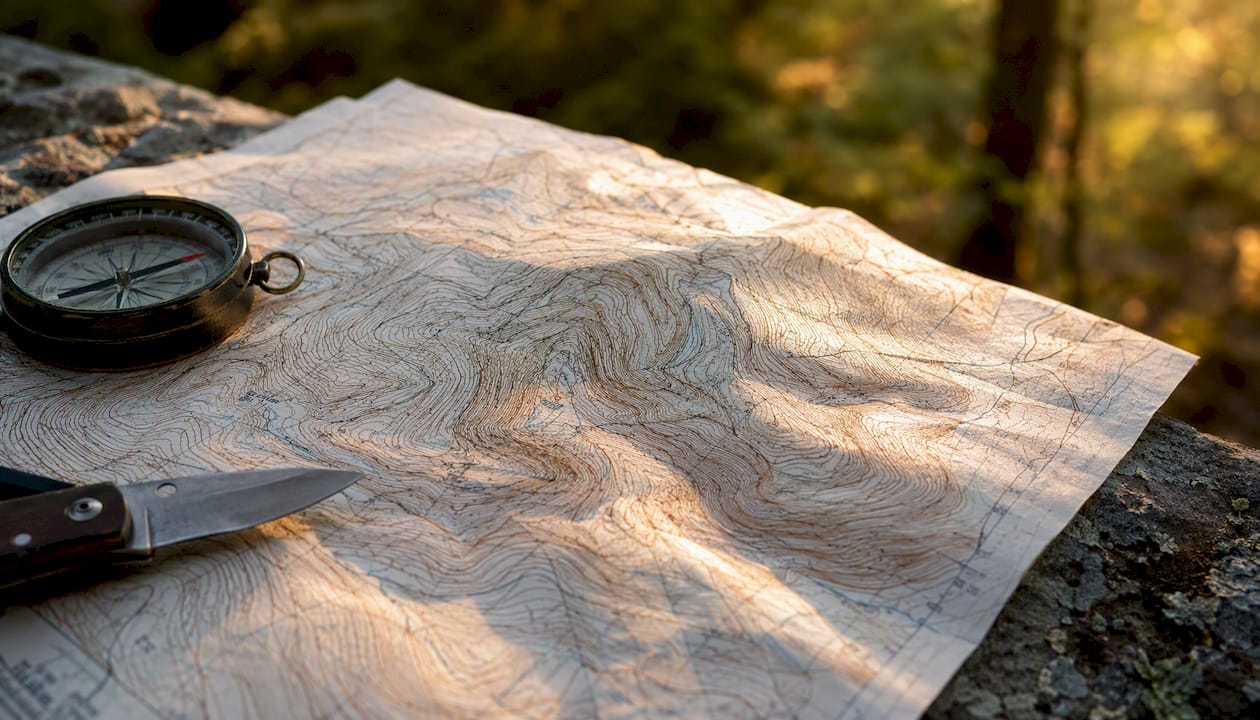
Closely spaced lines mean steep terrain; widely spaced lines mean gentle slopes. That spacing is the first thing to scan when you are planning a route.
Key contour patterns to recognize:
Index contours: every fifth line is printed darker and labeled with an elevation. Use these to count elevation gain quickly.
Peaks: contour lines form concentric closed circles, smallest at the top.
Saddles: an hourglass shape between two peaks where lines pinch inward from both sides.
Ridges: lines form a V or U shape pointing downhill.
Valleys and drainages: lines form a V or U shape pointing uphill, often with a stream at the bottom.
Depressions: closed circles with small tick marks pointing inward toward the low point.
Pro Tip: Check the contour interval in the legend before you judge steepness. Two maps can show identical-looking clusters of lines, but if one has a 40-foot interval and the other has a 10-foot interval, the actual climb is four times greater on the first map.
How do you measure real-world distance on a map?
Map scale tells you the relationship between a distance on paper and the same distance on the ground. A scale of 1:24,000 means one inch on the map equals a certain number of inches in the real world. A 1:50,000 map covers more ground per inch but shows less detail.
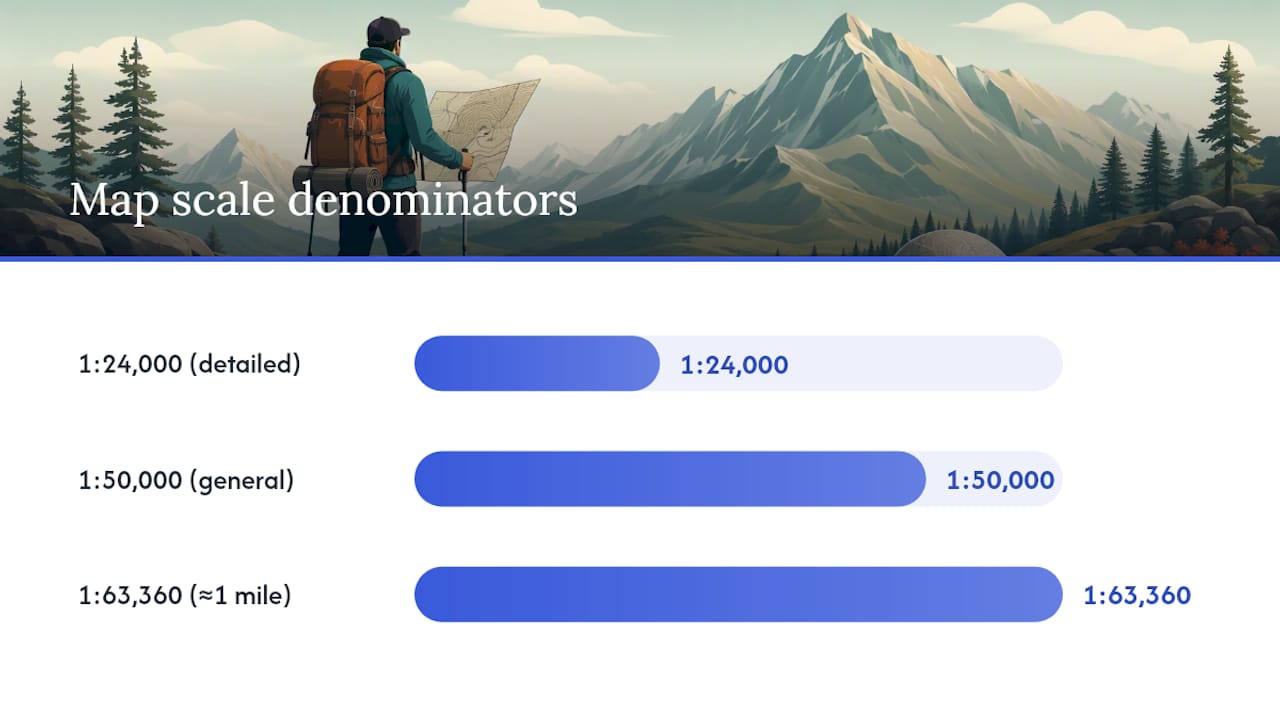
Scale | 1 inch on map = | Best use |
1:24,000 | a fraction of a mile | Detailed off-trail hiking |
1:50,000 | a larger fraction of a mile | General trail planning |
1:63,360 | about one mile | National park trail maps |
1:50,000 | over one mile | Regional overview |
To measure a route using the scale bar:
Lay the straight edge of your compass (or a strip of paper) along the route segment.
Mark the start and end points on the edge.
Transfer those marks to the scale bar printed on the map.
Read off the ground distance directly.
For curved trails, use a piece of string. Lay it along the route, then straighten it against the scale bar. Army ROTC navigation materials teach this string method as the standard field technique for irregular routes.
A rough time estimate: most hikers cover 2 miles per hour on flat ground, dropping to 1 mile per hour on steep terrain with a loaded pack. Add 30 minutes for every 1,000 feet of elevation gain.
What do map symbols and the legend actually tell you?
The legend is the most overlooked part of a map, yet it converts the map from a picture into practical directions. Every map series uses slightly different symbols and colors, so reading the legend before your trip is not optional.
What the legend contains:
Colors: blue for water, green for vegetation, white for open terrain, brown for contour lines, black for man-made features.
Contour interval: the vertical distance between each contour line, stated explicitly.
Magnetic declination diagram: shows the angle between true north and magnetic north for that map’s location and date.
Scale bar: the graphic distance reference.
Symbol key: trails (dashed lines), paved roads (solid lines), streams (blue lines), buildings (black squares), cliffs (hachured lines), marshes (blue tufted symbols), and forest cover (green shading).
Symbols vary between USGS quads and National Geographic Trails Illustrated maps, so never assume a symbol means the same thing on two different map series without checking.
How do you read a grid reference step by step?
U.S. hikers encounter three coordinate systems in the field:
Latitude/longitude: the global standard, expressed in degrees, minutes, and seconds (or decimal degrees). Every GPS unit and smartphone uses it.
UTM (Universal Transverse Mercator): a metric grid that divides the world into 60 zones. Easier for measuring distances than lat/long.
USNG/MGRS (U.S. National Grid / Military Grid Reference System): a labeled version of UTM used by search-and-rescue teams and emergency services across the U.S.
Grid references follow one rule: read right (easting), then up (northing). Think of it as reading a street address: you name the street first (the column), then the house number (the row).
Here is how to read a grid reference step by step:
Find the vertical grid lines on your map. The number printed at the bottom of each line is the easting.
Find the horizontal grid lines. The number on the left side is the northing.
For a 4-digit reference (e.g., 4372): the first two digits (43) are the easting grid line; the last two (72) are the northing grid line. This places you in a 1,000-meter square.
For a 6-digit reference, estimate tenths within that square to narrow to a 100-meter area.
A 10-digit reference narrows your position to approximately 1 meter, useful for precise rescue coordination.
Reference length | Precision | Practical use |
4-digit | ~1,000 m square | General area, checkpoint planning |
6-digit | ~100 m square | Standard hiking navigation |
8-digit | ~10 m square | Precise waypoint sharing |
10-digit | ~1 m | Search and rescue, emergency |
How do you orient your map and take a compass bearing?
Orienting the map means aligning it so north on the map matches north in the real world. Do this every time you stop to check your position.
To orient the map with a compass:
Place the compass flat on the map with the direction-of-travel arrow pointing toward the top (map north).
Rotate the map and compass together until the compass needle aligns with the north arrow on the bezel.
The map now matches the ground around you.
Magnetic declination is the angle between magnetic north (where your compass points) and true north (the top of your map). In the western U.S. it can exceed 15 degrees east; in the eastern U.S. it is typically a few degrees west. Always adjust for declination before trusting a bearing. The declination diagram is printed in the map legend.
To take a bearing from map to ground:
Place the compass edge between your current position and your target on the map.
Rotate the bezel until the orienting lines align with the map’s north-south grid lines.
Read the bearing at the index line.
Adjust for declination (add east declination; subtract west, or use the mnemonic “East is least, West is best”).
Hold the compass level, rotate your body until the needle sits in the orienting arrow, and walk in the direction-of-travel arrow.
Pro Tip: Re-orient your map and re-confirm your bearing every 10–15 minutes or immediately after passing a notable terrain feature. Failing to re-confirm is the top cause of getting lost.
How do you find your exact location in the field?
Triangulation (also called resection) lets you fix your position using visible landmarks when you are unsure where you are.
Identify two or three distinct landmarks you can see and find on the map (a hilltop, a trail junction, a lake edge).
Take a magnetic bearing to the first landmark with your compass.
Adjust for declination, then draw a line from that landmark back toward you on the map (reverse the bearing by adding or subtracting 180 degrees).
Repeat for the second and third landmarks.
Where the lines intersect is your position.
If the lines do not meet at a single point, you have a small triangle of error. Your position is somewhere inside it. Reduce the triangle by taking a third bearing or by moving to a clearer vantage point.
Attack points are large, unmistakable features near your target (a stream junction, a cliff base, a road crossing). Navigate to the attack point first, then use fine navigation to reach the exact destination. This two-stage approach is far more reliable than trying to hit a small target directly from a distance.
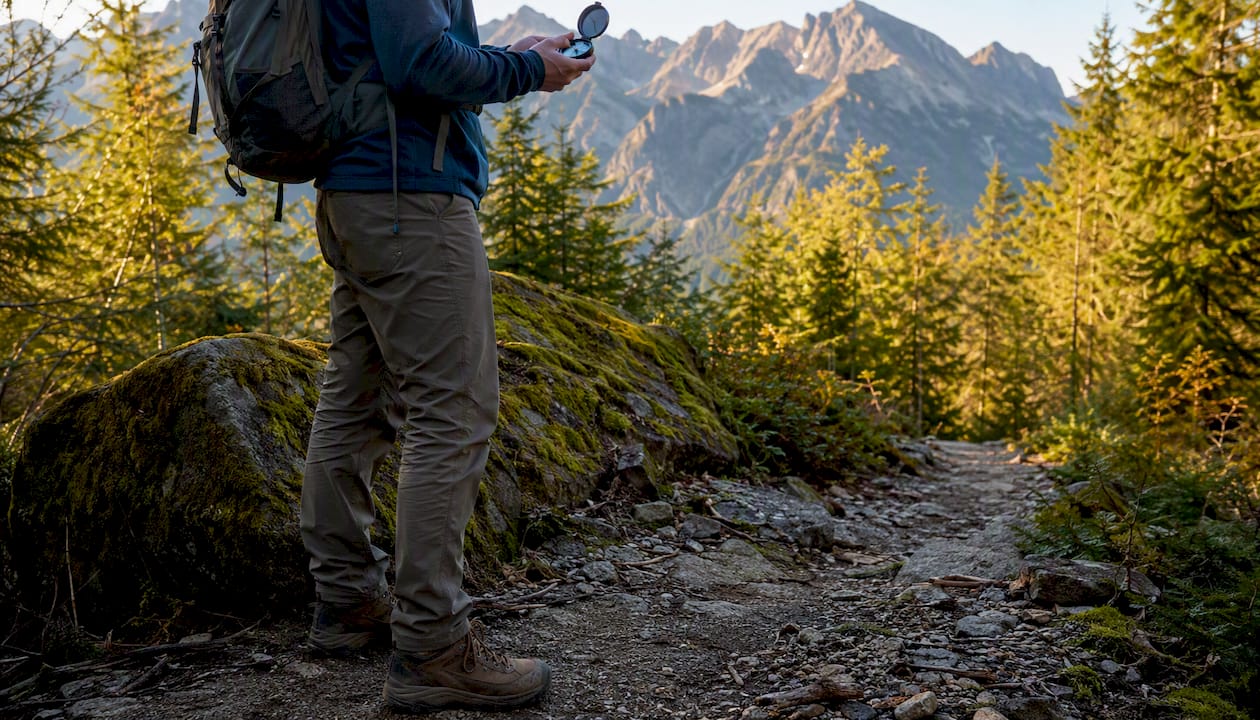
Common problems: lines that barely intersect usually mean a declination error or a misidentified landmark. Magnetic interference from metal gear or rock formations can also throw off a bearing.
How do you plan and follow a safe route on a topo map?
Pre-trip planning on a topo map prevents most navigation problems before they start.
Mark your start, destination, and at least three checkpoints on the map.
Identify steep sections (closely spaced contours) and plan where you will gain or lose the most elevation.
Note water sources, potential campsites, and bailout routes back to a road or trailhead.
Estimate total distance and elevation gain, then calculate realistic hiking time.
Write down grid references for key points and share your route plan with someone who is not on the trip.
In the field, follow this workflow:
Keep your thumb on your current location as you move (thumbing).
At each checkpoint, stop and confirm that the terrain around you matches the map.
Count paces or track time between checkpoints to catch drift early.
Re-orient the map every time you change direction.
Frequent re-orientation and confirmation are what separate hikers who navigate confidently from those who backtrack. The Thrillofit navigation workflow guide breaks this process into a repeatable field system you can adapt to any terrain.
What drills will actually improve your map reading?
Progressive drills build the muscle memory that makes navigation automatic under pressure. Work through these in order over two weeks:
Day 1–2 (Map orientation drill): At a familiar trailhead, orient your map to north without looking at landmarks. Confirm by matching three visible features to the map.
Day 3–4 (Checkpoint matching): Walk a short loop and stop at five points. Each time, identify your exact location on the map before moving on.
Day 5–6 (10-minute re-confirmation): Set a timer. Every 10 minutes, stop and confirm your position using at least two terrain features.
Day 7–8 (Bearing drill): Pick a visible target 500 meters away. Take a bearing, walk to it using only the compass, and check how close you land.
Day 9–10 (Blind navigate): With a partner, navigate a 1-mile loop using only the map and compass, no trail signs.
Day 11–14 (Full integration): Plan a 3–5 mile route with checkpoints, execute it, and debrief any errors afterward.
Safety rules for all drills:
Practice in low-risk, familiar terrain before moving to remote areas.
Always bring a partner for compass drills.
Log your trip plan with someone at home.
Carry the Ten Essentials on every practice outing.
The BLM’s Basic Map Reading course is a free, structured resource that complements these drills with formal instruction on topo interpretation and position finding. For pre-trip physical preparation, the injury prevention habits guide from HTK Training covers conditioning routines that reduce fatigue-related navigation errors on long days.
What safety basics should every hiker carry?
The Ten Essentials are the non-negotiable baseline for any backcountry trip. They are:
Navigation tools (paper topo map and compass)
Sun protection (sunscreen, sunglasses, hat)
Insulation (extra layers)
Illumination (headlamp with spare batteries)
First-aid supplies
Fire-starting tools
Repair tools and knife
Nutrition (extra food)
Hydration (extra water and purification)
Emergency shelter
A paper topo map and compass appear first on that list for a reason. GPS units and smartphones fail when batteries die, signals drop, or screens crack. REI’s navigation guidance is explicit: practice map skills, carry paper, and treat GPS as a supplement, not a replacement.
GPS backup steps:
Download offline maps for your area before leaving cell coverage.
Carry a spare battery pack or lithium batteries.
Cross-check GPS coordinates against your paper map at each checkpoint.
If you become lost or injured, stay calm and follow these steps:
Stop moving and re-confirm your last known position on the map.
Signal using a whistle (three blasts), mirror, or bright-colored gear.
Communicate your USNG grid reference, trail name, and any injuries if you reach emergency services.
Before every trip, tell someone your route, your expected return time, and what to do if you do not check in. That one habit has saved lives. For dedicated signaling procedures, the Thrillofit emergency signaling guide covers the full protocol. The Thrillofit camping first aid kit guide covers what to pack for medical emergencies in the field.
How do elevation profiles reveal what a hike will actually feel like?
An elevation profile is a side-view graph of your route, with distance on the horizontal axis and elevation on the vertical. You can sketch one from a topo map by plotting the elevation at each contour crossing along your planned route.
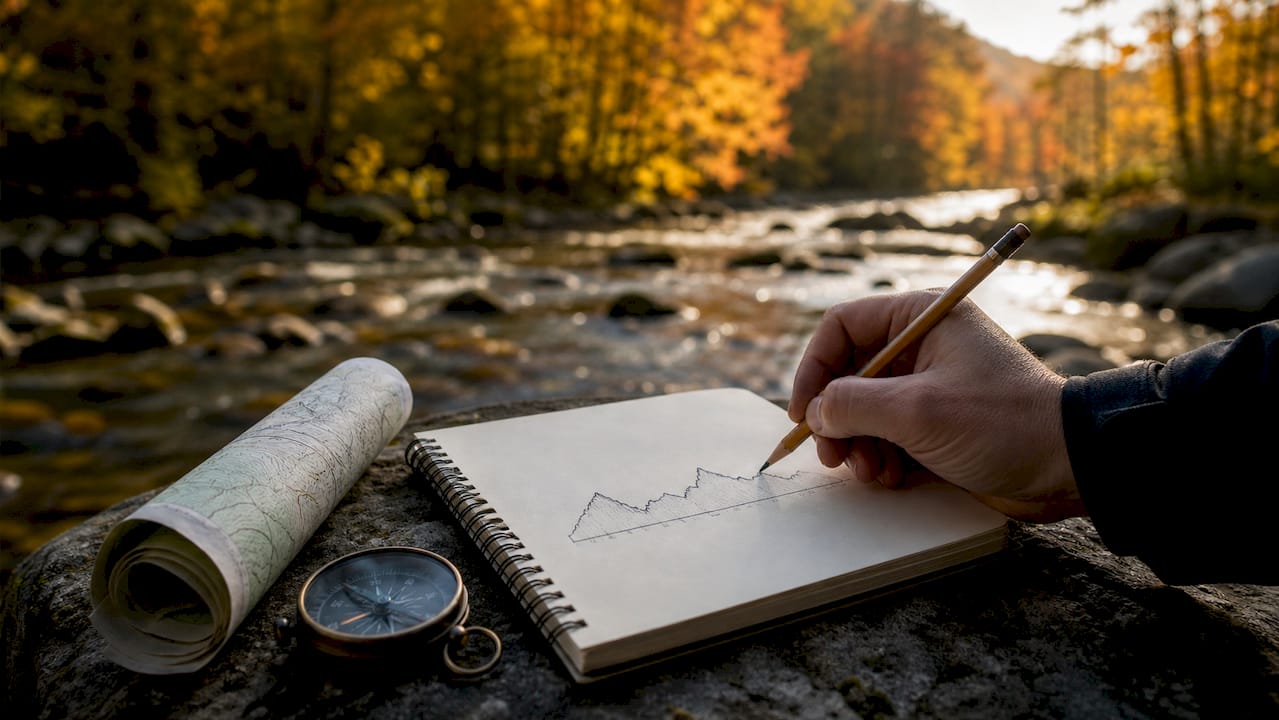
What the profile tells you that the map alone does not: the order of the climbing. A route that gains 2,000 feet spread over 8 miles feels very different from one that gains the same elevation in the first 2 miles. The profile makes that visible before you commit.
Slope gradient is the ratio of vertical rise to horizontal distance. A 10% grade means 10 feet of rise for every 100 feet of forward travel, which most hikers feel as moderately steep. Grades above 20% are genuinely demanding with a pack. On a topo map, you can estimate gradient by counting contour lines over a measured horizontal distance and dividing the total elevation change by that distance.
How do pacing and timing help you track distance in the field?
Pacing is counting your steps to measure distance. Most adults cover roughly 2,000–2,500 steps per mile on flat ground, but your personal pace count varies with terrain, pack weight, and stride length. Calibrate yours on a known 100-meter stretch before relying on it in the field.
Timing works alongside pacing. At a steady 2 miles per hour on flat trail, you cover one mile in 30 minutes. Add roughly 30 minutes for every 1,000 feet of elevation gain. Track both: if your pace count says you have walked 0.8 miles but only 10 minutes have passed, something is off.
Use a simple tally system: a pebble in your pocket for every 100 paces, moved to the other pocket at each count. This keeps your hands free and your count accurate over long distances. The Thrillofit step-by-step navigation skills guide covers pacing calibration drills in more detail.
How does terrain and weather change how you read a map?
Dense forest makes landmark identification harder because your sightlines are short. In those conditions, rely more on pacing and timing between checkpoints rather than trying to spot distant features. Streams and ridge lines become your most reliable handrails.
Above treeline, visibility is usually excellent, but featureless terrain (a broad plateau or snowfield) removes the landmarks you need for triangulation. In those conditions, grid references and compass bearings carry more weight. Mark your entry point with a cairn or GPS waypoint before crossing open ground.
In fog or heavy rain, your effective visibility can drop to 50 feet. Slow down, shorten your checkpoint intervals, and rely entirely on compass bearings and pacing. Wet maps tear easily; keep yours in a waterproof case or use a laminated copy. Cold temperatures affect compass fluid and battery life, so keep electronics warm and check your compass needle for sluggishness.
Desert terrain presents the opposite problem: too many similar-looking features. Dry washes, rock formations, and ridge lines can look nearly identical across a wide area. Use UTM coordinates and a GPS cross-check more aggressively in desert navigation, and read the Thrillofit desert survival guide for environment-specific hazards.
Key Takeaways
Reliable map reading comes down to one habit: orient first, confirm often, and never trust a single source of information alone.
Point | Details |
Orient before you move | Align your map to north at every stop using a compass and the declination diagram in the legend. |
Read contour lines for effort | Closely spaced contours mean steep terrain; check the contour interval before judging any slope. |
Use grid references to share location | A 6-digit USNG reference places you within 100 meters; a 10-digit reference narrows to approximately 1 meter. |
Reconfirm position every 10–15 minutes | Failing to recheck after turns or terrain features is the leading cause of getting lost. |
Thrillofit resources support your practice | Thrillofit’s navigation guides and field drills pair directly with the step-by-step workflows in this article. |
The skill most hikers skip (and why it matters more than gear)
Most beginners spend money on GPS units and spend zero time learning to read a paper map. That is exactly backwards. A GPS tells you where you are; a topo map tells you what that means. Without the map, a coordinate is just a number.
The contour-reading skill is where this gap shows up most clearly. Hikers who can read terrain from contour patterns make better decisions before they are in trouble, not after. They see the cliff band before they commit to a descent. They spot the drainage that will funnel them to water. They know which ridge will give them a view for triangulation. None of that comes from a screen.
The other underrated habit is practicing in low-stakes conditions. Every drill you run on a familiar trail near home is a deposit in a bank you draw from when conditions get serious. Navigation under stress, in bad weather, or after dark is a different skill from navigation on a sunny afternoon. The gap between those two versions of yourself closes only through repetition.
Thrillofit has the field resources to back this up
Thrillofit publishes navigation guides, printable field checklists, and practice drill templates built around exactly the workflows covered in this article. The difference from a generic tutorial: every resource is structured for real field use, not classroom reading.
The navigation tools field guide covers compass selection, GPS setup, and map sourcing in one place. The advantages of outdoor navigation skills article explains why these skills compound over time and make every future trip safer. For a complete starting point, visit Thrillofit to access the full library of step-by-step navigation resources, printable checklists, and practice schedules you can take into the field this weekend.
Authoritative sources for deeper study
USGS TopoView / The National Map: free downloadable U.S. topo maps at 1:24,000 scale.
REI Expert Advice: How to Read a Topographic Map: contour lines, scale, declination, and compass use.
BLM Basic Map Reading Course: free structured training on topo interpretation and position finding.
OS Maps Beginner Guides: step-by-step video and downloadable guides for contour lines, grid references, and compass basics.
Outdoor Guide: Beginner’s Guide to Reading a Map: practical field tips including thumbing and grid reference precision.
Common Sense Home: How to Read a Map: legend interpretation and symbol recognition for beginners.
This article is general educational information, not professional navigation or safety advice. Verify current declination values, trail conditions, and map editions with USGS or your land management agency before any backcountry trip.
Recommended
Comments