

Step by Step Navigation Skills for Safe Wilderness Travel

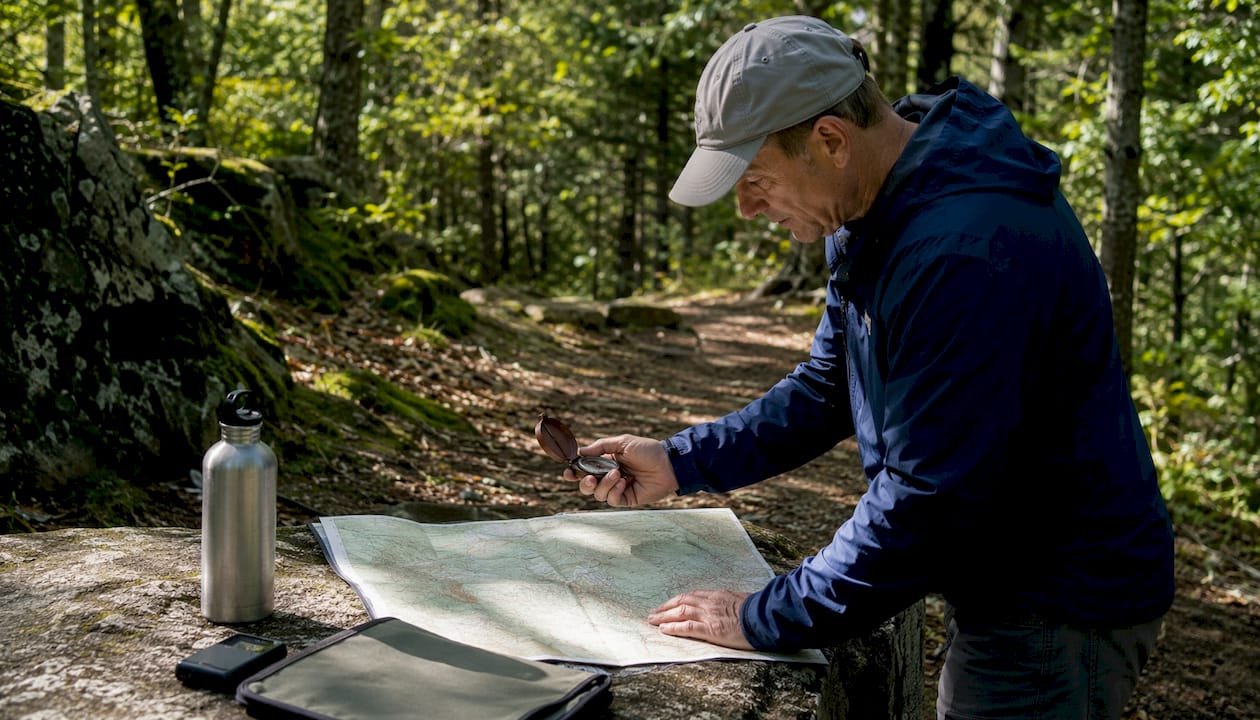
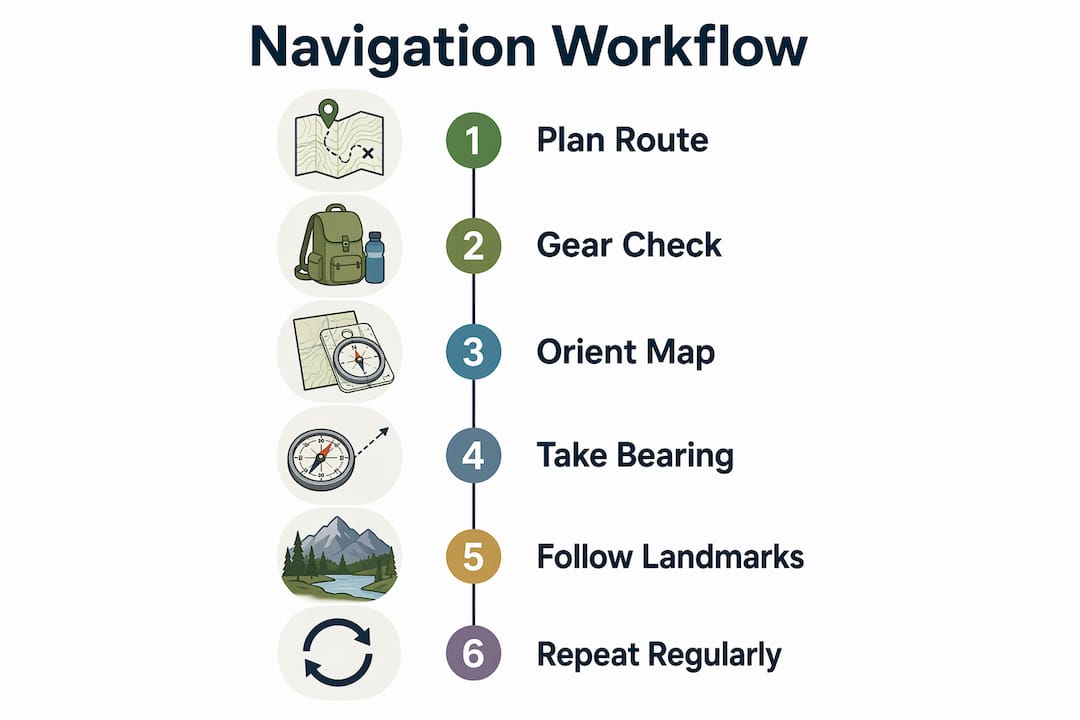
Use this six-step map-and-compass workflow every time you head into the backcountry: Plan your route → Gear check → Orient your map → Take a bearing → Follow with landmarks and handrails → Verify frequently. That sequence is the backbone of every reliable navigation system, from a day hike in the Smokies to a multi-day route in the Cascades.
TL;DR: Orient your map first, take a bearing second, pick an aiming landmark third, and verify your position every 15–20 minutes. Never wait until you’re lost to consult the map.
Situational awareness accounts for roughly 70% of effective navigation. That means tracking landmarks as you pass them, not only pulling out the compass when something feels wrong. The six-step workflow forces that habit from the start. That means tracking landmarks as you pass them, not only pulling out the compass when something feels wrong. The six-step workflow forces that habit from the start.
Safety callout: If you’re unsure of your position, stop moving. Identify a catching feature beyond your destination (a road, river, or ridgeline) on the map before you take another step. Always carry a paper map and compass as your primary tools, with a charged phone or GPS as backup only.
Table of Contents
What navigation gear do you actually need?
A paper topographic map plus a baseplate compass is the only combination that works with no battery, no signal, and no moving parts. That’s not a romantic preference for old-school gear; it’s a practical fact. Electronics fail. Paper doesn’t.
The must-have kit:
Paper topographic map of your specific area (USGS 1:24,000 scale for most U.S. backcountry)
Baseplate compass with a rotating bezel and, ideally, a declination adjustment screw
Waterproof map case or a zip-lock bag to protect the map in rain
Pencil for marking waypoints, bearing lines, and notes directly on the map
Pace counter or ranger beads for estimating distance on the move
GPS devices and smartphone apps like Gaia GPS or AllTrails are genuinely useful for planning and as a backup. Download offline maps and save key waypoints before you leave the trailhead, and carry a power bank. But treat digital tools as a convenience layer, not the foundation. The moment you rely on your phone as the primary tool, you’ve handed control of your safety to a battery.
Useful extras: a headlamp with spare batteries, a signal mirror, and a whistle. These aren’t navigation tools, but they matter when navigation goes wrong after dark.
Pro Tip: Before leaving the trailhead, write your declination value and two or three key waypoint coordinates directly on the map in pencil. If your phone dies, that information is still right there in your hand.
For a deeper look at navigation tool options, Thrillofit’s field guide covers compass models and GPS trade-offs in detail.
How do compass parts and declination work together?
Every compass has the same core parts, and knowing each one by name makes every instruction in this article click into place.
Baseplate: the clear rectangular plate the whole compass sits on; has a ruler along the edge
Direction-of-travel arrow: the arrow printed on the baseplate pointing away from you
Bezel (housing): the rotating ring marked 0–360°
Orienting arrow: the fixed arrow inside the bezel that you rotate to align with the needle
Orienting lines: parallel lines inside the bezel that align with map grid lines
Index line: the mark at the top of the bezel where you read your bearing
Magnetic needle: the floating needle; the red end points to magnetic north
Magnetic north vs. true north is where most beginners get tripped up. Your compass needle points to magnetic north, but maps are drawn to true north (or grid north). The angle between them is called declination, and it varies by location. In the western U.S., declination is typically east (positive), meaning magnetic north sits east of true north. In the eastern U.S., it’s usually west. The difference can be 5–20°, which translates to hundreds of feet of error over a mile.
Setting declination on an adjustable compass (step-by-step):
Look up your area’s current declination at NOAA’s magnetic declination calculator.
Find the small adjustment screw on the back of the compass bezel.
Use the provided key to rotate the orienting arrow until the declination scale shows your value (east or west).
From this point forward, when the needle sits inside the orienting arrow, your bearing is already corrected to true north.
If your compass has no adjustment screw, apply the correction manually: east declination, subtract from your map bearing; west declination, add to it. The memory trick is “east is least, west is best.”
Metal objects within about 10 ft (3 m) can skew the needle and invalidate a bearing. Check that rule before every reading: step away from trekking poles, vehicles, and metal water bottles.
How do you orient a map with a compass?
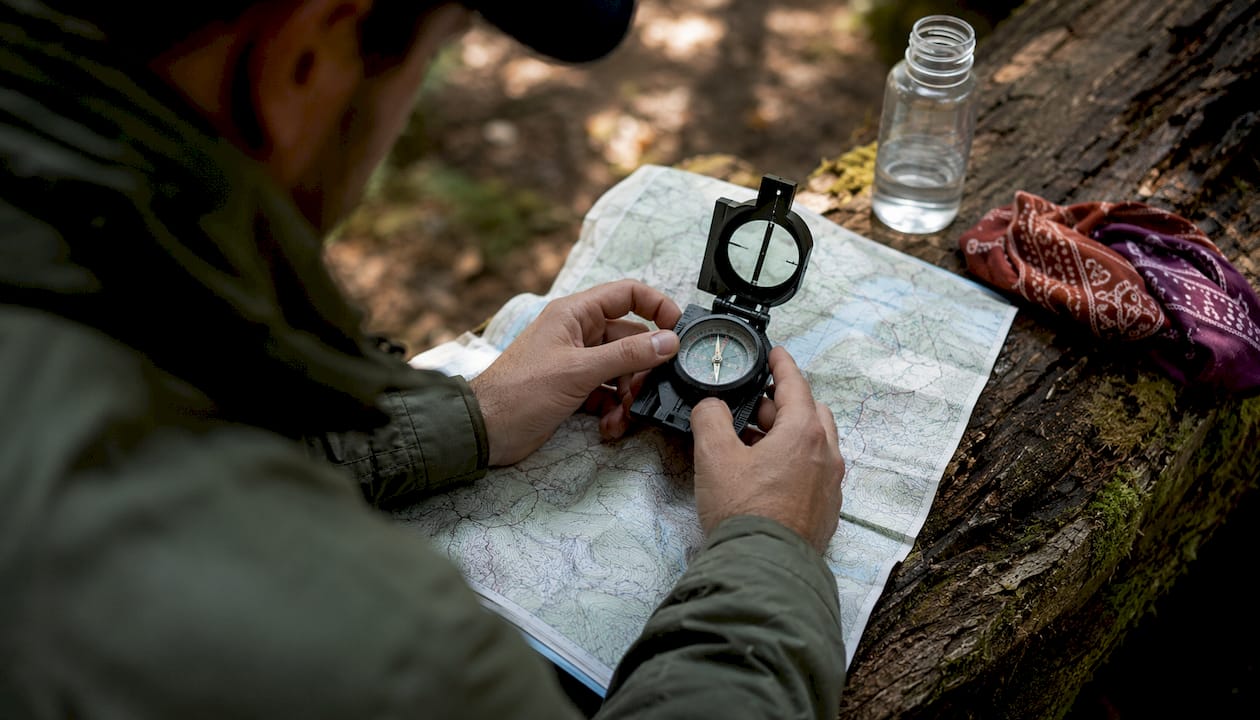
Place the compass on the map with the direction-of-travel arrow pointing toward the top (north) of the map. Then rotate the entire map and compass together until the red needle sits inside the orienting arrow. Done. The map now matches the real world in front of you.
Step-by-step procedure:
Lay the map on a flat surface (a rock, your pack lid, or the ground).
Set the compass bezel to 0° (north).
Place the compass on the map with the direction-of-travel arrow pointing to the top edge.
Rotate the map and compass as a single unit until the red needle aligns with the orienting arrow (“red in the shed”).
Hold the map still and look up.
Verification: Pick a visible landmark you can identify on the map (a peak, a trail junction, a lake). The map feature should now point in the same direction as the real feature in front of you. If it doesn’t, recheck for nearby metal and repeat.
Common mistakes to avoid:
Orienting the compass to the map but forgetting to rotate the map itself (the map stays fixed while the compass rotates, which is wrong)
Reading the white end of the needle instead of the red end, which gives you a 180° error
Orienting on a magnetic north line instead of a true north grid line when declination hasn’t been set
An unoriented map is worse than no map at all. You’ll confidently walk the wrong direction.
How do you take a bearing from a map and in the field?
The same baseplate technique produces both map bearings and field bearings. Once you understand that, the two skills feel like one.
Taking a bearing from the map
Place the compass on the map with one long edge connecting your current position to your destination.
Make sure the direction-of-travel arrow points toward your destination, not away from it.
Rotate the bezel until the orienting lines are parallel to the map’s north-south grid lines, with the orienting arrow pointing north.
Read the bearing at the index line. That’s your map bearing.
Apply declination: if your compass isn’t pre-adjusted, subtract east declination or add west declination to get your field bearing.
Worked example: Map bearing reads 65°. Your area has 15° east declination. Field bearing = 65° − 15° = 50°. Walk on 50°.
Taking a bearing in the field
Point the direction-of-travel arrow directly at a visible landmark (a distant tree, a ridgeline notch, a boulder).
Rotate the bezel until the red needle sits inside the orienting arrow.
Read the bearing at the index line.
To convert to a back-bearing (to return to your starting point), add or subtract 180°.
Bearing type | When to use | Key action |
Map bearing | Planning a route at camp or trailhead | Compass edge connects two map points |
Field bearing | Navigating toward a visible landmark | Point travel arrow at target, align needle |
Back-bearing | Returning to a previous position | Add or subtract 180° from current bearing |
Once you have your field bearing set, don’t stare at the compass while walking. Pick an intermediate landmark in that exact direction (a specific tree, a rock, a gap in the treeline) and walk to it. Re-sight every 50–100 yards. This keeps your eyes on the terrain, which is where the hazards are.
Following a bearing, estimating distance, and route tactics
Following a bearing in practice
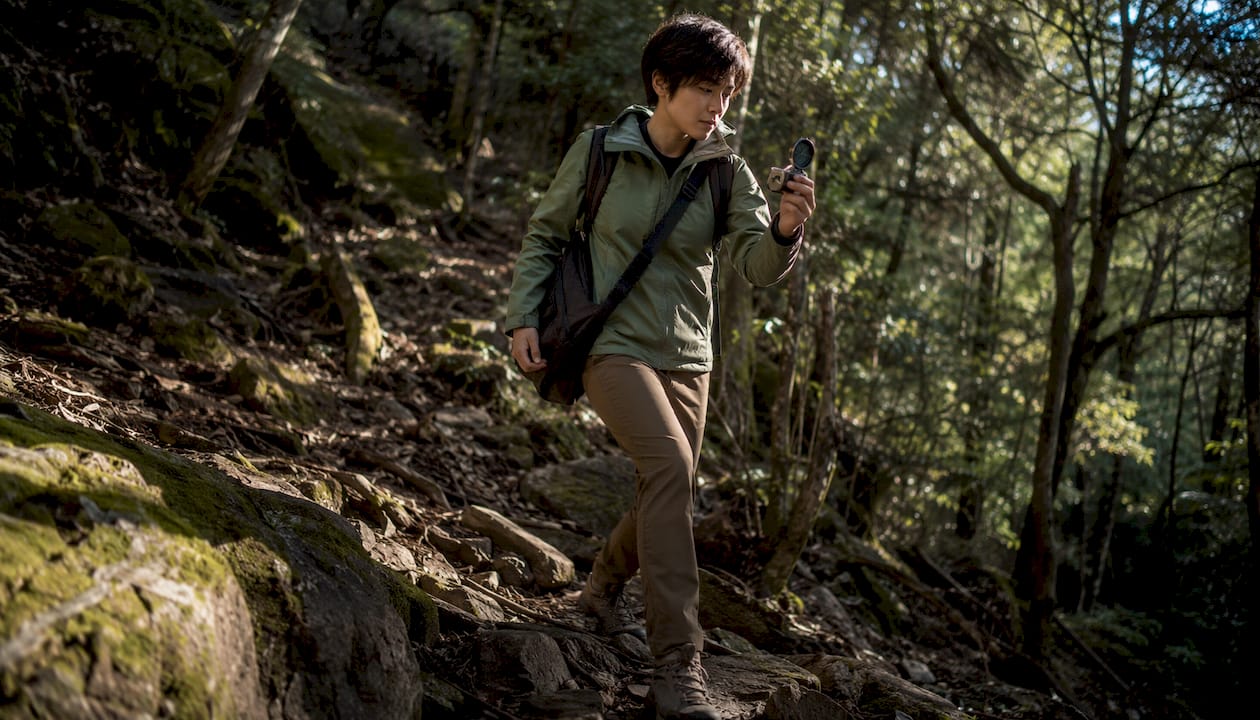
Hold the compass level at chest height, turn your body until the needle aligns, pick your aiming landmark, and walk to it. Pause for 5–10 seconds with the compass steady before each reading to let the needle settle. Reading mid-stride produces a false bearing more often than not.
Pace counting for distance estimation
One “pace” equals two steps (left-right). The average pace on flat ground covers roughly 2.5 feet, but calibrate yours on a known 100-meter stretch before relying on it. Count paces, multiply by your calibrated distance per pace, and you have a solid distance estimate without any electronics.
Route tactics: handrails, aiming off, and attack points
Handrails are linear landscape features (ridges, streams, trails, fences) that guide you toward a destination without constant compass checks. When you can route along a handrail, do it. It reduces cognitive load and keeps you oriented almost automatically.
Aiming off solves a specific problem: when your target sits on a linear feature (a trail junction on a river, a campsite on a ridgeline), deliberately aim 5–10° to one side. When you hit the river or ridge, you know exactly which direction to turn. Without aiming off, you hit the feature and have no idea whether to go left or right.
Attack points handle difficult final approaches. Instead of navigating directly to a small, hard-to-find target (a spring, a cache, a specific boulder), navigate first to a large, unmistakable nearby feature (a trail junction, a prominent knoll). From there, execute a short, precise leg to the actual goal.
Tactic | Best use | Main advantage |
Handrail | Route legs that parallel a linear feature | Continuous guidance, minimal compass use |
Aiming off | Target on a linear feature (river, trail) | Removes ambiguity on arrival |
Attack point | Small or hidden final destination | Converts hard approach into short, confident leg |
Pro Tip: Keep metal objects (trekking poles, carabiners, metal water bottles) at least 10 ft away from the compass when taking a reading. Magnetic deviation from everyday kit is one of the most common causes of a bad bearing.
Step-by-step practice drills that build real confidence
Short, frequent drills beat rare long sessions. Thirty minutes twice a week in a local park will build more reliable skill than one annual wilderness trip where you’re also managing gear, weather, and fatigue.
Progressive drill sequence:
Indoor map-orient drill. Lay a topo map of your neighborhood on the floor. Orient it with your compass. Identify three features visible from a window and confirm they match the map.
Park bearing-follow drill. Go to a park. Set a bearing to a visible object 100 yards away. Walk to it using only the compass (no looking at the target after you start). Check accuracy on arrival.
Pace-count calibration. Measure a 100-meter stretch. Walk it three times counting paces. Average the count. That’s your personal pace for flat ground.
Triangulation/resection drill. From an unknown position in a park, take bearings to three identifiable landmarks. Convert to back-bearings. Draw the lines on the map. Your position is the intersection. With three good bearings, accuracy is typically within 100–300 meters.
GPS cross-check drill. Navigate a short route by map and compass only, then check your position against your phone GPS at the end. The gap between your estimated position and the GPS fix tells you exactly where your technique needs work.
Lost-scenario simulation. On a familiar trail, cover your phone and navigate a 30-minute stretch using only map and compass. Pick a catching feature beyond your turnaround point so you have a safety net.
Before every practice session, run this checklist:
Map oriented and declination confirmed
Compass away from metal
Pace count calibrated for today’s terrain
Catching feature identified on the map
Someone knows your plan and expected return time
Measure improvement by tracking the gap between your estimated position and your actual position after each drill. When you consistently achieve close accuracy in a park, you’re ready for trail navigation; improved accuracy readies you for off-trail work.
For more on building a wilderness self-reliance mindset that supports these drills, Thrillofit’s guide covers the mental side of preparedness in depth.
Navigation safety: when to stop and how to plan redundancy
Common beginner mistakes and instant fixes
Skipping declination. A 15° error grows to roughly 1,300 feet of lateral drift per mile. Always check the map margin and set or calculate your correction before the first bearing.
Compass near metal. Zippers, poles, and phones deflect the needle. Clear a 10 ft perimeter before every reading.
Confirming position only at the start. Check your position against the map every 15–20 minutes, not just at trailheads.
Trusting one natural sign. Moss, sun angle, and tree branch density are useful confirmations, but none is reliable alone. Cross-check at least two.
Decision checklist when you’re unsure of your position
Stop. Don’t wander further from your last known point.
Orient the map and identify your last certain position.
Look for catching features on the map beyond your likely position.
Verify with terrain. Match contour shapes, streams, and ridgelines to what you see.
Backtrack to your last certain location if verification fails.
Redundancy planning
A paper map and baseplate compass as your primary tools, GPS or smartphone as backup, and a power bank to keep the backup alive. That’s the minimum. Add an emergency signaling plan: a whistle, a mirror, and a note left with someone at the trailhead that includes your route and expected return time.
Night navigation note: Mark your camp waypoint in daylight before you need it. Travel rates drop significantly after dark; plan for roughly half your daytime pace. Carry a headlamp with fresh batteries and a backup light source. Identify a large catching feature (a road, a river) that you can navigate toward if you become disoriented.
For emergency decision-making beyond navigation, Thrillofit’s wilderness self-rescue guide covers what to do when things go further wrong.
Key Takeaways
Mastering step-by-step navigation skills requires a repeatable workflow, the right gear, and regular practice drills that build situational awareness before you need it in the field.
Point | Details |
Use the six-step workflow | Plan, gear check, orient map, take bearing, follow landmarks, verify every 15–20 minutes. |
Paper map and compass are primary | They work with no battery or signal; GPS and phone apps are backup only. |
Set declination before every outing | A 15° error produces roughly 1,300 feet of lateral drift per mile; check the map margin and correct it. |
Situational awareness is 70% of navigation | Track landmarks as you pass them to build real-time awareness and avoid needing to reconstruct your position only when lost. |
Apply three route tactics | Handrails guide you along linear features; aiming off removes arrival ambiguity; attack points simplify hidden final approaches. |
Drill short and often | Triangulation accuracy of 100–300 meters in a park is the benchmark before moving to trail navigation. |
Why the workflow matters more than any single technique
Most navigation mistakes don’t happen because someone forgot a technique. They happen because someone skipped a step in the sequence. You can know exactly how to take a bearing and still end up off-route if you never oriented the map first, or if you checked your position once at the trailhead and then trusted momentum for the next two hours.
The six-step workflow isn’t a checklist you run once. It’s a rhythm you repeat every 15–20 minutes. That rhythm is what situational awareness actually means in practice: you always know roughly where you are because you’ve been tracking your position continuously, not reconstructing it after you’re already confused.
What most beginners underestimate is how much the tactical techniques (handrails, aiming off, attack points) reduce mental load. When you route along a handrail, you’re not fighting the terrain; you’re using it. When you aim off deliberately, you eliminate a decision at the moment you’re most likely to make a bad one. These aren’t advanced techniques reserved for experienced navigators. They’re beginner tools that make the whole system more forgiving.
Thrillofit’s approach to outdoor skills is built on the same principle: learn the workflow, practice it in safe conditions, then take it somewhere that matters. The advantages of building navigation skills extend well beyond finding your way; they change how you read terrain, make decisions under pressure, and carry yourself in the backcountry.
Authoritative sources and further reading
These are the most useful references for going deeper on the skills covered above:
NOAA Magnetic Declination Calculator — Look up the current declination for any U.S. location before every trip. The value shifts over time; don’t rely on the printed margin of an old map.
Survipedia: Map and Compass Navigation — Solid procedural coverage of compass handling, magnetic interference, and field technique. Good for reviewing the mechanics of bearing-taking and declination correction.
Modern Nomad Gear: Navigation Basics with Printable Checklist — Includes a downloadable practice checklist and guidance on combining GPS with paper navigation; useful before your first practice drill session.
Gridfreelife: Basic Navigation Without GPS — Covers natural navigation cues (sun, stars, moss, terrain) as backup confirmation methods; a good complement to compass skills.
Bushwalking Manual: Navigation Techniques — The clearest explanation of handrails, aiming off, and attack points available online, with practical examples.
Thrillofit: Outdoor Navigation Workflow — Expands on the field system and workflow organization covered in this article.
Local orienteering clubs (search USOC’s club finder at orienteeringusa.org) — Orienteering events are the fastest way to build real navigation speed and accuracy in a low-stakes, competitive environment. Most welcome complete beginners.
Recommended
Comments