

From 2 Hour Loops to Overnight Backcountry: Ten Essentials for Hiking

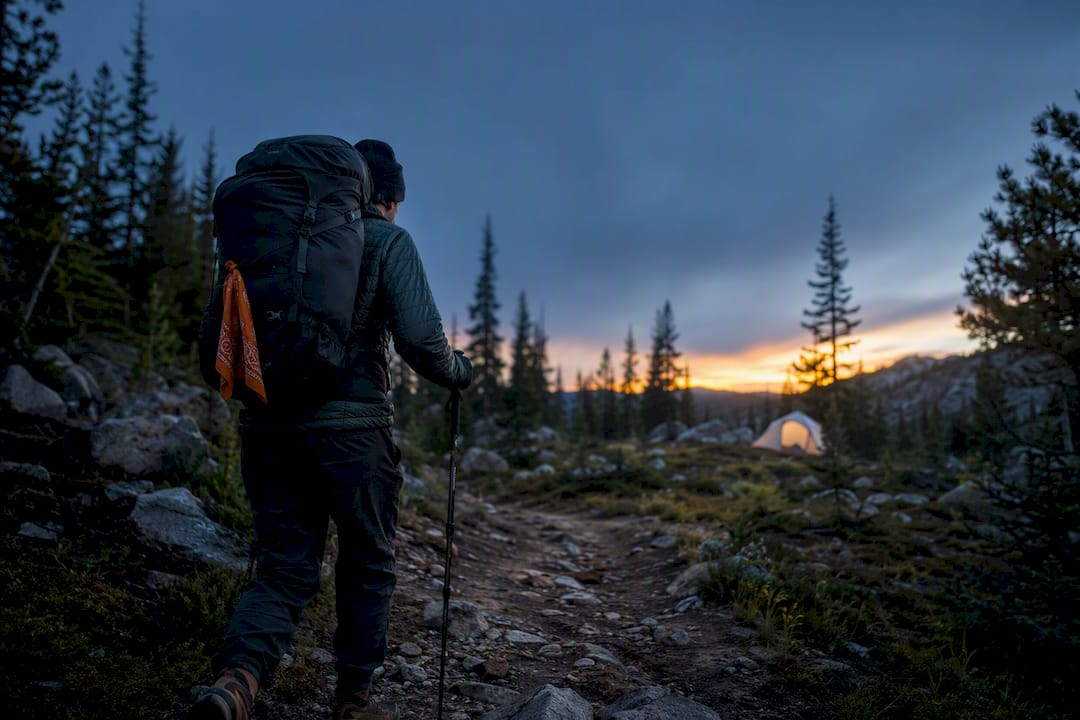
The Ten Essentials for hiking are navigation tools, a headlamp, sun protection, first aid, a knife or repair kit, fire starters, emergency shelter, extra food, extra water, and extra clothes. Every one of these functions as a system you build out, not a single item you check off. This guide covers what belongs in each system and how to scale your kit from a two-hour trail loop to an overnight backcountry push.
TL;DR:
Carry a physical map and compass for navigation, and add a personal locator beacon or satellite messenger for remote trails with weak signal.
Use a headlamp with spare batteries or a power bank, testing the device before leaving to avoid reliance on malfunctioning gear in low light.
Protect yourself from sun exposure with sunglasses, broad-spectrum sunscreen, and long clothing, especially on open ridgelines or snowfields.
Pack a compact first aid kit with basic supplies, medications, and personal items, and take a wilderness first aid course to handle common injuries.
Scale your gear based on trip distance, duration, and remoteness, with short hikes needing minimal redundancy and backcountry trips requiring comprehensive supplies.
Table of Contents
Navigation Tools for Day Hikes and Backcountry Trips
A phone GPS app is convenient until the battery dies or the screen cracks. That’s why the National Park Service frames navigation as a system, not a gadget, and why the USDA Forest Service recommends carrying a physical map and compass you actually know how to use. Pair a baseplate compass with a printed topo map, and pre-mark route checkpoints before you leave the car.
Add a personal locator beacon or satellite messenger for remote trails with cell-signal gaps.
Store maps in a waterproof sleeve so rain doesn’t erase your route.
Carry spare batteries or a power bank for any electronic device.
A guide to navigation skills for wilderness travel walks through compass bearings step by step if you’ve never practiced one.
How Much Headlamp and Battery Power Do You Need?
Every hiker needs a headlamp, even for a midday loop. Trails run long, weather turns fast, and an unplanned hour after sunset without light turns a minor delay into a genuine hazard. Look for a headlamp with enough brightness suitable for your trail conditions, with higher brightness recommended for technical terrain or overnight use.
Carry a full set of spare batteries, not just a backup light.
A charged power bank works for rechargeable headlamps on multi-day trips.
Test the beam and switch before you leave your driveway, not on the trail.
Pro Tip: Keep spare batteries in a separate pocket from your headlamp. If the light fails in the dark, you don’t want to be fumbling through the same compartment for both.
Sun Protection: Sunglasses, Sunscreen, and Clothing
Sun exposure adds up fast above treeline or on open ridgelines, and reflected glare off snow or rock multiplies the dose. Sunglasses need to block both UVA and UVB rays. Swap to glacier glasses or darker lenses for snowfields, where reflected light burns skin and eyes.
Use broad-spectrum sunscreen with a sufficient SPF rating, and reapply regularly during strong sun exposure.
A wide-brim hat covers ears and neck better than a baseball cap.
Long, lightweight sun-protective layers beat sunscreen alone on all-day exposed hikes.
Building a Compact First Aid Kit for the Trail
Most trail injuries are small: blisters, cuts, rolled ankles. A compact kit handles nearly all of them without adding real weight to your daypack.
Adhesive bandages, gauze, and antiseptic wipes for cuts and scrapes.
Blister patches or moleskin, applied at the first hint of a hot spot.
Athletic tape for wraps, plus a pair of nitrile gloves.
Any personal medications, an EpiPen if you carry one, and antihistamines for allergic reactions.
Pack your own prescriptions separately and label them, especially on multi-day trips. A camping first aid kit guide breaks down a fuller list and covers treating common injuries in the field. A basic wilderness first aid class pays off the first time you actually need it.
Multitool or Knife: What Belongs in Your Repair Kit
A multitool covers most trail repairs: tightening a loose bolt on trekking poles, cutting cordage, opening food packaging. A fixed-blade knife holds an edge longer and handles heavier cutting, but it adds weight and does less multitasking. Most day hikers do fine with a compact multitool.
Carry a few feet of duct tape or repair tape wrapped around a trekking pole or water bottle.
Pack a short length of paracord and a couple of spare buckles or zip ties.
Keep everything in a small zippered pouch so you’re not hunting through your pack mid-repair.
Fire Starters, Tinder, and When to Bring a Stove
Carry at least two ways to start a fire. A lighter is fast, but it fails in wind or wet cold, so pair it with waterproof matches or a ferro rod as backup. Store tinder, cotton balls soaked in petroleum jelly work well, in a sealed bag so it stays dry no matter what the weather does.
Pack a lighter plus waterproof matches or a ferro rod.
Keep tinder in a zip-seal bag separate from wet gear.
Commercial firestarter cubes ignite reliably even in damp conditions.
A backpacking stove is the safer call for boiling water or cooking on multi-day trips. It’s faster and more controllable than building a fire, and it doesn’t depend on finding dry wood.
Emergency Shelter: Bivy, Tarp, and Space Blanket Limits
A lightweight emergency bivy or reflective tarp gives you a barrier against wind and rain if you’re stuck out longer than planned. Space blankets alone usually aren’t enough for extended exposure. They block wind but do little against ground cold or sustained rain.
Carry a compact emergency bivy or a small reflective tarp.
Pair any space blanket with an insulating layer or a bivy, never rely on it solo.
On overnight or backcountry trips, bring a real tent and an insulating sleeping pad.
Pro Tip: A sleeping pad matters more than most hikers realize. The ground pulls heat out of your body through direct contact, and a bivy alone won’t stop that. The Mountaineers note that pairing a bivy with a pad significantly improves survival odds over a space blanket alone, because the pad blocks that conductive heat loss. Curious how a bivy actually works? A guide to bivy sacks covers the basics for minimalist campers.
Extra Food: What Counts as an Emergency Ration
Pack calorie-dense food that needs no prep: energy bars, jerky, trail mix, nut butter packets. These hold up in heat, don’t spoil, and deliver fast fuel if you’re stuck out longer than planned.
For a standard day hike, pack extra food beyond what you expect to eat to cover unexpected delays.
For remote or multi-day trips, add extra food to serve as an emergency backup supply.
Pick something you don’t love snacking on. If you actually enjoy your emergency bar, it won’t survive as an emergency ration.
How Much Water to Carry and How to Treat It
A common baseline is about one liter for every two hours of moderate hiking, adjusted up for heat, elevation gain, or heavy exertion, according to CleverHiker’s day-hike checklist. Carry more than you think you’ll need, especially on exposed or dry trails with no reliable water source.
Pack chemical treatment drops or tablets for lightweight backup purification.
An inline filter or UV pen works fast for refilling from streams or lakes.
Boiling remains the most reliable fallback if your filter fails.
Use a wide-mouth bottle for easier refilling and cleaning in the field.
Carry extra capacity, an empty collapsible bottle or bladder, so you can refill beyond your planned supply if a trip runs long.
Extra Clothes for an Unplanned Night Outdoors
“Extra clothes” doesn’t mean a fresh shirt. It means enough insulation to survive sitting still through a cold night if you get stuck out. That’s a very different packing list than what you’d wear while actively hiking.
Pack an extra pair of socks, a warm hat, and an insulated jacket you’re not already wearing.
Choose wool or synthetic fabrics; cotton holds moisture and drains body heat fast when wet.
A compressible puffy jacket packs down small enough that there’s no excuse to leave it behind.
How to Scale the Ten Essentials by Trip Type
The Mountaineers treat the Ten Essentials as a foundation you adjust, not a fixed checklist, and that’s the right way to think about your own pack. Four factors drive how much you add: distance from help, weather variability, group skill level, and trip duration. A short, well-marked loop close to a trailhead needs far less redundancy than a remote ridge walk with no cell coverage.
Short day hike, established trail, good weather: Map and compass, phone with offline maps, headlamp, sunscreen, basic first aid, snacks, one liter of water per two hours, light layer.
Long day hike, remote or exposed terrain: Add a satellite messenger, extra water treatment, a full emergency shelter, a day’s backup food, and a warm insulating layer.
Overnight or backcountry trip: Add a tent, sleeping pad, stove, multi-day food supply, full clothing system, and redundant navigation and fire-starting tools.
Overpacking to avoid feeling unprepared is a common trap, and Wikipedia’s overview of the Ten Essentials notes that starting from the core ten and adding only trip-specific items keeps weight in check.
Trip type | Navigation | Shelter | Food/water backup |
Short day hike | Map, compass, phone | None needed | One extra snack, 1L/2hr |
Long remote day hike | Add satellite messenger | Emergency bivy | Full extra meal, treatment kit |
Overnight backcountry | Add offline GPS backup | Tent + sleeping pad | Full day’s food, redundant water treatment |
Test your full kit on a short local hike before trusting it on a longer trip; using resources like CampGazer to plan RV trips and check campsites can help you organize your route and camp locations efficiently. A headlamp that hasn’t been switched on in a year is not a headlamp you can rely on at dusk.
Signaling for Help: Whistle, Mirror, and Phone Backup
GPS units and personal locator beacons get most of the attention, but low-tech signaling tools deserve a permanent spot in your pack. The National Park Service stresses that being able to signal for help is as important as carrying the gear itself, and a beacon isn’t the only way to do it.
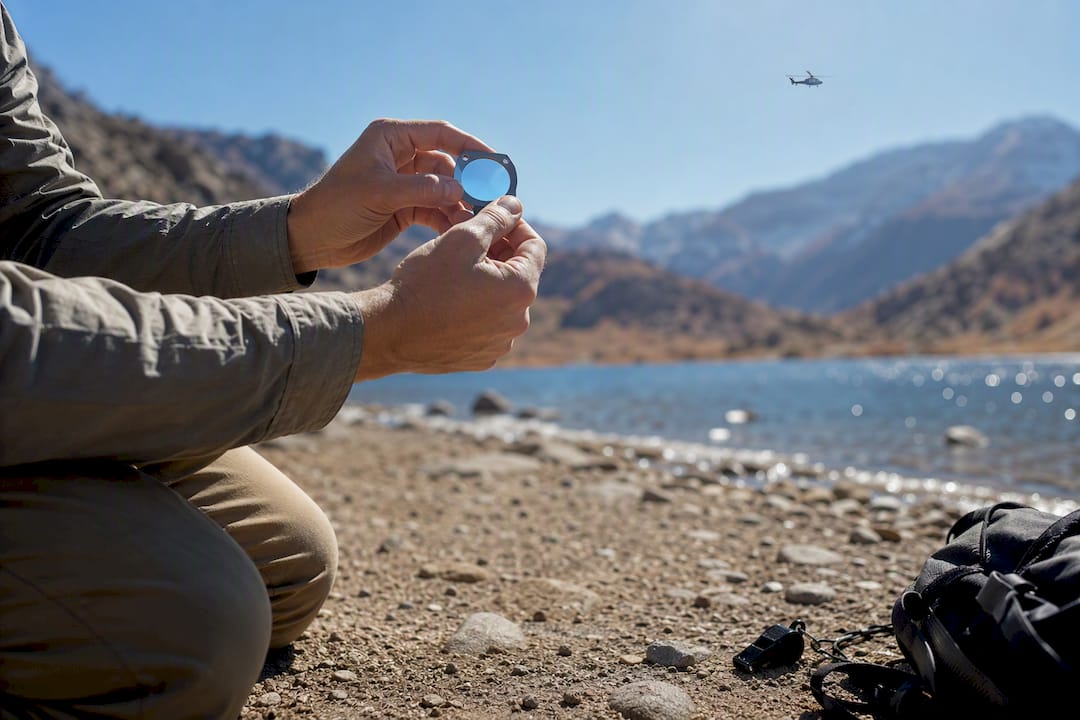
A whistle weighs almost nothing and carries farther than a shout, especially over wind or running water. Three sharp blasts is the universal distress signal recognized across US search and rescue operations. Clip one to your pack’s sternum strap where you can reach it without digging through a bag.
A signal mirror works in daylight when you can see an aircraft, boat, or distant road but can’t reach anyone by voice or radio. Angling a small mirror or even a phone screen toward a search plane can catch attention from miles away.
Your phone still matters even without cell service. Many carriers and newer phone models support satellite SOS messaging in areas with no traditional coverage, and even a dead-zone phone can sometimes catch a signal from high ground or a ridge. Keep it charged, powered off when not needed to save battery, and stored somewhere waterproof.
None of these replace a PLB or satellite messenger on remote trips. They’re the backup layer for when your primary device fails, runs out of battery, or simply can’t reach a satellite through dense tree cover.
Do You Need ID and Documents on the Trail?
Carrying identification on a hike sounds unnecessary until search and rescue teams need to figure out who you are, who to call, and what medical conditions might affect treatment. It’s a small, light addition to any pack, and it matters most exactly when you’re least able to speak for yourself.
Bring a physical ID, driver’s license or similar, even on short local hikes. If you’re in a national park or wilderness area requiring a permit, keep a copy in your pack rather than only in a phone app that might be dead or unreachable.
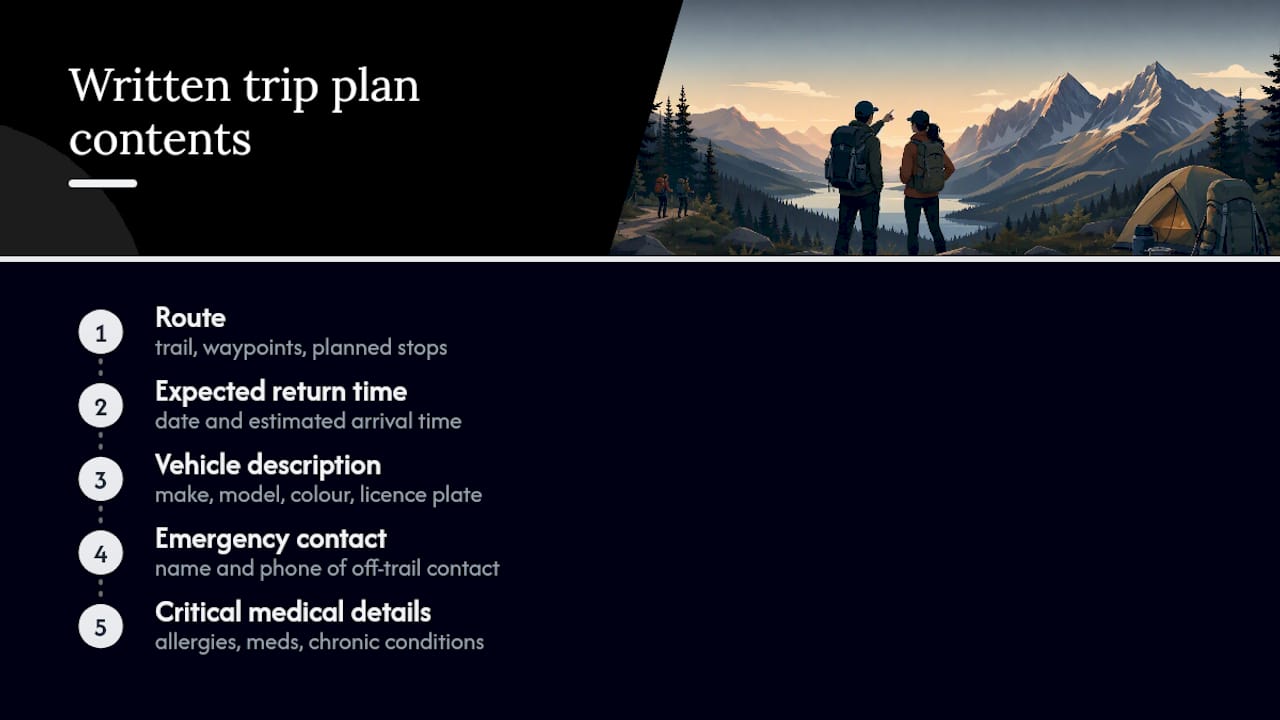
Write down emergency contact information and any critical medical details, allergies, medications, chronic conditions, on a small card kept with your ID. Some hikers use a wearable medical ID bracelet or tag for this exact reason. If you’re unconscious or unable to communicate, this card speaks for you.
For group trips, leave a written trip plan with someone who isn’t hiking: your route, expected return time, and vehicle description. This single habit does more for your safety than almost any piece of gear, because it tells someone exactly when and where to start looking if you don’t check in.
Weather Awareness: Tools and Warning Signs to Watch
Checking a forecast the night before isn’t the same as monitoring conditions once you’re on trail, and mountain weather shifts faster than valley forecasts predict. A NOAA weather radio or app gives you real-time updates in areas with signal, and it’s worth checking before you commit to an exposed ridge or alpine section.
Weather apps built for hiking, rather than general forecast apps, tend to factor in elevation and terrain more accurately. Cross-check any single source against another before trusting a clear-sky forecast at higher elevation, since conditions at a trailhead often look nothing like conditions two thousand feet up.
Learn to read the sky directly, since it beats any app once you’ve lost signal. Building cumulonimbus clouds, tall and anvil-shaped, signal a thunderstorm within hours. A sudden temperature drop or shifting wind direction often precedes a front moving in. Darkening skies to the west, in most of the continental US, mean weather is approaching faster than it looks.
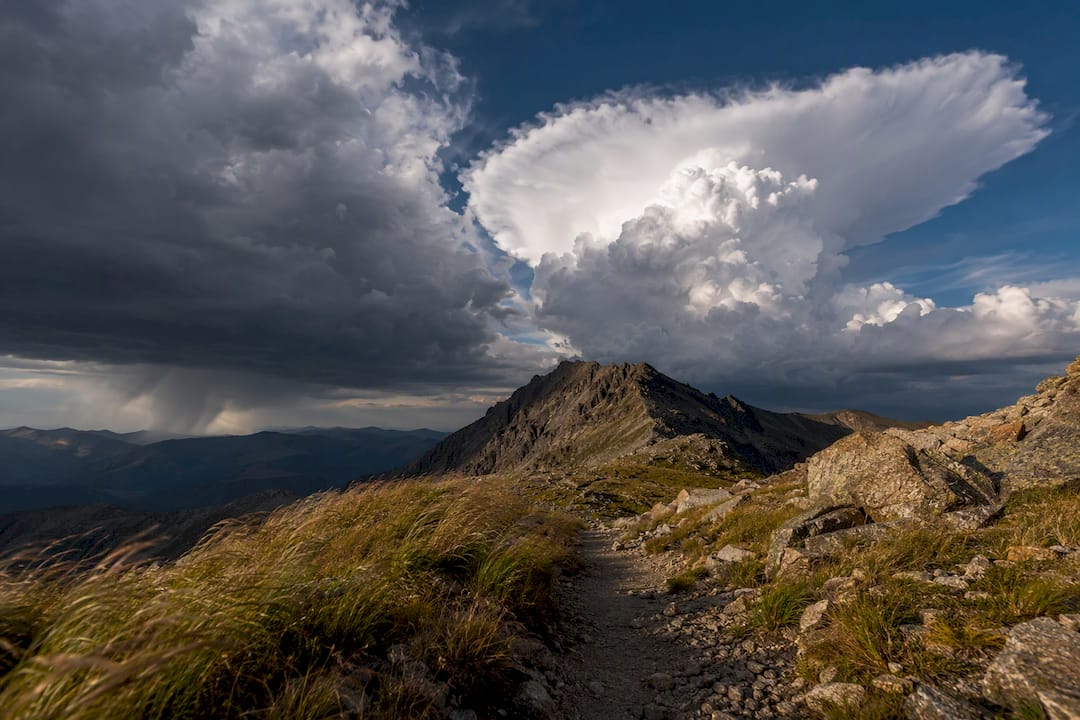
Build a hard turnaround rule into your trip plan tied to weather, not just time or distance: if skies are building by early afternoon on an exposed route, that’s your signal to head down regardless of how close you are to a summit or viewpoint. Leave No Trace recommends checking conditions before every trip as a baseline habit, not an occasional precaution for questionable forecasts.
Why the Basics Still Beat the Gadgets
Most gear failures on trail aren’t equipment failures. They’re skill failures wearing equipment as an excuse. A satellite messenger doesn’t help if you never learned how to trigger an SOS before you needed to. A compass sitting unused in a side pocket for three seasons isn’t backup navigation, it’s dead weight with good intentions.
The habit that actually moves the needle is boring: run a five-minute pack check before every hike. Click the headlamp on. Confirm the compass needle swings freely. Check that the firestarter still sparks. A guide to gear selection tradeoffs covers how these small choices compound over a season of trips, and a beginner trail guide is worth a look if you’re still building your kit from scratch. Do this before every hike, not just the big ones. Familiarity with your gear is the real essential nobody puts on the list.
— S
Get Your Free Ten Essentials Checklist
This guide was built because most hiking checklists online are generic lists copied from one site to the next, without the scaling logic that actually matters once you’re choosing between a day pack and a backcountry load.
If you want a printable version of this exact system, broken down by trip type with room to check off your own gear, Thrillofit’s outdoor resource hub has downloadable checklists and deeper how-to guides on everything from navigation drills to shelter setup. Start with the Thrillofit homepage to browse the full library and find the guide that matches your next trip.
Where to Learn More About the Ten Essentials
For deeper, official guidance beyond this guide, check the National Park Service’s Ten Essentials page, REI’s expert breakdown, and The Mountaineers’ framework.
Leave No Trace’s Ten Essentials guide for pre-trip planning habits.
Park-specific pages for permit rules and trail conditions.
Local weather services for real-time forecasts before any exposed or remote trip.
Sources
Recommended
Comments