

Water Gear for Outdoors: What Survivalists Need

TL;DR:
Essential water gear for outdoor trips includes a purifier, a storage container, a flotation device, disinfectant tablets, and a cleaning kit. Selecting the right treatment method depends on water quality, with options like filters or chemical tabs, and proper storage involves choosing containers suited to activity and environment. Testing water sources beforehand and practicing gear use are vital to ensure safety and effectiveness during emergencies or routine outings.
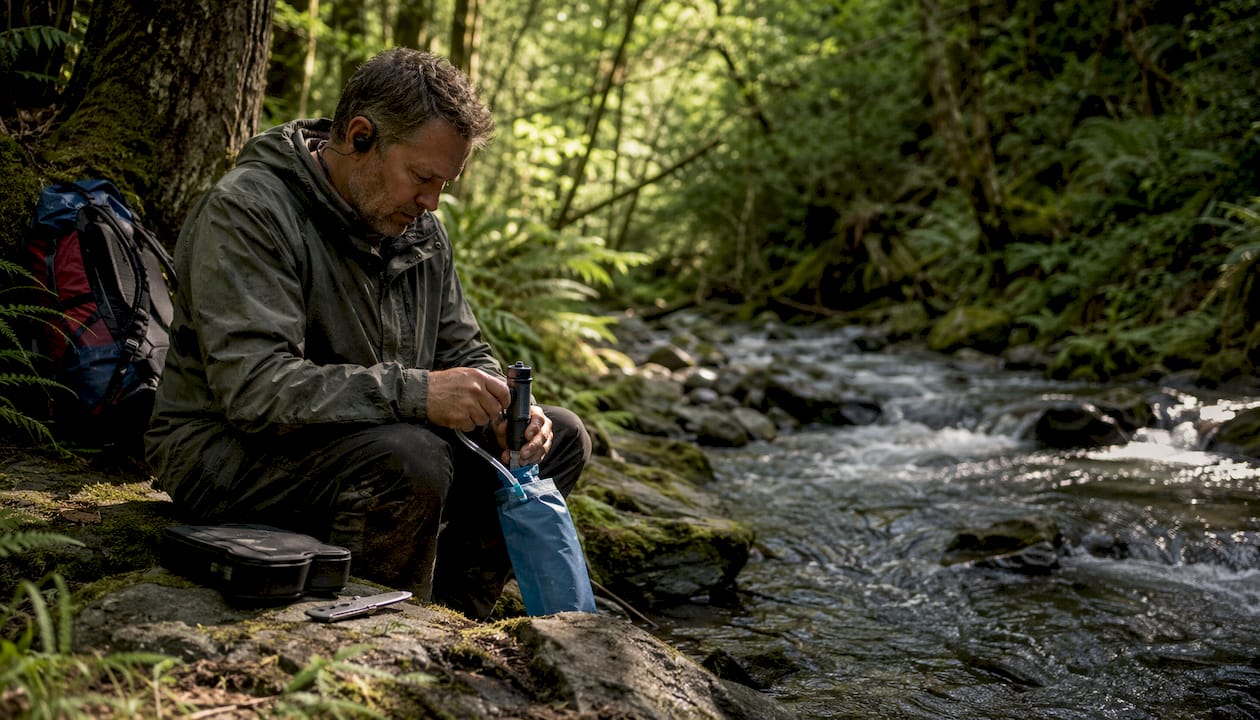
Every outdoor trip that involves water demands five items at minimum: a portable microfilter or purifier, a collapsible reservoir or hard bottle, a personal flotation device (PFD) if you’re on moving water, a chemical disinfectant backup, and a small cleaning kit. Get those five right and you’ve covered the most likely ways a water-related situation turns dangerous.
Portable microfilter/purifier — removes bacteria, protozoa, and (with ultrafiltration) viruses from stream or lake water
Collapsible reservoir or hard bottle — carries treated water and doubles as a collection vessel
PFD — non-negotiable on any paddling or swift-water trip; a Type III works for most recreational use
Chemical disinfectant backup (iodine or chlorine dioxide tablets) — weighs almost nothing and covers you when your filter fails
Basic cleaning kit — a syringe for backflushing, a small brush, and a microfiber cloth
Pro Tip: Before you commit to any single purification technology, test your water source or at least research likely contaminants for your region. DIY test strips miss too much; a mail-to-lab kit gives you the full picture and prevents buying the wrong filter.
Table of Contents
What categories of water gear do you actually need?
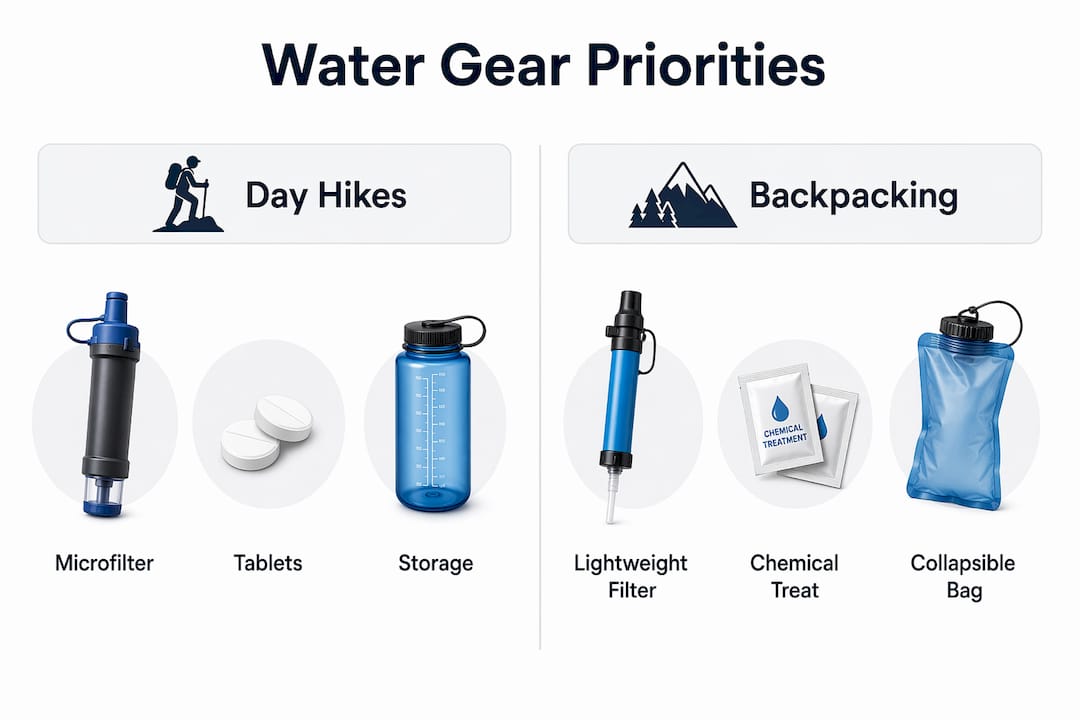
Water gear breaks into five categories, and which one you prioritize depends entirely on what you’re doing that day.
Purification — filters, purifiers, UV pens, chemical tabs, and boiling setups. The foundation of any backcountry water plan.
Storage and transport — hard bottles, insulated bottles, collapsible reservoirs, and dry-bag-protected containers.
Safety and flotation — PFDs, throw bags, whistles, helmets, and thermal layers.
Clothing and footwear — wetsuits, drysuits, neoprene booties, quick-dry layers, and high-visibility tops.
Paddling and sport gear — kayaks, SUPs, paddles, dry bags, and waterproof pouches.
Activity | Primary gear priority | Secondary priority |
Day hike near streams | Portable microfilter | Collapsible bottle |
Multi-day backcountry | Microfilter + chemical backup | Gravity system for groups |
Kayaking / rafting | PFD, dry bags, helmet | Waterproof phone pouch |
Basecamp / group camping | Gravity or pump system | Insulated bottles, food-prep tools |
Fishing from a boat | PFD, insulated cooler | Pump filter for drinking water |
Portability and packability often outweigh raw performance for backpackers, while paddlers and surfers benefit more from performance-oriented gear. That trade-off shapes every category decision below.
Which purification method is right for your water source?
The answer depends on what’s in the water, not just what’s convenient to carry. No single treatment technology removes every contaminant. Microbial-only risk (most U.S. backcountry streams)? A hollow-fiber microfilter handles it. Unknown source, international travel, or downstream of human activity? You need a purifier rated for viruses or a chemical protocol with full contact time.
Method | Removes | Pore size / mechanism | Portability | Lifespan / notes |
Hollow-fiber microfilter | Bacteria, protozoa | micron-sized | High | Backflushable; long life with care |
Ultrafiltration purifier | Bacteria, protozoa, viruses | very small micron-sized | High | More expensive; some models field-serviceable |
Chemical tabs (chlorine dioxide) | Bacteria, protozoa, viruses | Chemical disinfection | Very high | 30-min contact time; taste impact |
Boiling | Bacteria, protozoa, viruses | Heat | Low (fuel needed) | 100% effective at rolling boil; no chemical taste |
UV pen | Bacteria, protozoa, viruses | UV-C light | Medium | Requires clear water; battery-dependent |
Reverse osmosis | Broad spectrum including heavy metals | Membrane filtration | Low (base camp) | Requires pre-filtration to protect membranes |
A few things worth knowing before you pick:
Microfilters do not remove viruses. In North American wilderness, viral risk is low but not zero near populated areas.
Slower flow rates often signal more thorough filtration. In a survival scenario, a backflushable system that handles sediment beats a fast one you can’t service.
Gravity systems like the Platypus GravityWorks suit groups and base camps; solo travelers do better with a lightweight squeeze filter.
Always pre-filter visibly turbid water through a bandana or mesh cloth before running it through a membrane. Sediment destroys hollow-fiber filters faster than anything else.
Look for NSF/ANSI certification on any device you trust with your health.
How should you store and transport water in the field?
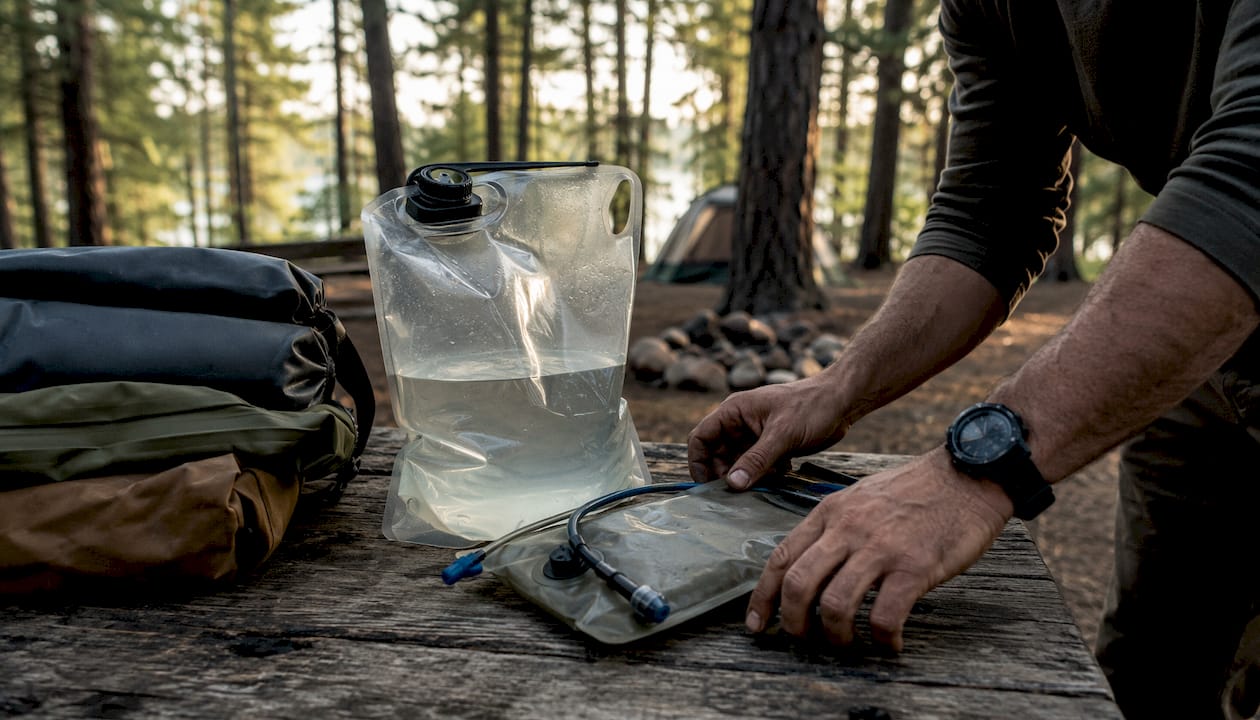
Container choice affects weight, hygiene, and how fast you can refill. Hard bottles (stainless or BPA-free plastic) resist puncture and hold temperature but add weight. Insulated bottles keep water cold for hours in summer heat. Collapsible reservoirs pack flat when empty, making them ideal for backpacking, though they’re harder to clean and prone to mold if stored wet.
Hard bottle (32–40 oz): Best for day hikes; durable, easy to clean, doubles as a cooking vessel if stainless.
Insulated bottle: Worth the weight on hot-weather or desert trips where cold water prevents heat exhaustion.
Collapsible reservoir (2–3 L): Ideal for backpacking; keep a separate “dirty” bag for unfiltered water to avoid cross-contamination.
Jerry-style container (5–10 L): Base camp or vehicle use; too heavy to carry far, but great for group cooking and washing.
For waterproof bag options that protect your containers and electronics, zipper construction matters more than most people realize. Protect containers from UV damage by keeping them inside your pack or a dry bag during long sun exposure. In freezing conditions, sleep with your water bottle to prevent it from icing overnight.
Cleaning checklist: Rinse reservoirs with a dilute bleach solution after every multi-day trip. Hang them open-end-down to dry completely before storage. Never store a reservoir with water inside.
What safety gear do you need around water?
A PFD is the single item that most often separates a close call from a fatality. Type III PFDs suit most recreational paddling; Type V covers specialized activities like whitewater or commercial rafting. The fit matters as much as the type: a PFD that rides up over your chin in the water is useless.
PFD (Type III or V): Wear it, don’t just carry it. Check the label for weight and chest-size rating.
Throw bag: 50–75 ft of floating rope for rescuing a swimmer in current; practice the throw before you need it.
Whistle: A Fox 40 or similar pealess whistle carries farther than shouting and works wet.
Signaling mirror: Lightweight, no batteries, visible for miles in sunlight.
Helmet: Required for whitewater Class III and above; protects against rocks, not just impact.
Thermal layer or wetsuit: Cold-water immersion can incapacitate a strong swimmer in minutes. A 3mm neoprene wetsuit buys time.
Pro Tip: Rinse PFD buckles and zippers with fresh water after every salt or silt exposure. Salt crystals seize buckles; silt grinds through zipper teeth. A two-minute rinse extends the life of your safety gear significantly.
Before entering moving or cold water: check current speed and identify exit points, never go alone, and tell someone your float plan.
How do you match gear to your specific activity?
Backpacking
Weight is everything. Carry a lightweight squeeze filter as your primary and two or three chlorine dioxide tablets as backup. A 2–3 L collapsible reservoir fits inside your pack when empty. Quick-dry trail runners or neoprene water shoes handle stream crossings without soaking your feet for hours.
Kayaking and paddling
Your PFD goes on before you launch, not after you capsize. Dry bags protect everything from your sleeping bag to your phone. A waterproof phone pouch handles quick-access items. High-visibility clothing helps other boaters and rescuers spot you. Inflatable SUPs pack smaller than rigid boards; rigid boards track better in wind and chop.
Fishing and basecamp
Volume matters more than portability here. A gravity filter system handles cooking and drinking water for a group without constant pumping. Insulated bottles keep beverages cold during long sits. Check Thrillofit’s deep-sea fishing packing guide for a full boat-based gear list.
How do you find and treat water in a survival situation?
When your filter fails or you’re caught without gear, work through these steps in order:
Find moving water first. Flowing streams carry fewer pathogens than stagnant pools.
Collect rainwater directly into a clean container or tarp funnel. It needs no treatment unless the collection surface is contaminated.
Set a condensation trap or solar still. Dig a hole, place vegetation inside, cover with plastic sheeting, and weight the center with a small rock over a cup. Output is slow but pure.
Pre-filter turbid water through a folded bandana or mesh cloth before any chemical or heat treatment.
Boil at a rolling boil for one minute (three minutes above 6,500 ft elevation).
Use chemical tabs if boiling isn’t possible: chlorine dioxide at the package dose, full 30-minute contact time, longer in cold or turbid water.
Use a UV pen on clear water only; turbidity blocks UV-C penetration.
Survival kit minimum: a compact purifier, a collapsible cup, a metal pot, chlorine dioxide tablets, and a mesh pre-filter cloth. For deeper emergency purification protocols, Thrillofit’s survival guide covers improvised methods in detail.
Critical warning: Avoid water near industrial sites, mine tailings, or heavy agricultural runoff. Chemical contamination requires advanced treatment that field gear cannot provide.
What’s your buying and packing checklist?
Before you buy, ask:
What contaminants are likely in my target water source?
Solo or group? (Solo: lightweight squeeze filter. Group: gravity system.)
How long is the trip? (Multi-day needs higher capacity and replacement parts.)
Can I service this in the field if it clogs?
Does it carry NSF/ANSI certification?
Packing order:
Place water weight low and centered in your pack, close to your spine.
Keep your primary filter accessible, not buried at the bottom.
Store chemical backup tabs in a waterproof zip bag separate from food.
Separate dirty and clean containers with a color-coded system (red cap = unfiltered).
Pack a small repair kit: syringe, spare O-rings, and a patch kit for inflatables.
Entry-level microfilters start around $20–$30; mid-range squeeze filters run $40–$60; gravity systems for groups typically cost $60–$100. Expect to replace filter cartridges after the manufacturer’s rated gallon capacity, which varies by model.
How do you maintain and troubleshoot your water gear?
Filter maintenance steps:
Backflush after every use with clean water using the included syringe.
Shake out excess water and air-dry completely before storage.
Never freeze a wet filter — ice crystals rupture hollow fibers permanently.
Replace cartridges at the manufacturer’s rated capacity, not just when flow slows.
Reservoir maintenance: Rinse after every trip, hang to dry open-end-down, and store in a cool dry place. A dilute bleach rinse prevents mold.
Inflatable gear: Inflate fully and submerge in a tub to spot micro-punctures before any long trip. Apply a compatible sealant patch per the manufacturer’s instructions; retire any inflatable with a seam separation you can’t fully seal.
Symptom | Likely cause | Fix |
Slow filter flow | Clogged membrane | Backflush; pre-filter source water |
Bad taste after filtering | Biofilm or chemical residue | Deep clean with dilute bleach; replace cartridge |
Chemical tab odor | Insufficient contact time | Wait full 30 minutes; use neutralizing tabs |
Inflatable won’t hold pressure | Micro-puncture or valve leak | Submerge to locate; patch or replace valve |
Reservoir mold smell | Stored wet | Bleach rinse; dry completely before next use |
Key Takeaways
Choosing the right water gear starts with knowing your contaminant risk, then matching purification method, storage, and safety gear to the specific activity and trip length.
Point | Details |
Test before you treat | Identify likely contaminants before choosing a purification method to avoid gaps in protection. |
Microfilters don’t cover viruses | Use an ultrafiltration purifier or chemical protocol when viral risk is present. |
Portability vs. performance | Lightweight squeeze filters suit solo backpacking; gravity systems serve groups better. |
Always carry a backup | Chemical tabs weigh almost nothing and cover you when your primary filter fails. |
Thrillofit gear guides | Thrillofit’s purification and emergency water guides give step-by-step field protocols for every scenario. |
The gear that actually earns its place
Most water-gear lists tell you to buy everything. The honest answer is that redundancy beats volume. What I’d carry on any backcountry trip: one compact hollow-fiber purifier, one collapsible 2 L water bag, a small pack of chlorine dioxide tablets, and a PFD if there’s any chance of getting on moving water. That’s it for most U.S. wilderness trips.
The part people skip: practice using your equipment before you need it. A UV pen you’ve never operated in the dark is not a backup. A filter you’ve never backflushed will clog at the worst moment.
Check your source water when you can. Thrillofit’s outdoor purification guide walks through field-specific protocols in detail. Know what’s upstream before you drink.
More water and survival guides on Thrillofit
Thrillofit covers the full range of outdoor water skills, from emergency purification methods to activity-specific gear checklists. If you want deeper how-to steps on field treatment, improvised collection, or trip-specific packing, the guides are there.
Head to Thrillofit to browse the full library of survival and gear articles. Whether you’re planning your first backcountry trip or tightening up a kit you’ve used for years, the step-by-step guides cover what the gear lists leave out.
Useful sources
Tap Score — Water Filter Guide: Lab-based water testing guidance and unbiased filter selection advice; the best starting point for identifying contaminants before buying treatment gear. Look for NSF/ANSI-certified products.
Outdoor Gear Lab — Backpacking Water Filters: Hands-on gear testing with real performance data on flow rates, weight, and field serviceability.
NuWater — Water Treatment Equipment: Engineering-level guidance on multi-stage treatment and why pre-filtration protects advanced membranes.
LifeStraw Max: Technical specs on ultrafiltration pore sizes and high-flow purifier performance; useful for comparing microfilter vs. purifier capabilities.
Recommended
Comments