

Bivouac Shelter Basics for Hikers and Climbers

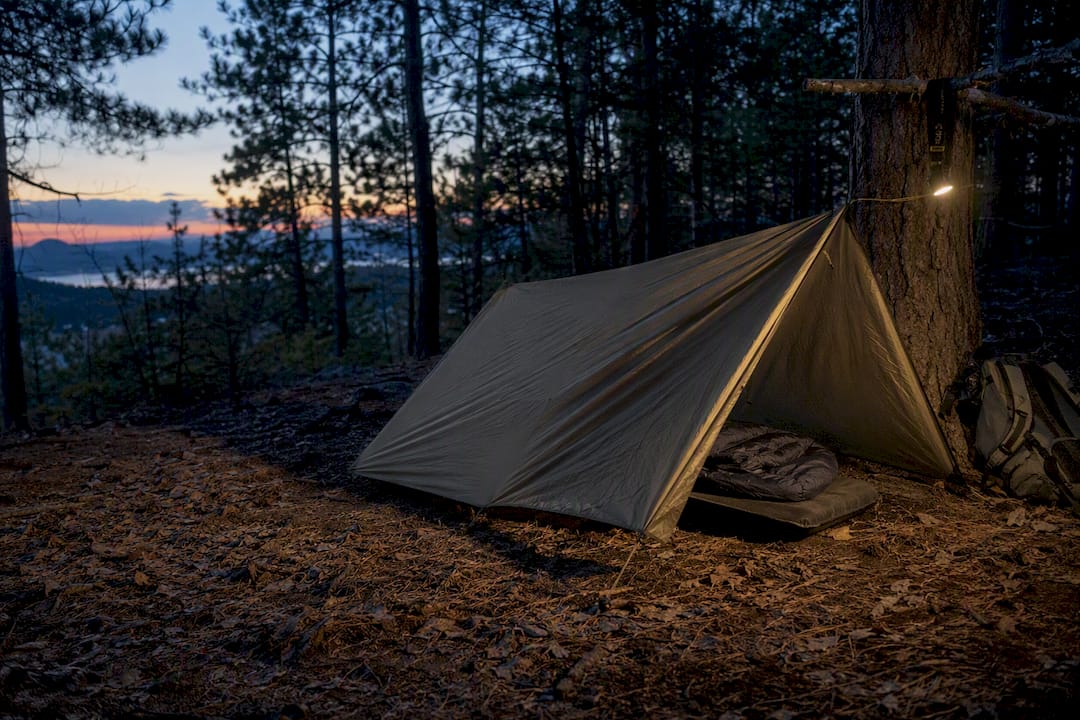
A bivouac shelter is a temporary, minimalist shelter, often a bivy sack, tarp, or debris setup, built to trade comfort for speed, low weight, and fast protection from the elements. It’s the difference between hauling a full campsite and carrying just enough to survive the night wherever you happen to stop.
Uses: mountaineering ledges, emergency overnights, ultralight thru-hiking, and military field operations.
Forms: bivy sack, tarp shelter (A-frame or lean-to), or improvised natural/debris shelter.
Tradeoff: less weight and faster setup in exchange for reduced weather protection compared to a tent.
A bivy sack alone can trap 5 to 10°C of extra warmth just by blocking wind and holding body heat close, which is why a shell barely bigger than a sleeping bag can still keep you alive in rough conditions.
Key Takeaways
A bivouac shelter trades comfort and weather protection for speed, low weight, and fast setup, making ground insulation and ventilation the two decisions that matter most.
Point | Details |
Definition matters | A bivouac is temporary and minimalist; a tent is built for multi-night comfort and full enclosure. |
Insulation gain is real | A bivy shell can add 5 to 10°C of warmth by trapping body heat and blocking wind. |
Sleeping pad is critical | Ground insulation prevents more heat loss overnight than most shell upgrades. |
Ventilation prevents soaked gear | Small airflow gaps stop condensation from ruining your sleeping bag mid-trip. |
Match shelter to trip length | Short, weight-conscious trips favor bivouacs; multi-night or storm-risk trips favor tents. |
Table of Contents
What Is a Bivouac Shelter, Exactly?
A bivouac (often shortened to “bivy” or “bivvy”) is temporary, minimalist, and usually built for one person or a small group who need to sleep somewhere fast, without the weight or setup time of a full tent. The word traces back to the Swiss German “Beiwacht,” meaning an extra night watch or guard duty, later adopted into French and English military vocabulary before spreading into mountaineering and backpacking. Today “bivouac” functions as both a noun (the shelter itself) and a verb (“we bivouacked on the ledge overnight”).
What separates a bivouac from a tent isn’t just size. It’s intent. A tent is built for multi-night comfort: full enclosure, room to sit up, space for gear. A bivouac assumes you’re moving on tomorrow, or that you didn’t plan to stop here at all.
Bivy sack: essentially a waterproof shell around your sleeping bag, pitched in minutes, offering the least interior space.
Tarp bivouac: a single sheet of fabric strung into an A-frame or lean-to, faster to pitch than a tent but far more exposed to wind-driven rain.
Bivouac tent: a hybrid with small poles that add headspace, closer to a tent in comfort but still lighter than most one-person tents.
Traditional tent: the slowest to pitch, heaviest to carry, but the best all-around weather barrier for extended stays.
If you want a deeper breakdown of how the sack version works, Thrillofit’s guide on what a bivy sack actually is walks through the fabric and closure choices that matter most.
What Are the Main Types of Bivouac Shelters?
Not every bivouac looks the same, and picking the wrong type for your trip is a common rookie mistake. Here’s how the main options stack up.
Bivy sack: a form-fitting waterproof shell that wraps your sleeping bag. Pros: lightest option, fastest setup, works almost anywhere. Cons: claustrophobic, minimal ventilation, condensation builds fast.
Tarp bivouac (A-frame or lean-to): a rectangular sheet of fabric tensioned between two anchor points or trekking poles. Pros: versatile, good airflow, cheap. Cons: exposed at the sides, needs decent knot skills to pitch well.
Bivouac tent: a bivy sack upgraded with one or two small poles for internal headspace. Pros: more weather protection and room than a standard bivy while still beating a typical solo tent on weight. Cons: pricier, still a niche category with fewer models to choose from.
Debris and natural shelters: built from branches, leaves, and found materials. Pros: zero pack weight, useful in true emergencies. Cons: slow to build correctly, unreliable in sustained rain.
Snow caves and quinzees: hollowed-out snow shelters. Pros: excellent insulation once built. Cons: labor-intensive, requires the right snowpack, risky if built poorly.
Beyond these core five, you’ll occasionally run into group bivouac setups (several bivy sacks or a shared tarp for a small climbing team) and high-alpine ledge bivouacs, where climbers rig a shelter directly onto a rock face because there’s simply nowhere flat to sleep. Both are specialized, but they show up more often than most beginners expect once you start climbing multi-day routes.
What Gear Do You Actually Need to Bivouac?
The core kit is shorter than people assume: a bivy sack or tarp, a sleeping bag rated for the coldest temperature you’ll realistically hit, an insulated sleeping pad, cordage, a handful of stakes, a headlamp, and basic first-aid and navigation tools. That’s genuinely most of it.
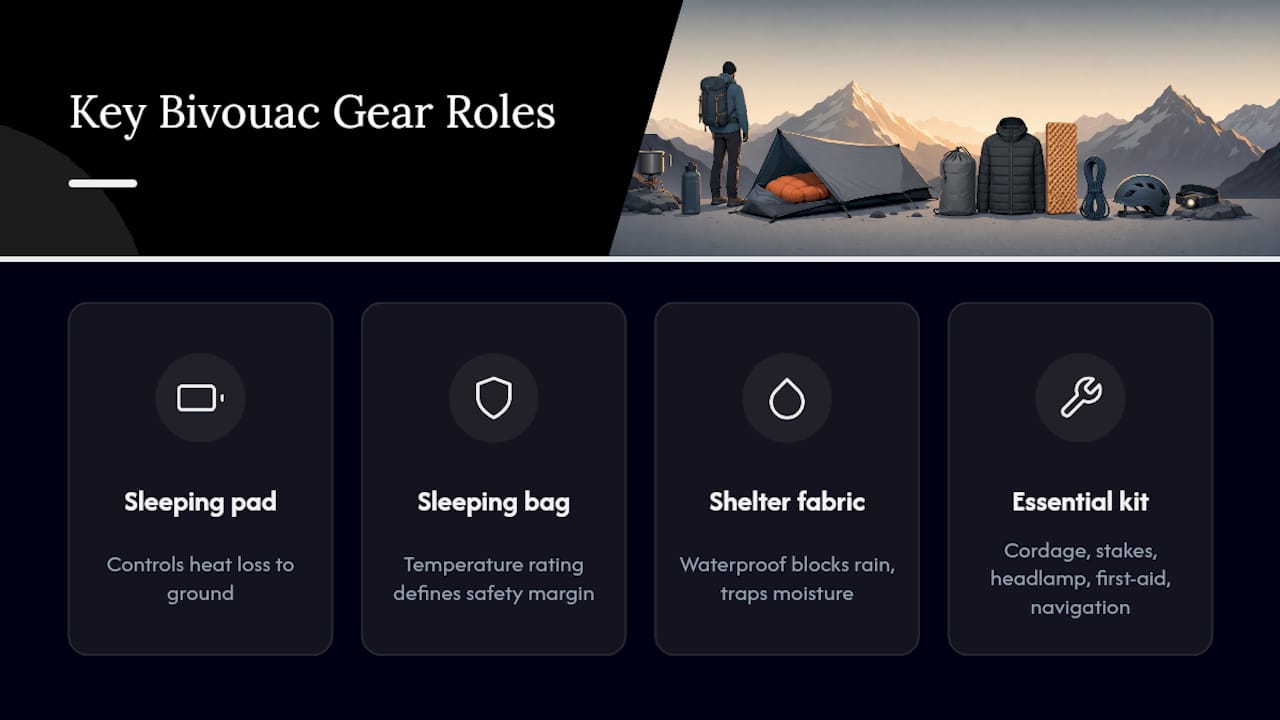
Two items do more work than everything else combined; following proper layering for cold weather principles helps optimize insulation and comfort. Your sleeping pad determines how much heat you lose to the ground, which matters more overnight than almost any other single factor. Your bag’s temperature rating determines your margin of safety if the weather turns. Skimp on either and no amount of shell fabric will save you.
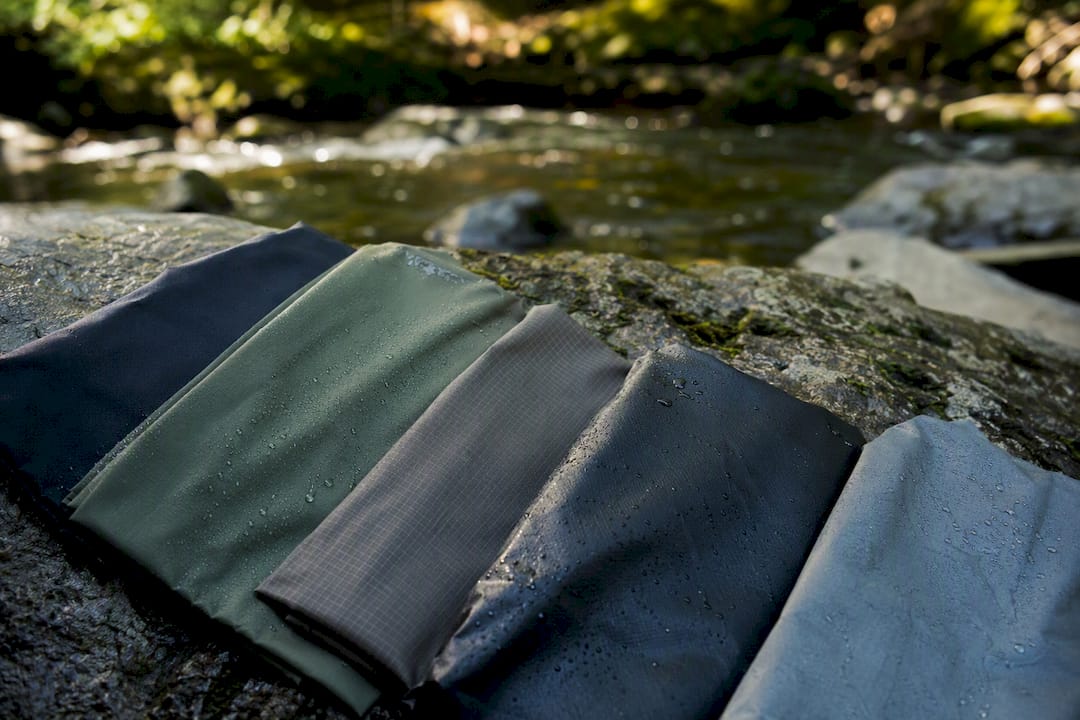
Fabric choice matters more than people think. A fully waterproof shell blocks rain but traps moisture inside, which is why breathable tops and small internal hoops on higher-end bivy sacks exist specifically to fight condensation. Water-resistant fabrics breathe better but won’t hold up in sustained downpours. For repeated use, look for reinforced floor coatings and taped seams. Cheap fabric fails at the seams first, usually on the trip you least want it to.
How Do You Pick a Site and Set Up a Bivouac?
Where you put your shelter matters more than how well you pitch it. Run through this checklist before you commit to a spot:
Check drainage first. Avoid low points where rain will pool under you.
Read the wind. Face your shelter’s low side into prevailing wind, not broadside.
Scan overhead. Dead branches, loose rock, and unstable overhangs kill people every year.
Look for animal signs. Game trails and dens mean traffic you don’t want at 2 a.m.
Consider the microclimate. Valley floors trap cold air; a slight rise stays warmer overnight.
Clear the ground. Rocks and roots you ignore now become sleepless hours later.
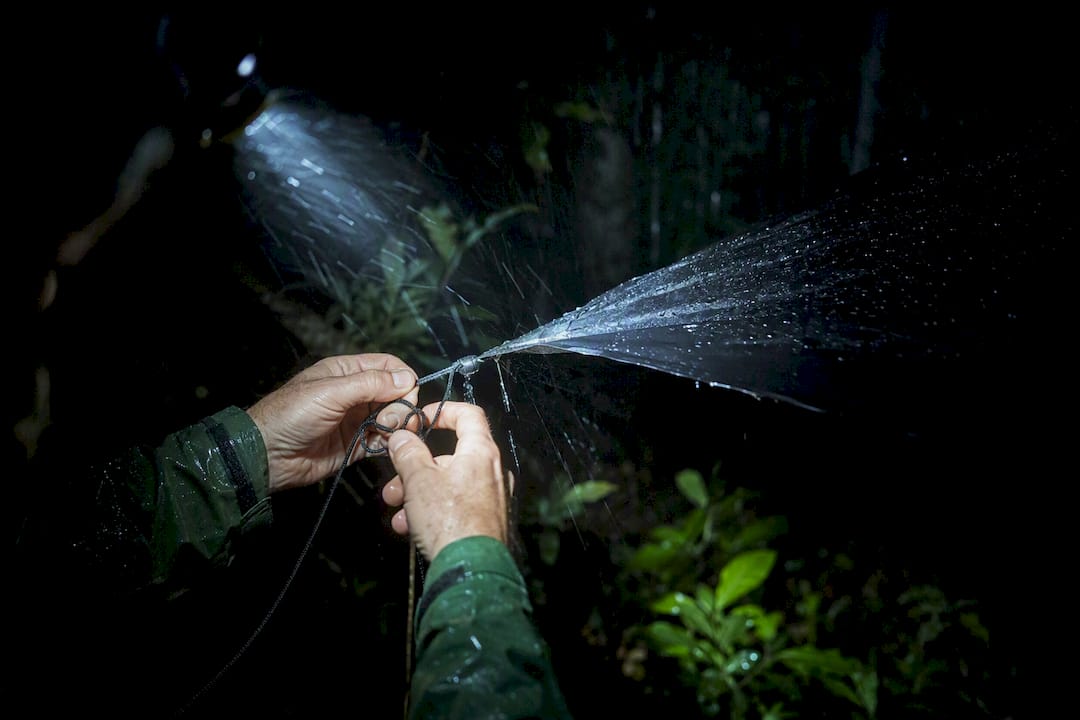
Once you’ve picked the spot, tension is everything. A tight ridge line and properly staked corners shed water instead of collecting it, and leaving a small ventilation gap between your body heat and the shell fabric cuts down condensation significantly. On soft ground, angle stakes away from the shelter for better hold; on rock or hard-pack, use guy lines tied to boulders instead of stakes at all.
If an anchor point fails overnight, or wind shifts direction, don’t wait until morning to fix it. Re-tension immediately, even in the dark. A collapsed tarp at 3 a.m. in the rain is a much worse problem than five minutes of fumbling with cord.
How Do You Set Up a Basic A-Frame Tarp Bivouac?
You’ll need a tarp (roughly 8x10 feet works for one person plus gear), 20 to 30 feet of paracord, two anchor points (trees or trekking poles), and 4 to 6 stakes.
Pick a spot with two anchor points 10 to 12 feet apart.
Tie a taut ridge line between them at roughly waist height.
Drape the tarp evenly over the ridge line, centering it.
Stake out one corner, then the diagonal opposite corner, to establish tension.
Stake the remaining two corners, pulling the fabric drum-tight.
Adjust the ridge line height to control how much floor space you get.
Leave a 3 to 4 inch gap at one end for airflow.
Angle the low side into the wind before you settle in.
If the tarp sags, retighten the ridge line rather than the corner stakes. If water pools on top, increase the pitch angle. In high wind, drop the whole structure lower and add a third guy line to the ridge itself. For a longer walkthrough with photos, Thrillofit’s tarp camping guide covers variations on this same build.
What Are the Biggest Risks When Bivouacking?
A bivouac trades weather protection for weight savings, and that tradeoff carries real risk if you’re not prepared for it.
Reduced storm protection compared to a tent, especially in wind-driven rain.
Condensation and dampness, which can soak your sleeping bag and rob it of insulating power.
Hypothermia risk, particularly when temperatures drop faster than forecast.
Insects and wildlife, from mosquitoes to curious rodents drawn to food smells.
Mitigate these with a solid weather forecast before you leave, a sleeping bag rated 10 to 15 degrees colder than the forecast low, an insulated pad, and a shelter pitched with ventilation gaps built in. Some situations simply aren’t worth bivouacking through: forecasted severe thunderstorms, an unexpected hard freeze without the right bag, or loose, unstable ground near your only flat spot. In any of those cases, push on to real shelter if you can.
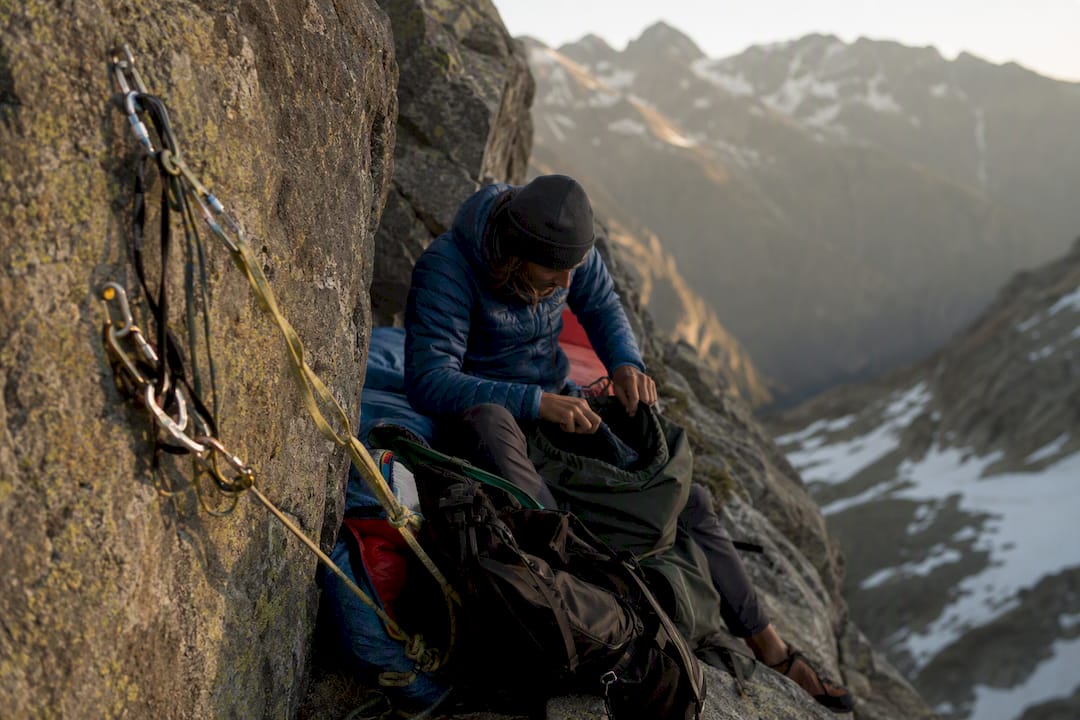
Pro Tip: On narrow ledges or technical routes, clip a climbing tether or daisy chain from your harness to a fixed anchor before you settle in. It’s a simple habit that prevents a rolled-over sleeper from becoming a fall.
Where Did the Bivouac Come From, and Who Uses It?
The term comes from the Swiss German “Beiwacht,” an extra night watch soldiers kept outside the main camp, later folded into military and mountaineering language across Europe. Armies used bivouacs for centuries before climbers adopted the idea for high routes with no flat ground to pitch a tent.
Three scenarios show the range. A thru-hiker caught by dark three miles from the next shelter throws down a bivy sack and keeps moving at dawn. A climber on a multi-day alpine route ties into a ledge bivouac because there’s nowhere else to stop. An ultralight backpacker deliberately skips the tent altogether, choosing a tarp setup to shave pounds on a fast crossing.
Leave No Trace applies here too. Choose durable surfaces, avoid trampling vegetation for a “better” spot, and pack out everything, including biodegradable waste. Thrillofit’s natural shelter guide has more on minimizing impact when you’re building from found materials.
Should You Choose a Bivouac or a Tent?
Run through these questions before you decide:
How long are you staying? One night favors a bivy or tarp; three-plus nights favor a tent.
What’s your weather risk? Calm forecasts favor bivouacs; storms favor tents.
How much weight can you carry? Ultralight goals push toward bivouacs every time.
A solo climber pinned on a ledge chooses a bivy because there’s no other option. A family camping for a long weekend chooses a tent for space and storm protection. A fast-and-light hiker doing a 30-mile push in one push chooses a tarp bivouac to save every ounce. If you’re still weighing tent categories, Thrillofit’s tent buyer’s guide breaks down the options side by side.
How Do You Care for Bivouac Gear Between Trips?
Wet gear packed away dirty is the fastest way to ruin a bivy sack or tarp.
Dry everything fully before storage, even if that means hanging it at home for a day.
Clean off dirt and salt with mild soap; harsh detergents break down waterproof coatings.
Patch small punctures immediately with seam tape rather than letting them spread.
Treat zippers with a small amount of wax or zipper lubricant to keep them from sticking.
Pack strategically: sleeping bag in a dry sack at the bottom, pad rolled last for quick access, headlamp and first-aid kit on top.
Test every piece of gear at home before a trip, and keep a spare stake or two buried in your pack. Thrillofit’s camping hacks archive has more small fixes worth knowing before you’re stuck without them.
A Few Nights Under a Tarp Taught Me This
I’ve spent enough cold nights under a poorly pitched tarp to know that ventilation gaps feel counterintuitive until you wake up soaked from your own breath instead of the rain. My one habit now: pitch first, sleep second, never the other way around.
Sources
Recommended
Comments