

Why Layer Clothing Outdoors: Stay Comfortable and Safe

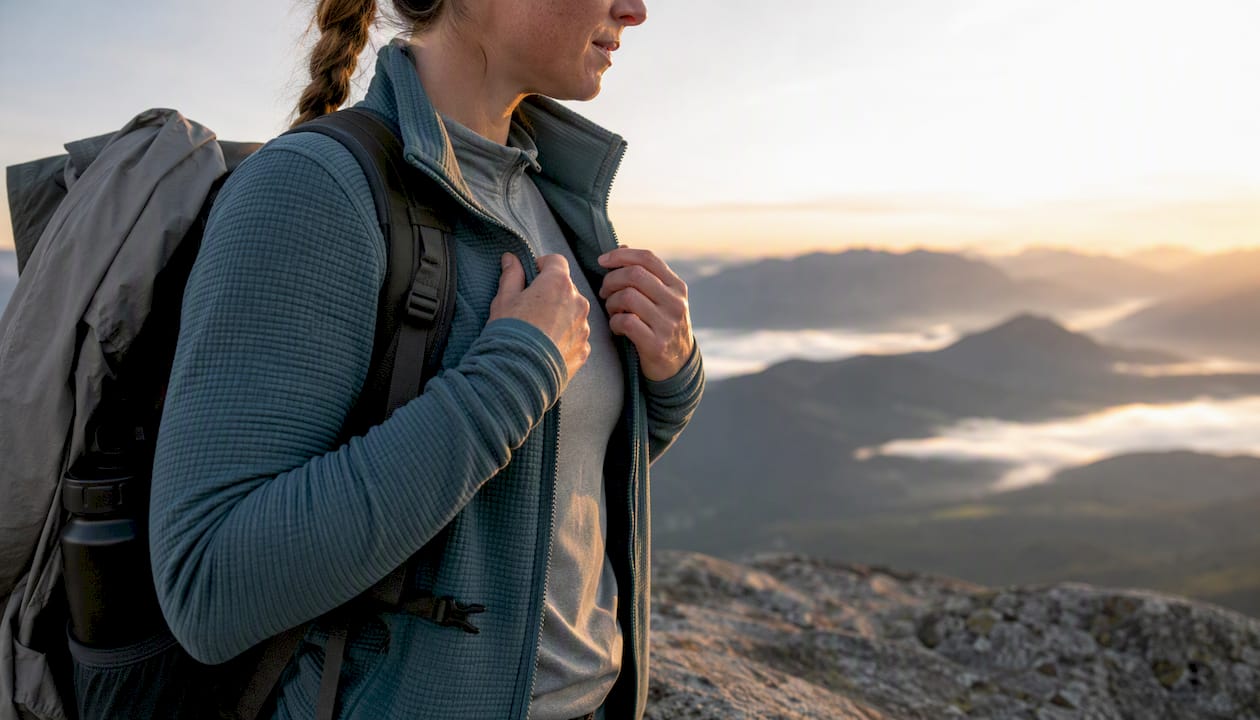
Layering clothes outdoors lets you control moisture, trap heat, and block wind and rain so you stay comfortable and safe as conditions shift around you. The three-layer system is the foundation of that control, and REI’s expert advice on layering puts it plainly: carry all three layers so you can add or remove pieces as activity and weather demand.
Base layer: sits against your skin and pulls sweat away before it can chill you
Mid layer: traps warm air close to your body to maintain core temperature
Outer layer (shell): blocks wind and precipitation while letting vapor escape
How well the system works depends on what you’re made of, literally. Exertion level, personal metabolism, and fabric choices all determine whether you’re comfortable or miserable two miles in.
Key Takeaways
Layering outdoors works because it lets you control moisture, insulation, and wind protection independently, adjusting each as conditions and exertion change.
Point | Details |
Three layers, three jobs | Base wicks moisture, mid traps heat, shell blocks wind and rain. |
Avoid cotton entirely | Cotton holds moisture against skin and accelerates heat loss in cold or wet conditions. |
Start cold | Begin slightly cool at the trailhead; your body heat catches up within minutes of moving. |
Protect extremities first | Hands, head, and feet cool fastest — hat, gloves, and wool socks are non-negotiable. |
Fuel is part of the system | Small, frequent snacks maintain internal heat production on long cold outings. |
Table of Contents
1. Why the base layer is the most important piece you own
The base layer has one job: keep your skin dry. Sweat sitting against your skin evaporates and pulls heat away fast, which is why moisture management matters more than warmth at this layer. A snug fit, not tight, helps the fabric stay in contact with your skin so it can wick efficiently. Zip-neck designs let you dump heat fast when you’re climbing hard.
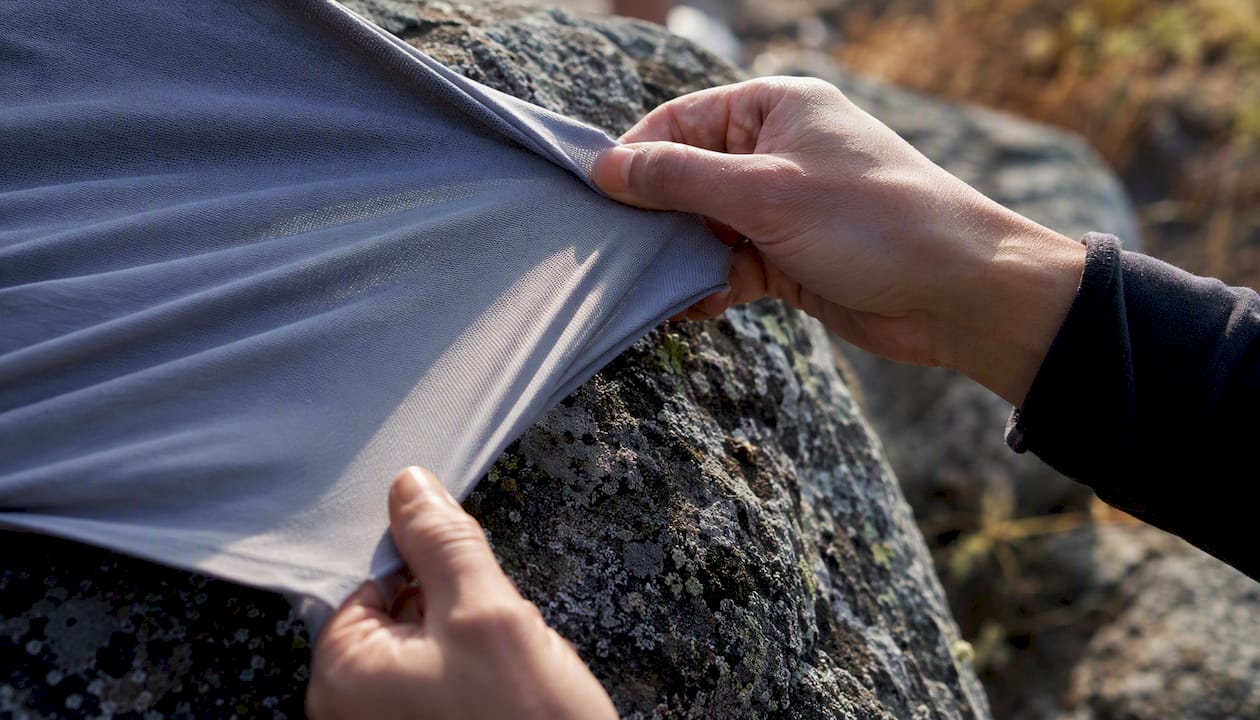
Fabric choice here is a real decision. Synthetic fabrics like polyester dry faster and cost less. Merino wool takes longer to dry but moderates temperature across a wider range and resists odor far better than synthetics after a multi-day trip. Cotton does neither well. It absorbs moisture and holds it, which is why it has no place in a technical layering system.
For high-output activities like trail running or steep hiking, go thin. For cold, low-exertion outings like ice fishing or winter photography, a heavier base weight adds meaningful warmth without adding a full mid layer.
Pro Tip: Pack a spare base layer in a dry bag. If you soak through on a long day, swapping into a dry base at camp or a rest stop resets your thermal comfort completely.
2. How the mid layer traps heat and which insulation type fits your outing
Insulation works by trapping still air. The more loft a material has, the more air it holds, and the warmer it keeps you. That’s the whole mechanism. What varies is how different materials perform when wet, how much they weigh, and how well they breathe during aerobic effort.
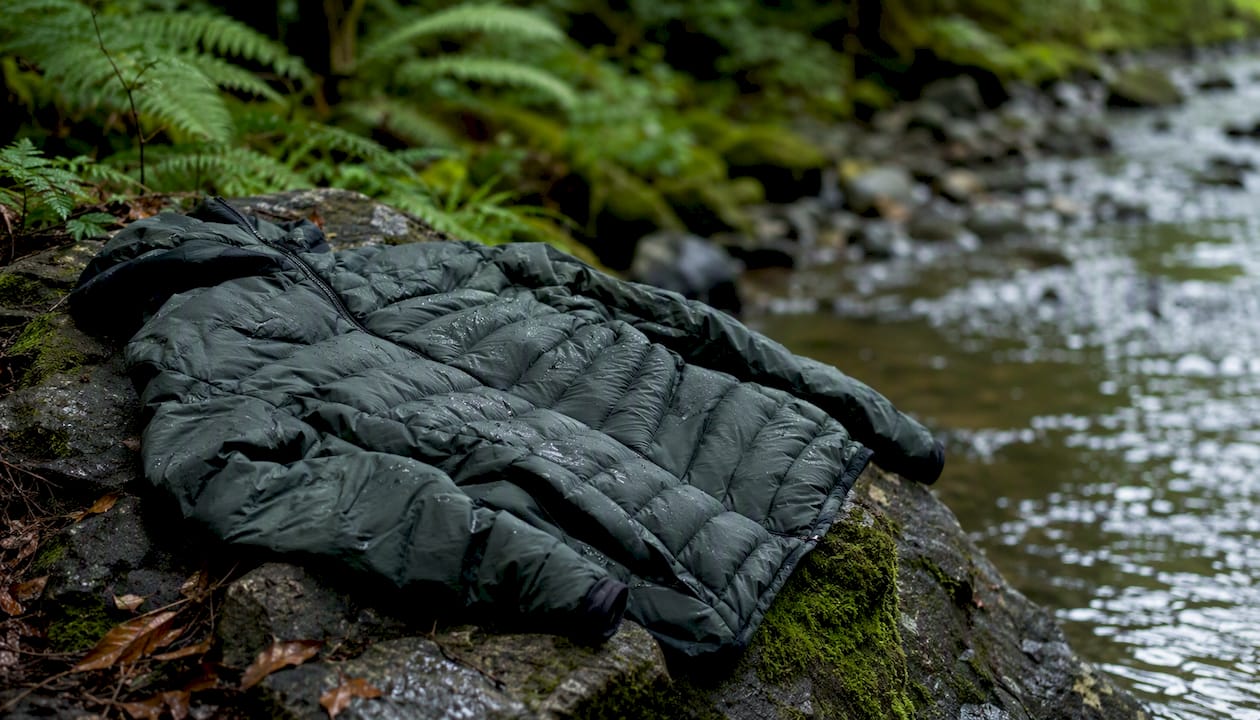
GearLab’s layering guide lays out the core trade-offs clearly:
Insulation type | Warmth-to-weight | Wet performance | Best use |
Fleece | Moderate | Good (dries fast) | Aerobic hiking, cool days |
Merino wool | Moderate | Good (stays warm damp) | All-around, multi-day trips |
Synthetic puffy | High | Good (retains loft wet) | Cold, variable weather |
Down | Very high | Poor (collapses when wet) | Dry cold, camp/stationary use |
A few practical notes on choosing:
Fleece breathes well during movement and is the go-to mid layer for aerobic activities in cool but not frigid conditions.
Synthetic fill is the safest choice when rain or sweat is likely, since it retains most of its insulating loft even when damp.
Down gives you the best warmth-to-weight ratio on the market, but pack it only when you can keep it dry, or choose a water-resistant treated down.
Sizing matters: your mid layer needs to fit over a base without compressing the insulation, and under a shell without bunching.
For stationary cold, like belaying at a crag or waiting at a summit, prioritize maximum loft. For sustained aerobic effort, a lighter fleece or thin synthetic that breathes well beats a puffy you’ll unzip every ten minutes.
3. What your outer shell actually does and how to pick the right one
The shell’s job is to stop wind and precipitation from reaching your insulation. A soaked mid layer loses most of its ability to trap heat, so the shell is what keeps the system functional in real weather.
Helly Hansen’s guide to the three-layer system draws the key distinction: soft shells prioritize breathability and mobility, while hardshells deliver full waterproof protection. Neither is universally better.
Hardshell: fully seam-taped, waterproof-breathable membrane (Gore-Tex, eVent, or similar), rated for sustained rain. Heavier and less breathable during high output, but the right call for alpine routes, Pacific Northwest trails, or any outing where you’ll face hours of rain.
Soft shell: stretchy, breathable, and comfortable to move in. Handles light rain and wind well. Not the choice for a full storm.
Wind shell (ultralight): weighs next to nothing and packs into a fist. Blocks wind effectively and handles brief light rain. For many fair-weather day hikes, a wind jacket is all the outer layer you need.
Key features worth checking before you buy:
DWR (Durable Water Repellent) coating: causes water to bead and roll off the face fabric. Reapply it when the shell starts to wet out instead of shedding water.
Seam taping: fully taped seams are necessary for true waterproofing; critically taped (high-stress seams only) is a compromise.
Pit zips or chest vents: let you dump heat without removing the shell, which is faster and smarter than stripping layers mid-climb.
Moisture increases heat loss up to roughly 25 times faster when you’re wet compared with dry. That figure is why a functional shell isn’t optional in cold, wet conditions — it’s what keeps the rest of your system working.
4. How to actually use your layers while you’re moving
Knowing the importance of clothing layers is one thing. Knowing when to add or remove them mid-hike is where most people get it wrong.
WIRED’s outdoor layering guide makes the metabolic point clearly: people who “run hot” need thinner, more breathable layers than those who “run cold,” and that difference should shape your pack list before you leave the trailhead. There’s no universal answer, only your answer.
The “start cold” rule: step out of the car feeling slightly cool, not comfortable. Once you start moving, your body generates heat fast. If you start warm, you’ll be sweating within ten minutes, and wet insulation is a problem that compounds all day.
Here’s a simple on-the-move adjustment sequence:
Before a climb or sustained effort: open your pit zips or chest vent first. Let heat escape without removing a layer.
If you’re still too warm: unzip the mid layer next, then stow it in an accessible pocket or the top of your pack.
At a rest stop or summit: add layers back before you cool down, not after. Shivering means you waited too long.
Before a descent into wind or shade: put the shell on proactively. It takes thirty seconds and saves you from getting cold and wet.
If you start sweating heavily: you’ve already waited too long. Vent earlier next time.
Pro Tip: Keep your shell and a light insulating layer at the top of your pack, not buried at the bottom. The two minutes you spend digging for a jacket at a cold summit are two minutes of heat loss you don’t need.
5. Layer builds for three real-world conditions
Cold day (alpine hiking or steady low temps)
Base: midweight merino or synthetic long-sleeve
Mid: synthetic puffy or heavyweight fleece
Shell: hardshell with seam taping and pit zips
Accessories: insulated hat, liner gloves under waterproof mitts, wool socks, insulated boots
Rainy or cool day with variable effort
Base: lightweight synthetic (dries fast when you’re working hard)
Mid: thin fleece or light synthetic jacket (stow it when climbing)
Shell: hardshell or quality soft shell with DWR, depending on rain intensity
Accessories: waterproof gloves, wool or synthetic hat, gaiters if trail is muddy
Hot or high-exertion outing (summer mountains, fastpacking)
Base: ultralight synthetic or thin merino short- or long-sleeve for sun protection (see UV safety guidance for campers)
Mid: skip it or pack a very light fleece for summit stops only
Shell: ultralight wind jacket (under 4 oz), stowed until needed
Accessories: sun hat, light gloves for exposed ridges, moisture-wicking socks
The hot-weather build looks minimal because it is. The goal shifts from warmth to moisture management and wind protection at elevation, where temperatures can drop 20–30°F between the trailhead and the summit.
6. Why cotton is dangerous and what fabrics actually work
The phrase “cotton kills” has been repeated enough to sound like a cliché. It isn’t.
Cotton absorbs moisture readily and holds it against your skin. When you sweat or get rained on, a cotton layer becomes a cold, wet compress. Combined with wind, that’s a fast path to hypothermia, even in temperatures that feel mild at the trailhead.
Here’s how the main technical fabrics compare for outdoor layering:
Fabric | Moisture handling | Warmth when wet | Odor resistance | Best layer |
Polyester (synthetic) | Wicks fast, dries fast | Good | Low | Base, mid |
Merino wool | Wicks, dries slower | Good | Excellent | Base, light mid |
Down | Poor (collapses wet) | Poor wet | Moderate | Mid (dry conditions) |
Synthetic fill | Wicks moderate | Good | Moderate | Mid |
Cotton | Absorbs, holds moisture | Very poor | Moderate | Avoid in cold/wet |
A few care notes that affect field performance:
Merino wool resists odor for multiple days of wear, which matters on multi-day trips where laundry isn’t an option.
Synthetics pill with abrasion over time, especially under a pack’s shoulder straps. Check for wear and replace when loft is compromised.
Down requires careful drying. Tumble dry on low with tennis balls to restore loft after it gets damp.
For gear selection that supports outdoor safety, fabric choice at the base and mid layer is one of the highest-leverage decisions you make before leaving the trailhead.
7. Accessories and emergency layers you shouldn’t leave behind
Extremities lose heat faster than your core. Your hands, head, and feet have less insulating tissue and more surface area relative to their mass, so they cool down first and warm up last.
Essentials to carry:
Warm hat (wool or synthetic fleece): covers the head and ears, which lose heat rapidly in wind
Waterproof gloves or mitts: liner gloves under a waterproof shell mitt give you versatility
Wool or synthetic socks: two pairs on multi-day trips; avoid cotton socks entirely
Insulated footwear appropriate to temperature: trail runners work in summer, but insulated boots matter once temps drop near freezing
Emergency and backup layers:
Light puffy jacket: a 3–4 oz synthetic puffy folds into its own pocket and can be a lifesaver at an unplanned stop or if someone in your group gets cold. This is your emergency shelter layer when a bivy isn’t practical.
Emergency bivy or space blanket: weighs almost nothing, reflects body heat back, and can prevent hypothermia during an unplanned overnight.
Extra hat and gloves: pack a spare set in a zip-lock bag. Wet gloves are nearly useless.
The backup layer principle is simple: conditions change faster than plans do. A summit that was sunny at 10 AM can be socked in and windy by noon. Carrying a light puffy and a spare pair of gloves costs you almost nothing in weight and can end a dangerous situation before it starts.
8. Packing checklist and quick decision rules for the trail
Layer-by-layer pack checklist
Base layer (worn or packed depending on start temp)
Mid layer (fleece or synthetic puffy, accessible at top of pack)
Shell (hardshell or wind jacket based on forecast)
Warm hat
Gloves (liner plus waterproof shell)
Wool or synthetic socks (plus one spare pair for longer outings)
Emergency puffy or space blanket
Dry bag or pack liner to keep layers dry inside your pack
Quick decision rules
Start cold. If you’re comfortable standing still at the trailhead, you’re already overdressed.
Vent before you strip. Open zips first. Removing a layer is a last resort, not a first response.
Add shell before you get wet. Putting on a shell after you’re already soaked is too late.
Protect your pack contents. Store layers in a dry bag or use a pack liner. A wet mid layer at the bottom of your bag is useless when you need it.
Check your extremities first. Cold hands or feet are a warning sign your core is working too hard to compensate.
Store your shell and emergency layer at the very top of your pack, accessible without unpacking everything else. Everything else can go deeper.
9. Tuning your layers to your metabolism, fuel, and hydration
Your body is the furnace. Layers are just the insulation around it. If the furnace runs low on fuel, no amount of insulation keeps you warm.
WIRED’s layering guide makes the metabolism point directly: tune your layers to how hot or cold you personally run and to your planned exertion. Someone who runs hot on a 5-mile trail will overheat in the same kit that keeps a cold-natured hiker comfortable. Know which one you are before you pack.
The AMC’s winter layering advice adds the nutrition piece: eat small amounts frequently to keep your internal heat production steady. A big meal at the start and nothing for four hours leaves your body with less fuel to generate heat during the coldest part of the day. Bringing extra food on a hike isn’t just about energy — it’s thermal management.
Cold air is also dehydrating. You lose moisture through respiration even when you don’t feel like you’re sweating, and dehydration impairs circulation, which makes your extremities colder faster. Warm fluids help on two fronts: they contribute to hydration and add a small but real thermal boost.
Pro Tip: Before a long cold outing, eat a substantial meal with fat and protein, not just carbs. Fat burns slower and provides sustained heat output over hours, not the quick spike and drop you get from simple sugars.
The layering habit that actually sticks
Most people who get into trouble outdoors aren’t missing gear. They’re missing the habit of using it at the right moment.
The single most useful habit I’ve seen translate into real comfort and safety is the pre-hike layer check: before you leave the trailhead, confirm your shell is at the top of your pack, your mid layer is accessible, and you have a hat and gloves within reach. That thirty-second check means you’re never digging through a full pack at a cold, exposed summit.
The second habit is eating on a schedule, not when you feel hungry. Hunger in cold conditions is a lagging indicator. By the time you feel it, your heat production has already dropped. Set a timer for every 45–60 minutes on long cold outings and eat something, even if it’s small.
Layering isn’t complicated. The system works when you use it proactively, not reactively.
Sources
Recommended
Comments