

Outdoor Navigation Workflow: Build Your Field System

TL;DR:
A three-layer outdoor navigation system combines paper maps, GPS, and satellite communicators to ensure safety. Practicing terrain association and frequent bearing reshoots improve navigation skills and reduce errors. Redundant tools and deliberate training are essential for confident wilderness travel and self-reliance.
An outdoor navigation workflow is a structured process that combines topographic map reading, baseplate compass use, GPS technology, and terrain association skills to plan and execute safe, precise travel in wilderness settings. Most hikers treat these tools as separate options. The strongest navigators treat them as one layered system, where each method backs up the others. Getting this right is the difference between confident off-trail travel and a genuine emergency. Thrillofit covers this layered approach because preparation and redundancy are the foundation of every safe outdoor adventure.
What tools and preparations create a reliable outdoor navigation workflow?
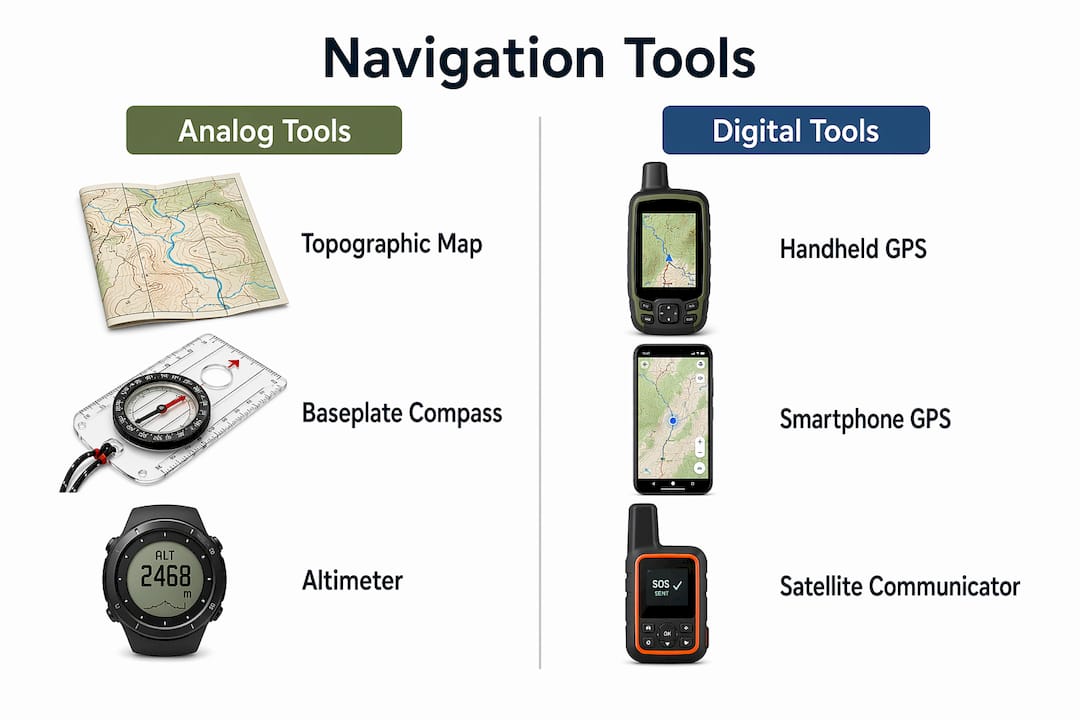
A three-layer navigation system is the standard for backcountry travel: a paper topographic map and baseplate compass as the primary layer, an offline GPS on a smartphone or dedicated unit as the precision layer, and a satellite communicator for emergencies. Each layer serves a distinct role. Paper maps give you large-scale situational awareness that never runs out of battery. GPS gives you pinpoint accuracy, typically within 3–10 meters under open sky. A satellite communicator gets you help when everything else fails.
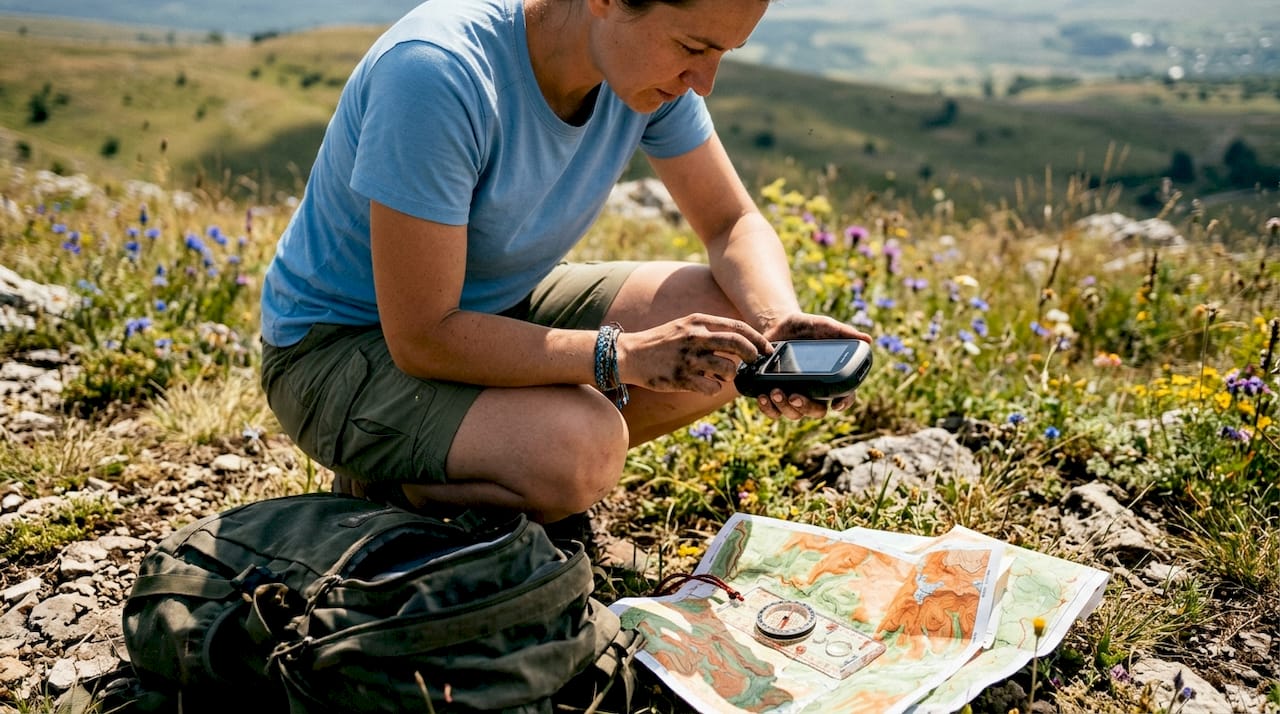
The total weight of your electronics across all three layers typically runs 10–18 ounces. That is a small price for the redundancy it provides. Treating digital and analog tools as independent layers rather than interchangeable options is what separates experienced navigators from those who get into trouble.
Pre-trip planning is not optional. Budget 15–30 minutes for a half-day trip and 1–2 hours for multi-day backcountry routes. Use that time to preload offline maps, charge GPS batteries, and set your compass declination. Declination varies from 0 to more than 20 degrees depending on your region, and ignoring it produces consistent bearing errors that compound over distance.
Here is what every navigator needs before leaving the trailhead:
A 1:24,000 or 1:25,000 scale topographic map of the area
A baseplate compass with a rotating bezel and declination adjustment (basic models cost around $15)
A smartphone or dedicated GPS unit with offline maps preloaded
A satellite communicator such as a personal locator beacon or two-way messaging device
Charged batteries or a backup power bank
Tool | Role | Key Limitation |
Topographic map | Large-scale situational awareness | Requires interpretation skill |
Baseplate compass | Direction finding and bearing travel | Affected by magnetic interference |
Smartphone GPS | Pinpoint location tracking | Battery dependent, fragile |
Dedicated GPS unit | Durable precision tracking | Heavier, higher cost |
Satellite communicator | Emergency signaling and messaging | Not a navigation tool |
Pro Tip: Preload your offline maps at home on a strong Wi-Fi connection. Trying to download map tiles at a trailhead with poor cell service wastes time and often fails.
How do you execute navigation step by step in the wilderness?
Field execution follows a repeatable sequence. Skipping steps is where navigators lose their position. Follow this order every time you move through unfamiliar terrain.
Orient your map. Place your compass on the map and rotate the map until the north lines align with magnetic north. Confirm by matching visible landmarks to their map symbols.
Set your bearing. Identify your destination on the map, draw an imaginary line from your position to it, and align your compass along that line. Rotate the bezel to capture the bearing, then adjust for declination.
Follow the bearing. Pick a landmark in the direction of travel, walk to it, and reshoot your bearing. Re-shoot bearings every 200–500 meters to catch drift before it compounds.
Use terrain association. Match ridgelines, valleys, saddles, and drainages to your map contours as you move. This tells you where you are relative to the terrain, not just a GPS coordinate.
Apply navigation aids. Use attack points (distinct features near your target), handrails (linear features like streams or ridges that guide travel), and backstops (features that tell you when you have gone too far).
Employ dead reckoning on precision legs. Dead reckoning means traveling a specific azimuth for a measured distance using pace counting. Use it when terrain features are sparse and GPS is unavailable.
Cross-check with GPS. Confirm your map position against your GPS reading at each major waypoint. Never let GPS replace your map awareness.
Terrain association is the most critical skill in this sequence. It means reading physical landscape features and matching them to map contours, which reveals terrain risks that a GPS coordinate alone cannot show. A GPS tells you where you are. Terrain association tells you what is around you.
A well-designed route uses “navigation boxes” formed by baselines, handrails, and backstops. These corridor limits let you travel faster with less mental strain because you know exactly what features will catch you if you drift.
Pro Tip: Use your GPS to confirm position at major waypoints, then put it away and navigate by map and compass between them. This keeps your map skills sharp and saves battery life.
What are the most common navigation mistakes and how do you fix them?
GPS failure is more common than most hikers expect. Dense canopy and deep canyons block satellite signals reliably. Cold temperatures drain lithium batteries faster than the device’s rated capacity suggests. Relying on a single navigation method in these conditions is the most dangerous mistake you can make.
Carrying redundant navigation methods is not overcaution. It is the minimum standard for wilderness travel. A paper map and compass function without batteries, without signals, and without cell coverage. They are the only tools guaranteed to work in every condition you will encounter.
Common mistakes and their corrections:
Skipping declination adjustment. Set it before you leave. An unadjusted compass produces a consistent angular error that grows with distance.
Trusting GPS exclusively. GPS gives you a point, not a picture. Always cross-reference with your topographic map.
Ignoring terrain features. If you cannot identify at least two terrain features on your map from your current position, stop and reorient before moving.
Failing to reshoot bearings. Drift accumulates silently. Reshooting every 200–500 meters catches errors while they are still small.
Panicking when lost. Stop, use a back bearing to retrace your last confirmed position, and use terrain association to reestablish your location. A “panic azimuth” is a pre-planned bearing toward a known linear feature like a road or river.
Low-visibility conditions like fog, snow, and night travel demand tighter bearing discipline and shorter legs between position checks. Reduce your interval between bearing reshoots to 100–200 meters. Your wilderness self-rescue options shrink significantly when you are lost in poor visibility, so prevention through frequent position checks is the only reliable strategy.
How do you build real navigation skills through deliberate practice?
Gear does not replace skill. A $400 GPS unit in the hands of someone who cannot read a topographic map is less useful than a $15 compass in the hands of someone who can. Smartphone GPS accuracy matches dedicated handheld devices in most conditions, which means the limiting factor is always the navigator, not the hardware.
Four drills build the core competencies every navigator needs:
Drill | Duration | Purpose | Outcome |
Orient-and-match | 10–15 minutes | Align map to terrain using compass | Builds map orientation habit |
Bearing following | 30 minutes | Walk a set bearing to a target | Develops compass discipline |
Resection/triangulation | 15–20 minutes | Find position using two or more bearings | Teaches position recovery |
GPS-to-map cross-check | 1 hour | Confirm GPS reading against paper map | Integrates analog and digital layers |
Pace count calibration is a separate but essential drill. Walk a measured 100 meters and count your steps. Repeat on uphill and downhill terrain. Your count will differ by 10–20% between flat and steep ground. Pace counting averages about 2,000 steps per mile for most adults, but individual variation and terrain make personal calibration necessary for accurate dead reckoning.
The skill ceiling in outdoor navigation is mastering terrain association. Fluent map-to-landscape reading reduces your dependence on electronics and increases your safety margin in every condition. Practice it on every hike, not just training sessions. Check your hiking preparation habits to make sure your pre-trip routine supports skill development, not just gear checklists.
Pro Tip: Practice all four drills in a familiar local park before taking them into backcountry terrain. Familiar surroundings let you focus on technique without the stress of being genuinely lost.
Key Takeaways
A reliable outdoor navigation workflow requires three independent layers, consistent field habits, and deliberate skill practice that goes well beyond gear selection.
Point | Details |
Use three independent layers | Combine paper map, GPS, and satellite communicator so no single failure stops you. |
Plan before every trip | Allocate 15–30 minutes for short trips and 1–2 hours for multi-day routes. |
Reshoot bearings frequently | Re-shoot every 200–500 meters to catch drift before it becomes a serious error. |
Master terrain association | Match landscape features to map contours to understand what surrounds you, not just where you are. |
Practice drills regularly | Four core drills build the competencies that make your gear work as intended. |
What I have learned from years of integrating analog and digital navigation
The biggest mistake I see experienced hikers make is treating GPS as a replacement for map skills rather than a supplement to them. I spent years doing exactly that. A GPS is fast and satisfying to use. It gives you a confident blue dot on a screen. The problem is that the blue dot tells you nothing about the cliff band 300 meters to your left or the false ridge that will send you into the wrong drainage.
Terrain association changed how I navigate entirely. Once I learned to read contour lines fluently and match them to what I was standing in, the map became a three-dimensional picture rather than a flat diagram. That shift in perception is what wilderness self-reliance actually feels like. You stop reacting to terrain and start anticipating it.
My honest recommendation is to leave your GPS in your pocket for the first half of every training hike. Navigate entirely by map and compass. Use the GPS only to check your accuracy at waypoints. The discomfort of that practice is exactly what builds the skill. Redundancy is not just about carrying extra gear. It is about having the ability to use every layer of your system when the others fail.
— S
Thrillofit resources for your next navigation challenge
Thrillofit covers the full range of outdoor preparedness, from gear selection to survival skills and field safety. Whether you are building your first navigation kit or refining a system you have used for years, the guides on Thrillofit give you practical, tested information at every skill level.
The Thrillofit survival and adventure guides cover navigation preparation alongside first aid, bushcraft, and wilderness safety. For outdoor adventurers who want to go further with confidence, the site also covers camping first aid essentials that pair directly with navigation preparedness. A navigator who gets lost and a navigator who gets lost and injured face very different outcomes. Preparing for both scenarios is the standard Thrillofit recommends.
FAQ
What is an outdoor navigation workflow?
An outdoor navigation workflow is a structured system combining topographic maps, a baseplate compass, GPS technology, and terrain association skills to plan and execute safe wilderness travel. It treats each tool as an independent layer that backs up the others.
How often should I reshoot my compass bearing?
Re-shoot your compass bearing every 200–500 meters during travel to catch drift before it compounds into a significant position error.
Can I rely on my smartphone GPS for wilderness navigation?
Smartphone GPS accuracy matches dedicated handheld devices in most conditions, but smartphones are fragile and battery-dependent. Always carry a paper map and compass as a backup.
What is terrain association and why does it matter?
Terrain association means matching physical landscape features like ridges, valleys, and saddles to map contours. It reveals terrain risks that GPS coordinates alone cannot show and is the most critical skill in wilderness navigation.
How long does pre-trip navigation planning take?
Pre-trip planning takes 15–30 minutes for half-day trips and 1–2 hours for multi-day backcountry routes, covering map review, offline map preloading, GPS battery checks, and compass declination adjustment.
Recommended
Comments