

How to Tie a Bowline Knot: Step-by-Step Guide
- Wesley Coldwell
- 1 day ago
- 6 min read

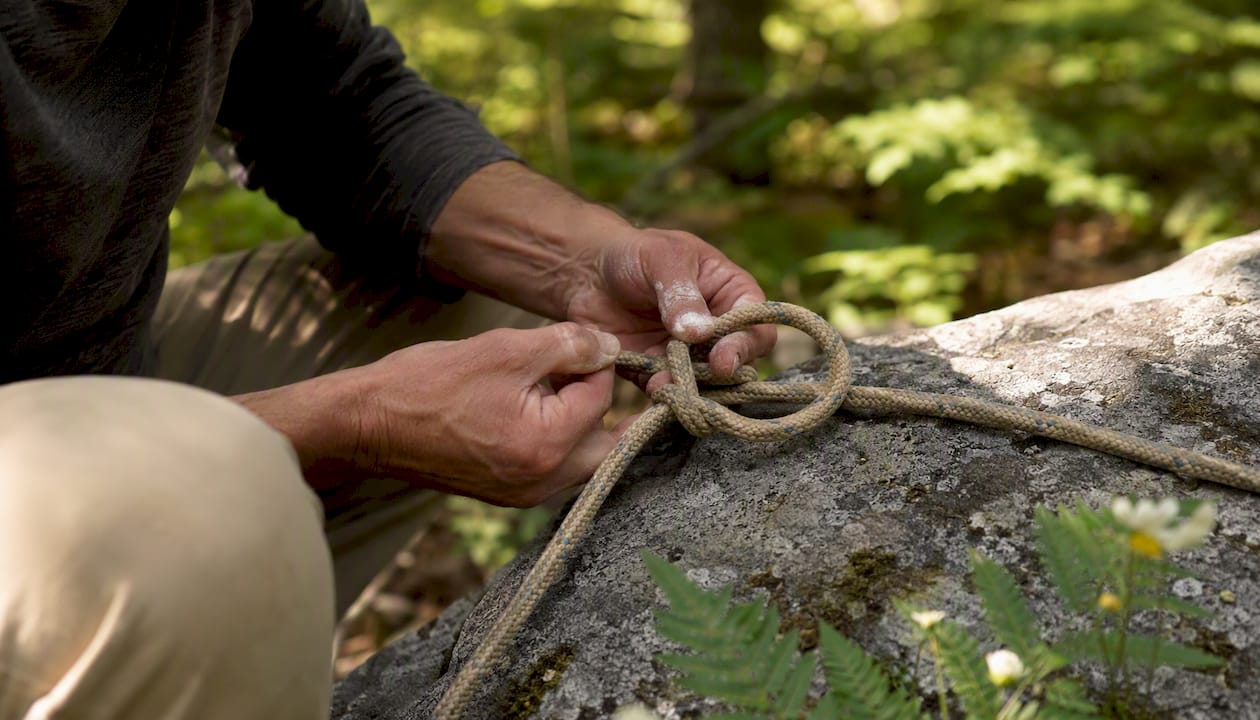
Form a small loop in the standing part of the rope, bring the tag end up through that loop, wrap it once around the standing part, then pass it back down through the loop and pull tight. That’s the bowline knot in one sentence. Per Animated Knots, the knot cannot be tied or untied while the standing end is under load, and it can work loose when unloaded, so always add a stopper knot or Yosemite finish for anything beyond general-purpose use.
The bowline creates a fixed, non-slipping loop.
It unties easily after load, which sets it apart from many alternatives.
For life-critical tasks, pair it with a backup finish or choose a climbing-rated knot instead.
Key Takeaways
The bowline is a fast, reliable fixed loop that unties easily after load, but it requires a backup finish and correct dressing to perform safely in the field.
Point | Details |
Core mnemonic | Rabbit out of hole, around the tree, back down the hole. |
Tail length | Leave at least 12× the rope’s circumference to prevent the tail from working free. |
Always dress and set | Flat turns, correct tail exit (inside the loop), and one test load before trusting it. |
Add a backup finish | Use a double overhand stopper or Yosemite finish for mooring, rescue, or vibration loads. |
Not for life-critical climbing | Choose a Figure-8 follow-through or UIAA-rated knot for fall-arrest applications. |
Table of Contents
How to tie a bowline knot: the full step-by-step
The classic teaching tool is the rabbit-and-tree mnemonic, preserved in wikiHow’s bowline guide: the rabbit comes out of the hole, runs around the tree, and goes back down the hole. Here’s what that looks like in practice.
Hold the rope with the working end (tag end) in your dominant hand and the standing part running away from you.
Make a small loop in the standing part by crossing the rope over itself, leaving the tag end free. This loop is “the hole.”
Bring the tag end up through the loop from underneath. The rabbit comes out of the hole.
Pass the tag end behind the standing part. The rabbit runs around the tree.
Push the tag end back down through the small loop. The rabbit goes back into the hole.
Decide your loop size now, before the next step. Once you dress and set the knot, resizing is difficult.
Dress and set: hold the loop in one hand, pull the standing part with the other, and snug everything tight.
IMAGE: Insert animation frames here — start loop, pass through, wrap behind, finish. Embed or link the [Animated Knots bowline animation for motion reference.]
Pro Tip: Leave a sufficiently long tail relative to the rope’s circumference. A short tail is a common reason a bowline fails under intermittent load.
For emergencies, a one-handed bowline is possible: anchor the standing part against your body, form the loop against your thigh, and work the tag end with your free hand using the same rabbit-and-tree sequence.
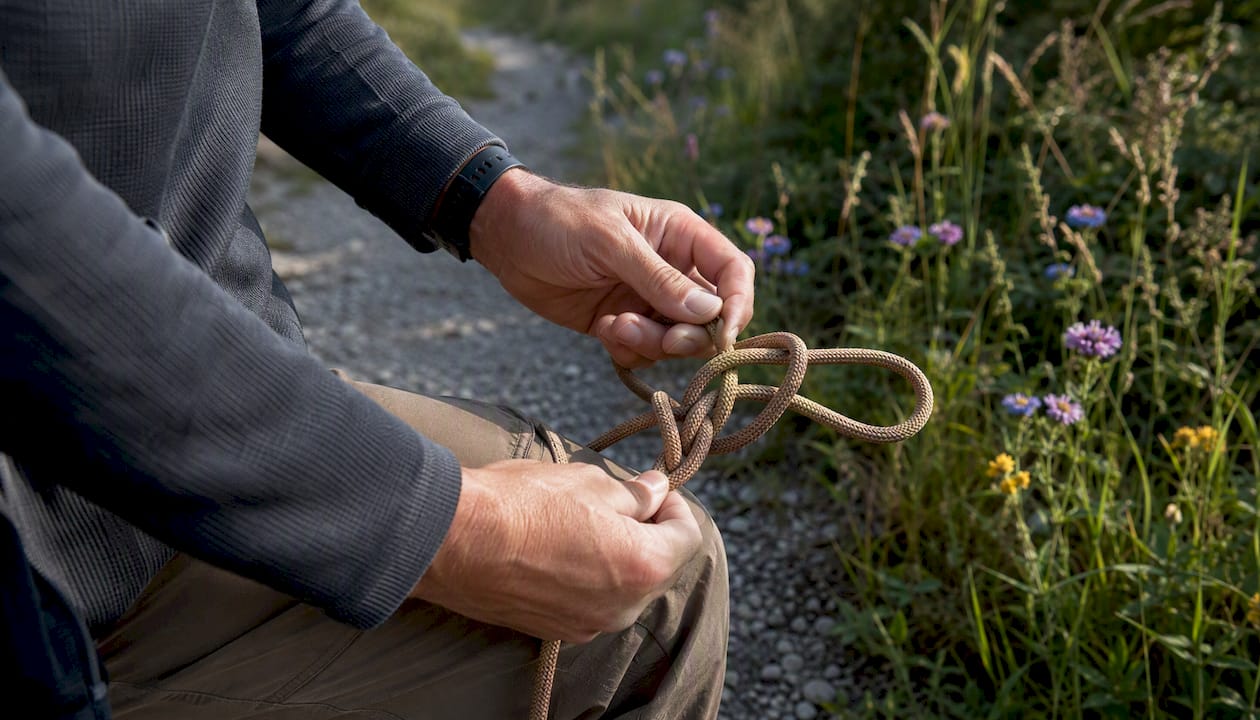
Which bowline variant fits your situation?
The standard bowline covers most tasks, but a few variants solve specific problems.
Standard bowline: The version above. Fast, reliable, and easy to untie after load. Best for mooring, securing gear, and general camp use.
Running bowline: Thread the standing part through the loop to create a sliding noose. Useful for retrieving objects or cinching around a load that needs to tighten.
Eskimo (left-handed) bowline: The loop orientation is reversed. Per Animated Knots, this variant may resist working loose better when the loop will be stretched wide, though it introduces its own trade-offs.
Yosemite finish: Tie a standard bowline, then thread the tail back through the loop alongside the standing part. This locks the knot and is the most practical security upgrade for high-vibration or intermittent-load situations.
Real-world uses where the bowline earns its place: mooring a boat to a cleat, attaching a tarp ridgeline for shelter building, creating a fixed loop for hauling gear up a cliff, and rescue scenarios where a non-slip loop goes around a person. Outdoor Life calls it a must-know for outdoorsmen because it adapts to different rope diameters and ties fast under pressure.
How to dress, set, and test your bowline
A loose or poorly dressed bowline looks right but performs wrong. Run through this checklist every time.
Dress it: make sure all turns lie flat and parallel, with no crossing strands inside the knot.
Set it: apply a firm, steady pull on the standing part while holding the loop. The knot should snug down cleanly.
Check the tail: the tag end must exit the knot on the correct side (inside the loop, parallel to the standing part). If it exits on the outside, the knot is tied incorrectly.
Inspect under load: apply working load, release, and inspect again. Any slippage means the knot needs to be retied.
Parameter | Guidance |
Minimum tail length | A length proportional to the rope’s circumference |
Loop sizing | Set before final dress; difficult to adjust after |
Tail exit position | Inside the loop, parallel to standing part |
Test load | Apply and release at least once before trusting the knot |
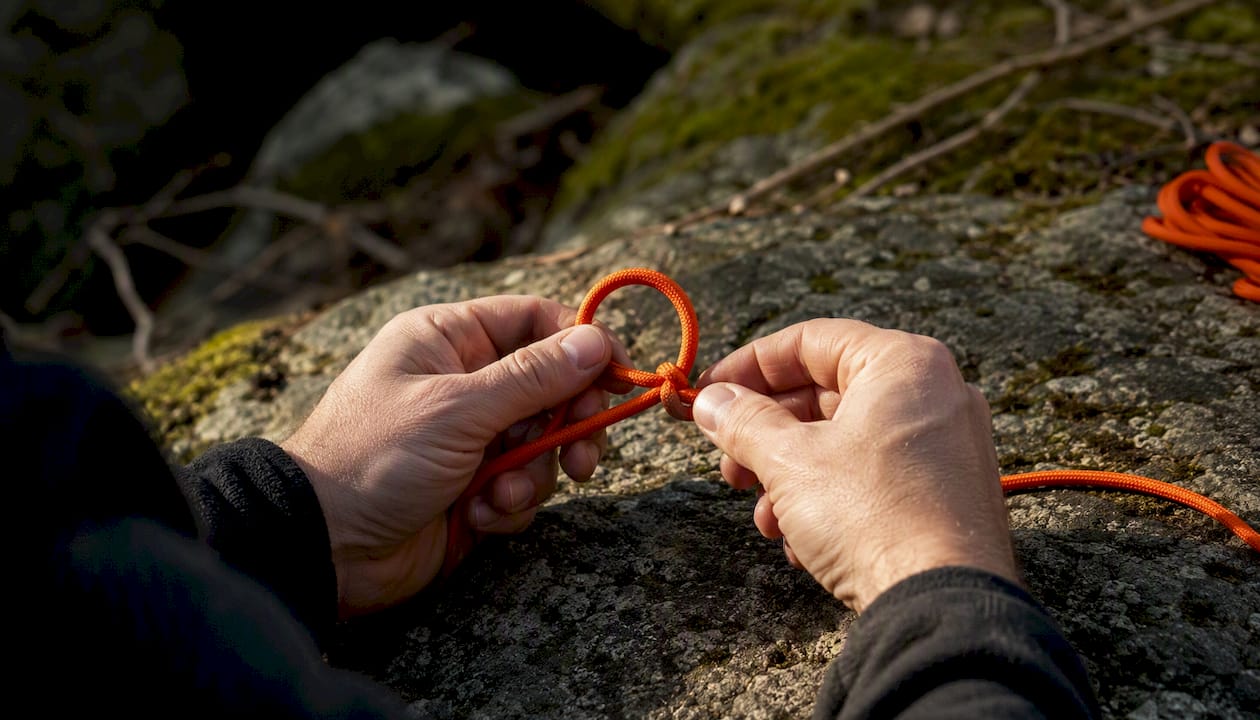
Pro Tip: Practice with paracord before moving to thicker rope. Paracord’s stiffness makes dressing errors obvious and builds muscle memory faster.
When should you avoid the bowline?
The bowline is not a universal solution. Its limits are specific and worth knowing cold.
It cannot be tied or untied under load. Always relieve tension before adjusting.
It can work loose when unloaded, especially in high-vibration or wave-action environments like mooring.
It is not climbing-rated without a backup. For life-critical applications, a Figure-8 follow-through or other UIAA-rated knot is the standard choice.
Recommended backup finishes when you do use a bowline:
Double overhand stopper: tie it on the tail, snugged against the knot body.
Yosemite finish: described above under variants; the most secure option for intermittent loads.
A bowline without a stopper knot in a mooring or rescue context is a knot waiting to fail. The fix takes five seconds and adds meaningful security. Always finish it.
For camping first aid or rescue scenarios, the bowline is appropriate for non-life-critical loops. Anything load-bearing on a person in a fall environment calls for a climbing-rated alternative, as Outdoor Life makes clear.
Common bowline mistakes and how to fix them
Most failed bowlines trace back to one of four errors.
Wrong loop orientation: the initial loop must cross over the standing part, not under it. An inverted loop produces a knot that looks similar but slips. Untie and restart.
Tail too short: if the tail is less than a few inches after dressing, the knot is unsafe. Untie, reposition your starting point, and retie with more working end.
Tail exits on the wrong side: if the tag end comes out on the outside of the loop rather than the inside, the rabbit went the wrong way. This is the most common structural error and the knot must be retied.
Poor dressing: strands crossing inside the knot reduce strength and cause slippage. Loosen slightly, realign all turns, then re-set under load.
**
Quick field check: after tying, tug the tail. It should not pull free or slide. If it moves, add a stopper knot immediately and retie when you can.
Why Thrillofit recommends this stepwise approach
The rabbit-and-tree mnemonic works because it maps a physical action to a memorable story, not an abstract instruction. After teaching this sequence across different rope types and conditions, the pattern that emerges is consistent: people who learn the mnemonic first tie a correct bowline under stress; people who memorize steps without it often invert the loop when they’re cold or rushed.
The Yosemite finish recommendation isn’t overcaution. It’s the difference between a knot that holds and one that holds reliably. For anyone using a bowline in the field, whether for a tarp line, a mooring, or a hauling rig, that distinction matters in practice. Pair this guide with Thrillofit’s cordage field guide for rope selection and maintenance context.
Sources
Recommended
Comments