

6 Camp Coffee Methods for Backpacking, Car Camping, and Groups

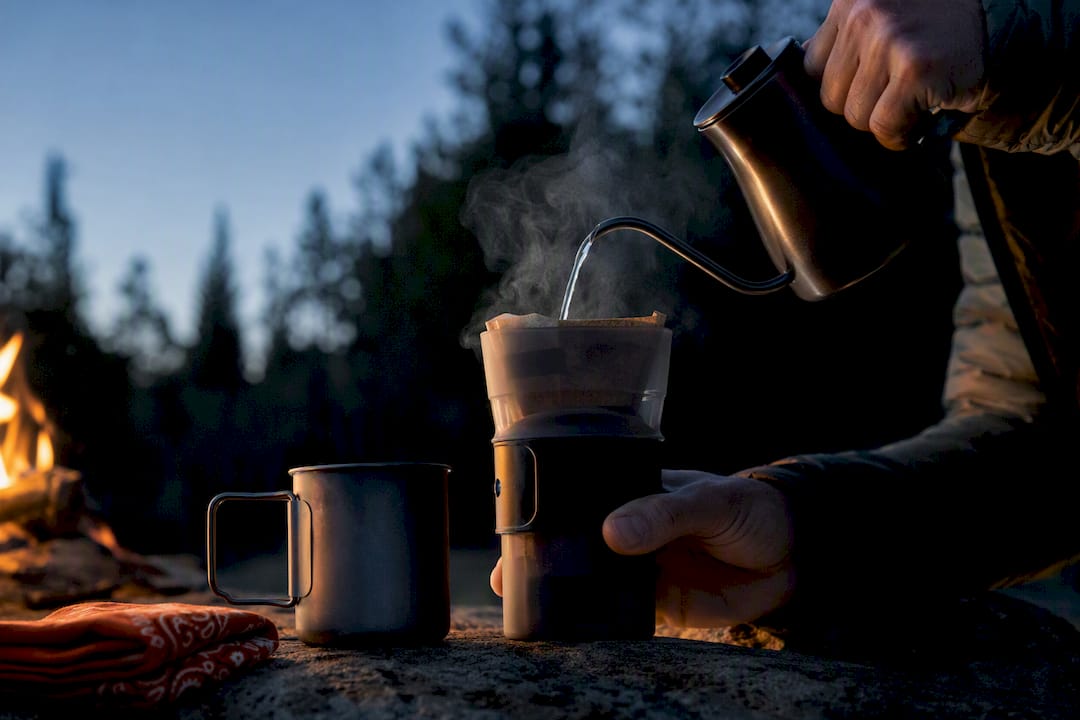
For most trips, the fastest reliable answer is instant coffee if you’re ultralight, an AeroPress or collapsible pour-over if you care about flavor per ounce, and a percolator or camp French press if you’re feeding a group from a car campsite. Cowboy coffee wins when you forgot everything else. Which one is right for you comes down to how much weight you’re carrying and how much you actually care about the cup.
TL;DR:
Instant coffee is the lightest and fastest option, ideal for solo trips prioritizing pack weight over flavor complexity.
AeroPress and pour-over methods provide very good flavor with minimal weight, best for backpackers seeking quality without bulk.
French press and percolator are better suited for group camping, offering full-bodied brews and larger volumes but adding weight and requiring more cleanup.
Proper grind size, water temperature, and coffee-to-water ratio are the critical variables to optimize flavor during field brewing.
Following Leave No Trace practices, including packing out grounds and strainings, is essential to minimize environmental impact and wildlife attraction.
Table of Contents
Camp Coffee Methods Compared: Pros, Cons, and Quick Recipes
Every method trades something for something else. Instant costs almost nothing in weight or time but gives up the flavor complexity a fresh grind delivers. A percolator gives you volume and keeps coffee hot for a crowd, but leave it perking too long and it turns bitter. Here’s how the main options stack up against each other.
Instant coffee: Ultralight and instant, literally. Add hot water, stir, done in under a minute. Flavor has improved a lot in recent years, but it still won’t match fresh-ground. Best for solo backpackers and anyone prioritizing pack weight over ceremony. Recipe: 1 packet or 2 teaspoons per 8 oz hot water.
AeroPress: Compact, nearly indestructible, and produces a clean, low-bitterness cup fast. The AeroPress Go model is built specifically for travel-sized brewing, fitting a mug, filters, and the plunger into one shell. Best for solo or duo trips where flavor matters. Recipe: a coffee to water ratio of about 1:15.
Pour-over (collapsible dripper): Light, packable, and gives you real control over extraction. Requires a steady hand and a way to boil water precisely. Best for backpackers who want café-quality coffee without the weight of a full setup. Recipe: 1:16 ratio, medium grind.
French press (insulated camp version): Full immersion brewing means bold, full-bodied coffee with minimal technique. Metal carafes replace glass to survive the drive in. Best for car camping and small groups. Recipe: 1:15 ratio, coarse grind, 4-minute steep.
Percolator: Brews big batches and holds heat over a fire or stove. Prone to over-extraction if you walk away. Best for group car-camping mornings. Recipe: roughly 2 tablespoons grounds per cup of water, perk 7 to 10 minutes.
Cowboy (boiled) coffee: No filter, no gadget, just a pot and grounds. Gritty and bold by design. Best as the zero-gear fallback or a deliberate bushcraft choice. Recipe: 2 tablespoons grounds per cup, near-boiling water, steep 3 to 4 minutes.
Method | Weight | Brew Time | Group Size | Flavor Quality |
Instant | Lightest | Under 1 min | Solo to small group | Fair |
AeroPress | Light | 2 to 3 min | Solo/duo | Very good |
Pour-over | Light | 3 to 4 min | Solo/duo | Very good |
French press | Moderate | 4 to 5 min | Small group | Good to very good |
Percolator | Heavy | 7 to 10 min | Group | Good |
Cowboy | Minimal (pot only) | 4 to 6 min | Solo to group | Fair to good |
Cleanup scales with the gadget. Instant leaves nothing behind. AeroPress and pour-over produce compact grounds pucks you can pack out in a small bag. French press, percolator, and cowboy coffee leave loose wet grounds that need straining before you dump any water, which matters more than most people think when you’re following Leave No Trace rules at camp.
Camp Coffee Methods: Step-by-Step Recipes for the Field
Knowing which method fits your trip is half the job. Executing it correctly at 6 a.m. with cold hands is the other half. Here’s exactly how to run each one.
Instant coffee
Gear: mug, something to boil water in.
Boil water, then let it sit about 30 seconds off heat.
Pour 8 oz over 1 packet or 2 teaspoons of instant coffee.
Stir for 15 seconds and drink.
No grind size to worry about, no cleanup beyond rinsing a mug. If you’re pairing an instant coffee stock with camp meals, check out camp cooking hacks for ways to streamline your whole breakfast routine, not just the coffee. For anyone who wants better instant options than the gas station aisle, specialty instant coffee formulations have closed a lot of the flavor gap with fresh-ground.
AeroPress
Gear: AeroPress, paper or metal filter, grinder (or pre-ground), mug.
Grind coffee to a medium-fine consistency, similar to table salt.
Rinse the paper filter with hot water if you have extra to spare (skip this if water is tight).
Add 17 grams of ground coffee to the chamber.
Pour 250 grams of water at roughly 200°F, stir for 10 seconds.
Let steep 1.5 minutes.
Attach the plunger and press slowly and evenly for about 30 seconds.
Pro Tip: Pack the AeroPress Go’s cap over the plunger during transit and it doubles as a spill-proof travel mug for the coffee grounds puck until you find a trash bag or a pack-out spot.
No grinder? Use pre-ground coffee in single-serve packets, sized to the chamber’s fill line. No filter? A double layer of thin cloth in a pinch works, though the cup will be muddier.
Pour-over
Gear: collapsible dripper, filter, kettle with a controlled pour spout, grinder.
Grind coffee medium, similar to coarse sand.
Place filter in dripper, rinse briefly with hot water.
Add coffee grounds, using a 1:16 ratio, roughly 30 grams per 500 grams of water.
Bloom with a small pour, about twice the coffee weight in water, and wait 30 seconds.
Continue pouring in slow circles until you hit your target water weight, taking 3 to 4 minutes total.
A collapsible kettle like the Sea to Summit X Brew, paired with a packable dripper such as the GSI Ultralight Java Drip, packs down flat and adds almost no bulk to a backpacking kit. No paper filters left? A bandana or cotton shirt sleeve, thoroughly rinsed, can substitute in an emergency, though expect more sediment in the cup.
French press
Gear: insulated stainless steel French press, grinder, kettle.
Grind coffee coarse, similar to breadcrumbs.
Add grounds using a 1:15 ratio, about 30 grams per 450 grams of water.
Pour water just off the boil over the grounds, stir once.
Place the lid on with the plunger up, steep 4 minutes.
Press down slowly and evenly.
For groups, scale the ratio up rather than brewing multiple batches; a 32 oz insulated press can serve three or four people in one pour. Metal construction matters here since glass carafes rarely survive a cooler lid slamming shut.
Percolator
Gear: percolator, campfire or stove, grinder or coarse pre-ground coffee.
Fill the bottom chamber with water to the fill line.
Add coarsely ground coffee to the basket, about 2 tablespoons per cup of water.
Assemble and place over medium heat.
Once you hear steady perking, reduce heat and let it run 7 to 10 minutes.
Remove from heat immediately once done to stop over-extraction.
Group brewing with a percolator is mostly about restraint. The biggest mistake is walking away and letting it perk for 20 minutes, which pulls out bitter compounds that a properly timed brew never touches.
Cowboy (boiled) coffee
Gear: pot, fire or stove, coarse grounds.
Bring water to a near boil.
Add grounds directly to the pot, about 2 tablespoons per cup of water.
Stir once, then let steep 3 to 4 minutes off heat.
Splash in a small amount of cold water to help grounds settle.
Pour slowly, leaving sediment behind in the pot.
This is the method with zero gear requirements beyond a pot you’re already carrying for cooking. It’s also the most forgiving to reheat by the fire if the group is slow getting out of their tents.
Gear, Packing, and Durability for Different Trip Styles
Material choice matters more than most gear lists let on. Stainless steel resists dents and doesn’t crack in a cold snap, which is why most insulated French presses and durable percolators use it. Titanium shaves weight for the same strength but costs more, and it’s overkill unless every ounce in your pack is under scrutiny. Silicone collapsible kettles and cups compress flat, ideal for backpacking, though they’re more fragile against sharp rocks or careless packing.
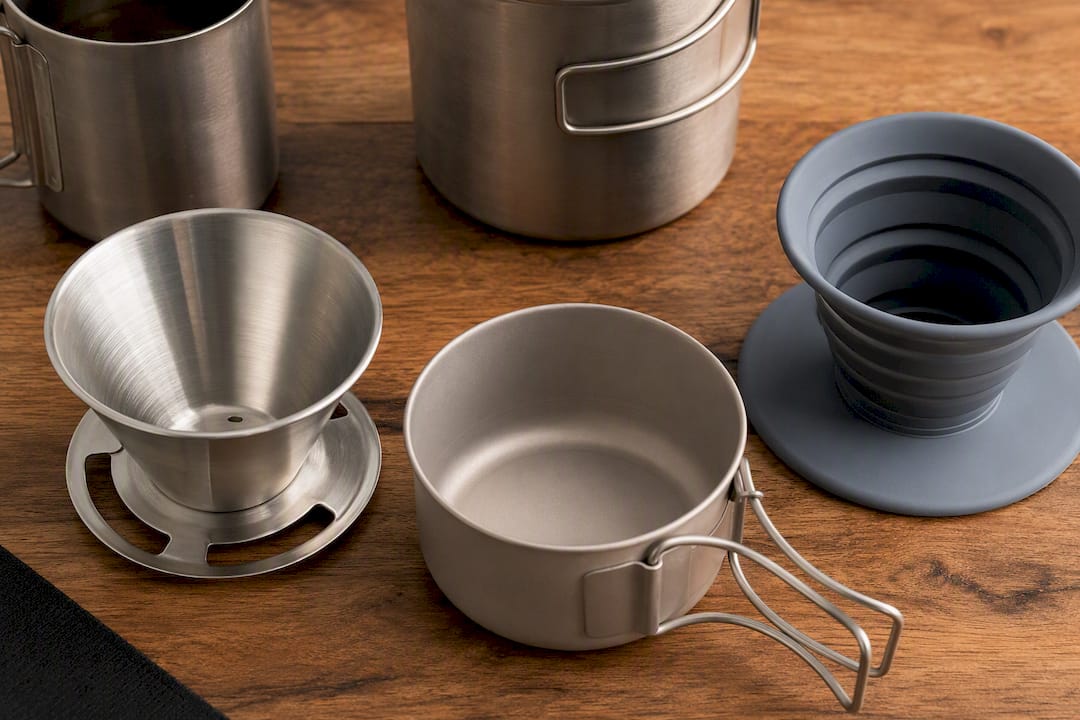
An ultralight kit and a car-camp kit look nothing alike, and packing one like the other wastes either weight or convenience.
Ultralight kit essentials:
Instant coffee packets or an AeroPress Go
Collapsible silicone kettle or a titanium cup that doubles as your cook pot
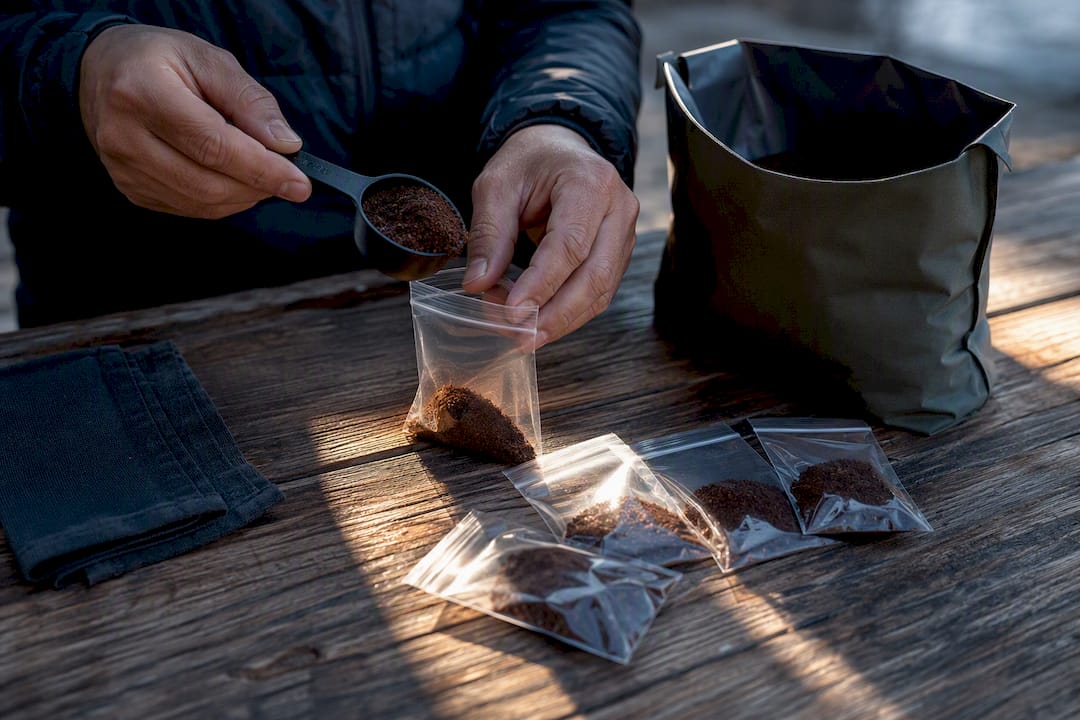
Pre-measured coffee in a small ziplock, no bulk container
Lightweight spork, no separate stirring spoon needed
Car-camp kit essentials:
Insulated French press or percolator
Full-size kettle, stainless steel preferred for durability
Bulk ground coffee in a sealed container
Reusable metal filter to cut down on trash
Multiuse gear earns its place in either kit. A kettle that also functions as your morning oatmeal pot saves both weight and pack space. An insulated French press that keeps coffee hot for two hours can double as your mug if you’re brewing solo. Checking gear picks before a trip is worth the ten minutes if you’re building a kit from scratch rather than piecing one together from what’s already in the garage.
Pre-measuring coffee at home solves more camp-morning friction than any piece of gear. Portion doses into small bags or a divided container sized to your trip length, and you skip fumbling with a scale or measuring spoon before sunrise. It also keeps grounds from turning into a spilled mess at the bottom of your food bag, which happens more often than anyone likes to admit.
Brewing Variables and Troubleshooting: Ratios, Grind, and Altitude
Three variables control almost everything about how your camp coffee tastes: the coffee-to-water ratio, the grind size, and the water temperature. Get those three right and the method almost doesn’t matter.
The Specialty Coffee Association’s guidance puts ideal brewing temperature between 200°F and 210°F, with a starting ratio of 15 to 18 parts water for every 1 part coffee. At camp, that translates to a simple shortcut: bring water to a full boil, then let it rest about 30 seconds before pouring. That resting period drops the water into the right range without needing a thermometer.
Grind size shifts by method, and getting it wrong is the single most common cause of bad camp coffee:
Fine grind (table salt texture): AeroPress, espresso-style brewing
Medium grind (coarse sand): pour-over, drip methods
Coarse grind (breadcrumb texture): French press, percolator, cowboy coffee
No grinder in camp? Buy pre-ground coffee matched to your method before you leave, or crush whole beans between two flat rocks wrapped in cloth if you’re truly stuck. It won’t be even, but it beats instant if flavor is the priority.
Altitude changes the math slightly. Water boils at a lower temperature the higher you climb, which means less extraction power at the same brew time. Compensate by grinding a touch finer or extending your steep time by 30 seconds to a minute at elevations above 5,000 feet.
Statistic Callout: The gap between “good” and “bad” camp coffee usually isn’t the gear. It’s a ratio error. A brew running outside the 15:1 to 18:1 water-to-coffee range will taste either watery or harsh, no matter how expensive the brewer.
Symptom | Likely Cause | Quick Fix |
Sour, weak taste | Under extracted, water too cool or too little contact time | Extend steep time, confirm water is at a full boil before resting |
Bitter, harsh taste | Over extracted, too much contact time or too fine a grind | Coarsen the grind, cut brew time |
Gritty, muddy cup | Grind too fine for the method, or grounds sat too long before pouring | Use a coarser grind, pour slower and leave sediment in the pot |
Weak despite strong grounds | Ratio too diluted | Add more coffee per cup of water, aim for 1:15 |
Cleanup, Waste, and Leave No Trace Coffee Practices
Coffee grounds count as food waste, not something you scatter freely. Following Leave No Trace principles around cleanup keeps campsites usable and keeps animals from associating your site with an easy meal.
Pack out spent grounds. Dump them into a small resealable bag rather than tossing them in the fire pit or the brush.
Strain greywater before disposal. Run leftover brewing water through a fine mesh strainer to catch any loose grounds.
Scatter strained water at least 200 feet from water sources, trails, and your campsite.
Pack out used paper filters along with the grounds; they don’t break down quickly and they hold onto coffee oils that attract wildlife.
Rinse gear with minimal water, using a scrub brush or cloth rather than running water you don’t have to spare.
Grounds left in the open aren’t just messy. They’re food waste that draws in rodents and larger animals looking for an easy snack near a tent.
Troubleshooting and Field Tips That Actually Help
Most bad camp coffee traces back to one of three fixable habits, and none of them require new gear.
Weak coffee: You’re under-dosing. Bump the ratio toward 1:15 rather than stretching grounds to save weight.
Bitter coffee: Contact time ran too long. Pull the percolator off heat the second it starts perking steadily, and don’t let a French press sit past 4 minutes.
Gritty coffee: Grind is too fine for an immersion method, or you poured too soon after steeping. Let sediment settle before pouring.
Pro Tip: Preheat your mug and brewing vessel with a splash of hot water before adding coffee. Cold metal or plastic pulls heat out of your brew fast, which drops extraction quality more than people expect at altitude or in cold mornings.
A pinch of salt stirred into an over-extracted, bitter pot can round out harsh flavors in a pinch, an old trick that works because salt suppresses bitterness perception rather than changing the chemistry. And on mornings when the group is breaking camp fast, convenience wins. Nobody remembers a slightly worse cup of coffee. Everyone remembers the trip that started an hour behind schedule because someone insisted on a slow pour-over in the rain.
Field Notes From Author S on Camp Coffee Methods
Different trips call for different setups, and matching the method to the mission matters more than chasing the “best” brewer on paper. On solo backpacking trips where every ounce counts, an AeroPress Go earns its spot in the pack for the flavor-to-weight trade it offers. On car-camping weekends with a group, a percolator or a large insulated French press handles volume without turning breakfast into a bottleneck.
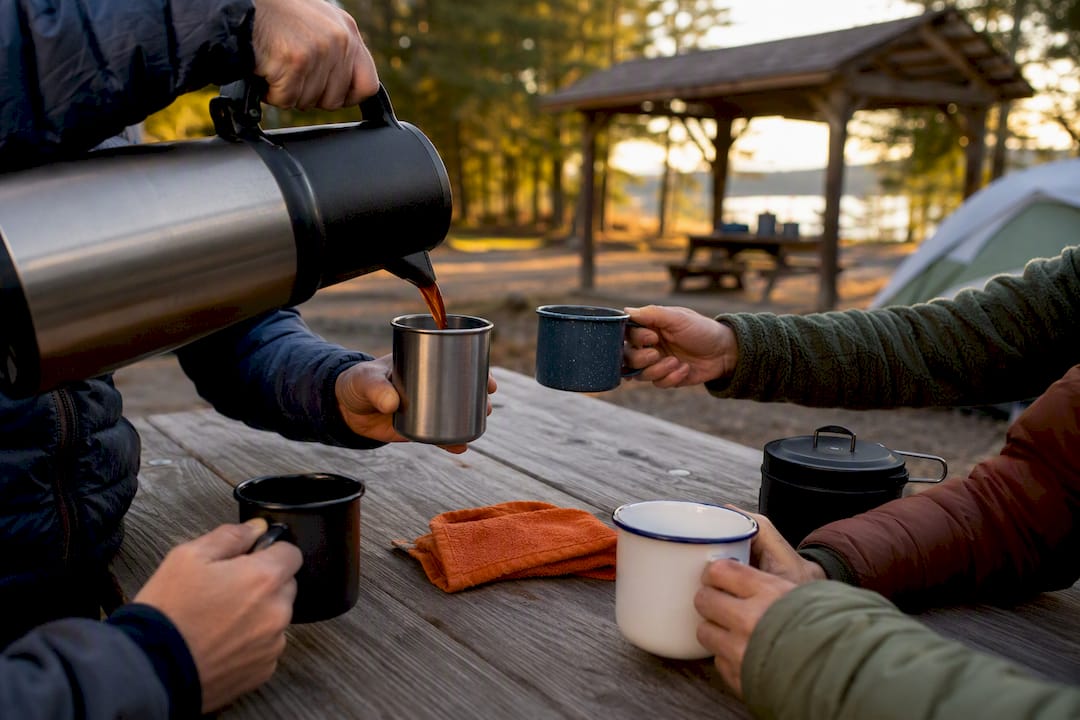
The pattern that holds across trip types: match the brewing method to the actual constraint of the trip, whether that’s pack weight, time pressure, or feeding six people before sunrise, rather than defaulting to whatever’s easiest to buy.
What My Own Camp Coffee Kit Looks Like
For a typical weekend backpacking trip, the kit is simple: AeroPress Go, a small bag of pre-ground medium roast, and a collapsible cup. Morning sequence is boil water, rest 30 seconds, brew, press, pack out the puck. The trade-off I accept is a slightly longer process than instant. What’s non-negotiable is grind size matched to the method. Get that wrong and no amount of good gear saves the cup.
— S
Get Your Full Camp Kitchen Sorted With a Trusted Outdoor Adventure Resource
Before you build a camp coffee kit from scratch, it helps to consider that picking the right brewer is only half the packing problem. The other half is everything else in your camp kitchen: what to boil water in, how to organize your stove setup, and how coffee gear fits alongside the rest of your cooking supplies without turning your pack into a mess of loose parts.
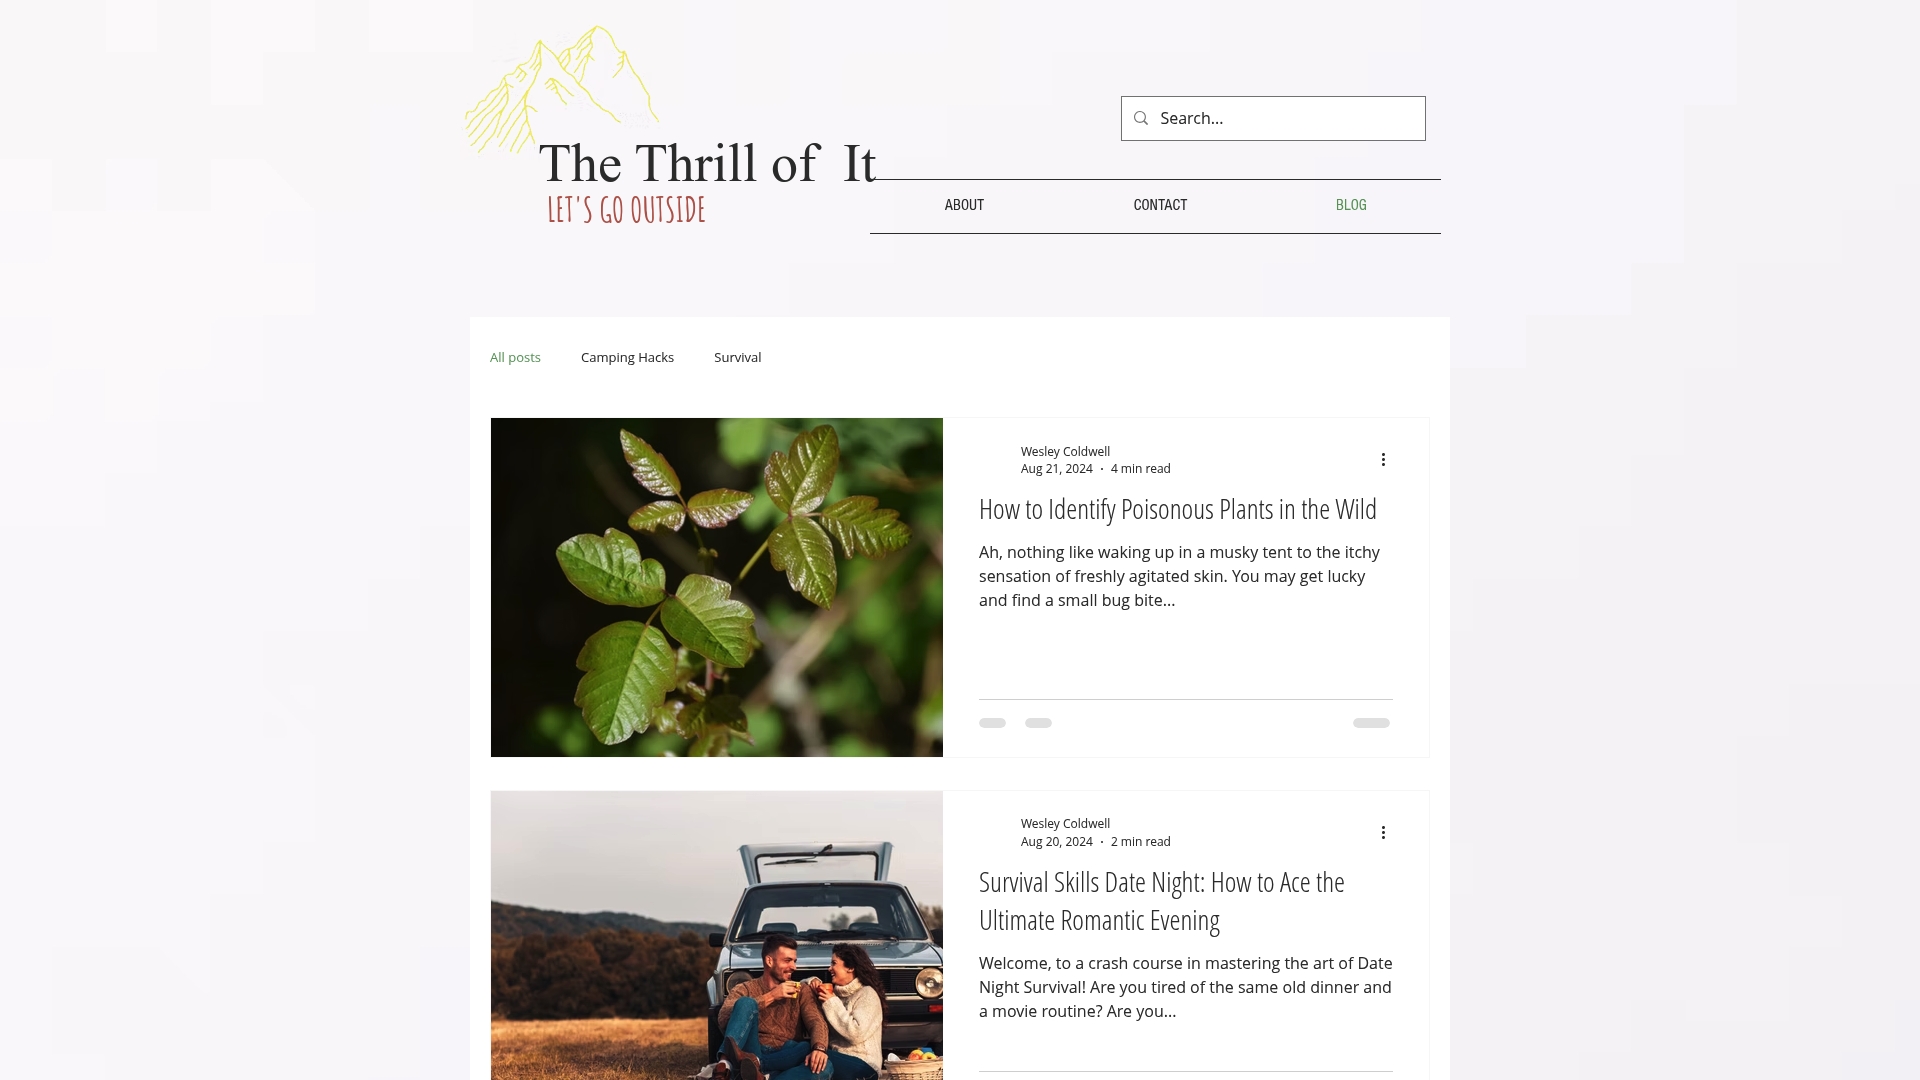
Thrillofit’s camp kitchen setup guide covers stove and kettle placement so your morning coffee routine doesn’t compete with breakfast prep for space or time. If you’re still deciding where to pitch your kitchen relative to your tent and water source, the campsite building guide walks through the layout choices that make cleanup and Leave No Trace disposal easier. Start there, then browse the full gear checklists to round out your kit before your next trip.
Sources
For deeper gear comparisons and technique breakdowns beyond this guide, REI’s expert advice on camp coffee covers ratio and temperature fundamentals in detail. Outside Online’s gear roundup tests specific brewers for durability. Backpacking Light breaks down weight-to-quality trade-offs for ultralight trips, and Camp Cairn offers a solid Leave No Trace primer for grounds disposal.
Recommended
Comments