

Emergency Preparedness Tips for Families in 2026
- Wesley Coldwell
- 2 days ago
- 8 min read

TL;DR:
Emergency preparedness involves creating proactive plans and assembling supplies before disasters occur.
Regular drills, community coordination, and updating kits every six months enhance household resilience effectively.
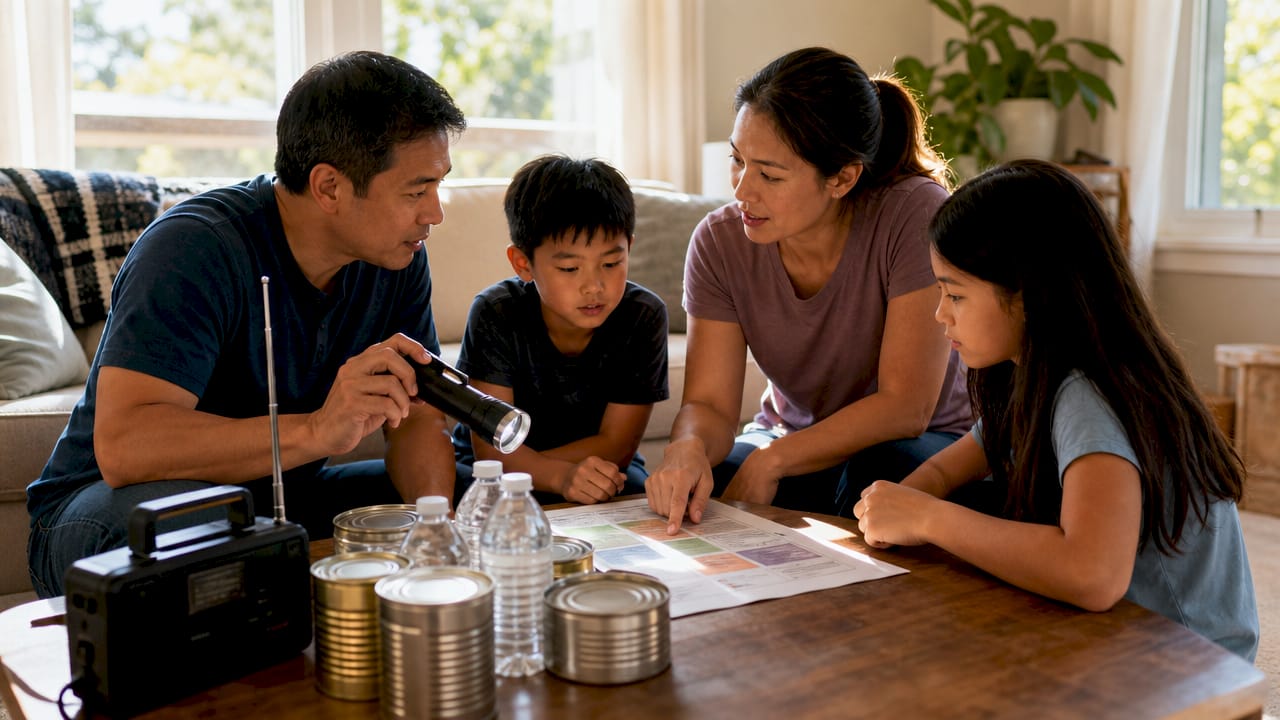
Emergency preparedness is the practice of building actionable plans and assembling survival supplies before a disaster strikes, not after. The Federal Emergency Management Agency (FEMA) and Ready.gov both define a minimum standard: a 3-day supply of water, food, and communication tools for every household member. Experts now recommend extending that to 7 days. These emergency preparedness tips cover everything from survival kit essentials to community coordination, so your family knows exactly what to do when seconds count.
1. What are the core emergency preparedness tips to start with?
The foundation of any safety preparedness guide is a clear, written household plan. Before you buy a single supply, identify the specific risks in your area. Floods, wildfires, tornadoes, and winter storms each demand different responses. The National Geographic disaster preparedness framework calls this “local risk awareness,” and it shapes every decision that follows.
Your plan needs four fixed elements: a designated meeting point near your home, a backup meeting point farther away, an out-of-state contact everyone can reach, and a clear evacuation route. Write these down. A plan that lives only in your head fails under stress.
1 in 3 adults have experienced a major weather-related disaster. That statistic means preparedness is not a fringe concern. It is a practical necessity for most households.
2. What should go in your survival kit essentials?
A complete survival kit covers three categories: water, food, and tools. Every household needs at least 1 gallon of water per person per day, for a minimum of 3 days. Experts recommend 7 days when storage space allows. A family of four needs 28 gallons minimum for a full week.
Non-perishable food should match your family’s actual diet as closely as possible. Canned goods, dried fruit, nuts, peanut butter, and protein bars all work well. Include a manual can opener. Many families forget this until they need it.
Your tools list should include:
A battery-powered or hand-crank radio for emergency broadcasts
A flashlight with extra batteries
A whistle to signal for help
A first aid kit with bandages, antiseptic, and any prescription medications
Copies of important documents in a waterproof bag
Cash in small bills, since ATMs go offline during power outages
A multi-tool or basic hand tools
Tailor every kit to your household. Seniors need extra prescription supplies and mobility aids. Infants need formula, diapers, and wipes. Pets need food, water, a leash, and vaccination records.
Pro Tip: Add a few comfort items for children, such as a small toy or a familiar snack. Reducing a child’s anxiety during a disaster improves the whole family’s ability to function.
3. Why you need separate kits for home, work, and your car
You cannot predict where a disaster will hit. A tornado can strike while you are at the office. An earthquake can happen during your commute. Keeping only a home kit leaves you exposed for most of your waking hours.
Your car kit should be compact but complete: water pouches, energy bars, a first aid kit, a reflective blanket, jumper cables, and a phone charger. Keep it in the trunk year-round. Rotate the food and water every 6 months.
Your workplace kit lives in your desk or locker. It needs enough supplies for 24 hours: water, snacks, a flashlight, and a copy of your emergency contacts. Many employers now encourage this, but most workers still do not have one.
Pets can delay evacuation significantly when supplies are not ready. Keep a dedicated pet kit in your car with extra food, water, a leash, and copies of vaccination records. This one step prevents the most common reason families hesitate before leaving.
4. How practicing emergency scenarios builds real confidence
Scenario-based drills are the single most underused tool in family emergency readiness. Most families own a kit but have never walked through what they would actually do. That gap is where panic lives.
Playing through disaster scenarios with your family reduces fear and improves response speed. The process shifts your mindset from “this is overwhelming” to “I know what to do.” That shift is the real goal.
Run a drill at least twice a year. Cover these steps in order:
Sound the alarm and gather all household members
Grab your go bag and confirm its location
Walk the evacuation route to your primary meeting point
Practice contacting your out-of-state emergency contact
Identify who is responsible for pets, young children, and anyone with mobility needs
Review and update your emergency plan steps after each drill
Include everyone in the drill, including children and elderly family members. Kids who practice feel less afraid. Older adults who rehearse the route move faster when it counts.
“The goal of scenario planning is not to predict every disaster. It is to build the mental muscle memory that keeps you calm and functional when reality does not match the script.”
5. Why community coordination is a force multiplier
Individual preparedness has a ceiling. Community preparedness does not. Building strong neighborhood networks by exchanging contact information and creating group chats improves collective resilience in ways no single household can replicate alone.
Start with your immediate neighbors. Share phone numbers, discuss who has medical training, and identify who owns a generator or has extra water storage. This information costs nothing and pays off enormously during an actual emergency.
Key steps for building your neighborhood network:
Create a group chat on a messaging app for real-time updates
Identify vulnerable neighbors, including elderly residents and people with disabilities
Agree on a check-in protocol after a major event
Share local emergency contact numbers and shelter locations
Attend at least one local emergency response meeting per year
Community coordination also helps with resource sharing. A neighbor with a chainsaw clears a blocked road faster than waiting for city crews. A neighbor with nursing experience can triage injuries before paramedics arrive. These are not hypothetical benefits. They are documented outcomes from post-disaster community studies.
Pro Tip: Introduce yourself to at least three neighbors before a disaster happens. Strangers do not help each other as effectively as people who have already shared a conversation.
6. How to maintain and update your kits over time
A kit you built three years ago and never touched is not a preparedness asset. It is a false sense of security. Emergency kits need updating every 6 months to stay functional. Set a calendar reminder for april and october each year.
Follow this maintenance checklist every 6 months:
Check all expiration dates on food and water
Test batteries in flashlights and radios; replace as needed
Rotate prescription medications and update dosages
Verify that documents are current, including insurance policies and IDs
Update contact lists if phone numbers have changed
Adjust supplies for any family changes, such as a new baby, a new pet, or a new medical condition
Encrypted digital backups of critical documents belong in what NIST calls a “digital go bag.” Store scanned copies of insurance policies, medical records, property documents, and passports in a secure cloud service. Recovery efforts stall when paper records are destroyed. Digital copies remove that obstacle.
Maintenance Task | Frequency |
Replace expired food and water | Every 6 months |
Test and replace batteries | Every 6 months |
Update emergency contact list | Annually or after changes |
Review and update documents | Annually |
Adjust kit for family changes | As needed |
Building your kit gradually by adding a few items during regular shopping trips is more manageable than buying everything at once. Pick up an extra case of water one week and a box of protein bars the next. Within a month, you have a solid foundation without a large one-time expense.
7. Natural disaster tips for specific threats
Different disasters demand different responses. A single generic plan leaves gaps. Tailor your approach to the threats most likely in your region.
For floods: know your flood zone, keep important documents above ground level, and never drive through standing water. Six inches of moving water can knock a person down. Two feet can carry a car.
For wildfires: create a defensible space around your home by clearing dry brush within 30 feet. Keep your car fueled and pointed toward the exit. Sign up for local emergency alerts so you get evacuation orders before roads become congested.
For winter storms: your home kit needs extra blankets, a manual can opener, and a way to heat at least one room safely. A fire-starting method and knowledge of water purification become critical when utilities fail for days.
For power outages lasting more than 72 hours: the first 72 hours after any disaster are the most critical period for independent survival. Your kit must cover this window without any outside help.
Key Takeaways
Effective emergency preparedness requires multi-location kits, written plans, regular drills, community networks, and a 6-month maintenance schedule to stay genuinely ready.
Point | Details |
Build kits for three locations | Keep separate kits at home, in your car, and at your workplace. |
Stock 7 days of water and food | Plan for 1 gallon of water per person per day for a full week. |
Practice drills twice a year | Run scenario drills with all household members to build real response speed. |
Coordinate with neighbors | Share contacts and resources with at least three nearby households. |
Update kits every 6 months | Replace expired items, test batteries, and refresh documents on a fixed schedule. |
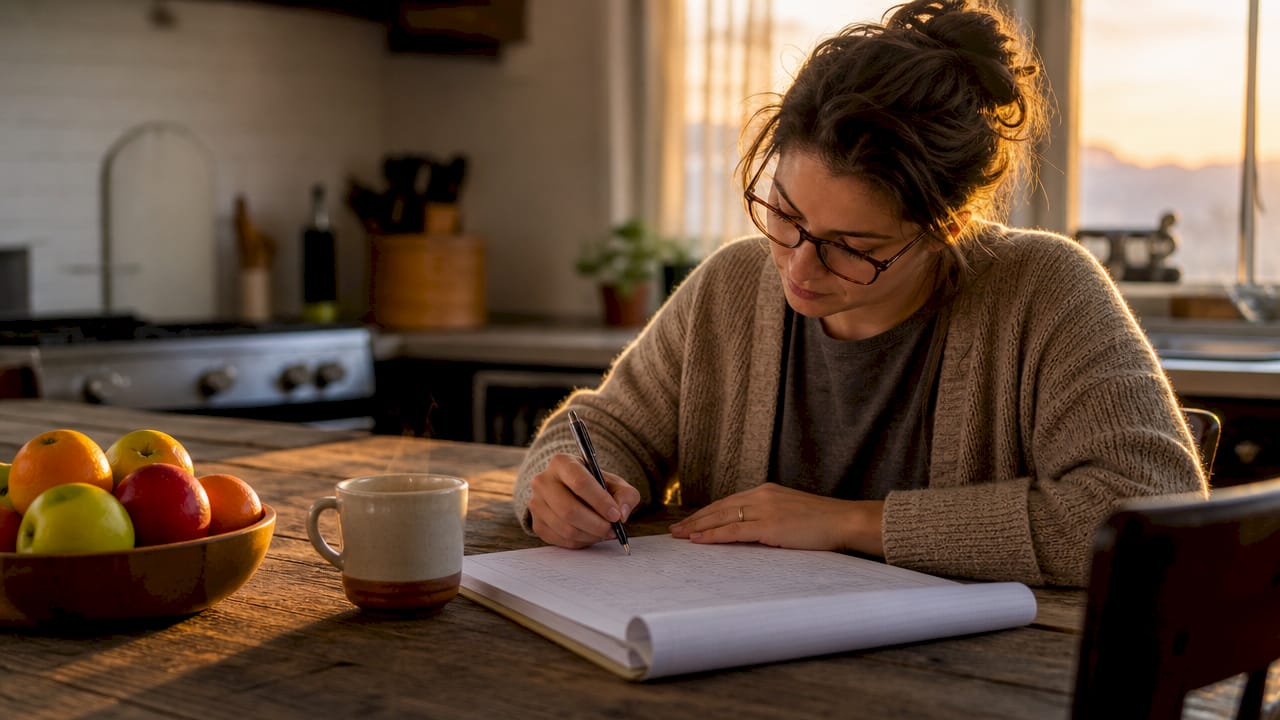
What I have learned after years of thinking about preparedness
Most families treat emergency preparedness as a one-time project. They buy a kit, feel good about it, and never look at it again. That is the most common and most dangerous mistake I see.
The families who actually perform well during disasters are not the ones with the most expensive gear. They are the ones who have talked through what they would do, who know where to meet, and who have at least one neighbor they trust. The social infrastructure matters as much as the physical supplies.
I used to think the hardest part was assembling the kit. After watching families navigate real evacuations, I changed my mind. The hardest part is keeping the kit current and keeping the plan alive in your household’s memory. A drill feels unnecessary until the moment it is not.
Pet preparedness surprised me most. Families with dogs and cats consistently hesitate longer before evacuating than families without pets. That hesitation costs time. A dedicated pet kit in the car, ready to grab in 30 seconds, removes the hesitation entirely. It is a small thing with a large payoff.
The incremental approach to kit building also works better than most people expect. Adding two or three items per shopping trip feels almost trivial. Six months later, you have a complete kit and you barely noticed the cost. That is the right way to build preparedness into a normal life rather than treating it as a crisis project.
— S
Thrillofit has the resources to take your preparedness further
Knowing what to prepare for is the first step. Knowing how to act when systems fail is the next one.

Thrillofit covers the full spectrum of survival skills and outdoor readiness, from wilderness self-rescue techniques to shelter building and first aid in the field. The survival skills category pulls together guides on water purification, fire starting, and emergency kit assembly, all written for people who want practical knowledge, not theory. Whether you are preparing your household for the next storm season or sharpening your skills for backcountry travel, Thrillofit gives you the depth to prepare with confidence.
FAQ
What is the minimum water supply for an emergency kit?
FEMA and Ready.gov recommend 1 gallon of water per person per day, with a minimum 3-day supply. Most experts now advise storing a 7-day supply when space allows.
How often should I update my emergency kit?
Update your kit every 6 months. Replace expired food and water, test batteries, and refresh any documents that have changed.
Do I need separate emergency kits for different locations?
Yes. Keep distinct kits at home, in your car, and at your workplace. You cannot predict where a disaster will occur, and a single home kit leaves you unprepared during your commute or workday.
How do I include pets in my emergency plan?
Keep a dedicated pet kit in your car with food, water, a leash, and vaccination records. Pets without a ready kit are the leading reason families delay evacuation.
How do I start building a kit without spending a lot at once?
Add a few extra items during your regular grocery shopping each week. Within one to two months, you will have a complete kit without a large one-time expense.
Recommended
Comments